Add a Hasura GraphQL Data Connector Agent to Metadata
To use a custom Hasura GraphQL Data Connector Agent, follow the following steps in the Hasura Console to add it to the Hasura GraphQL Engine metadata. Before following the steps, make sure the custom connector is deployed and accessible.
- Console
- CLI
- API
Navigate to the Data tab in the project's Console.
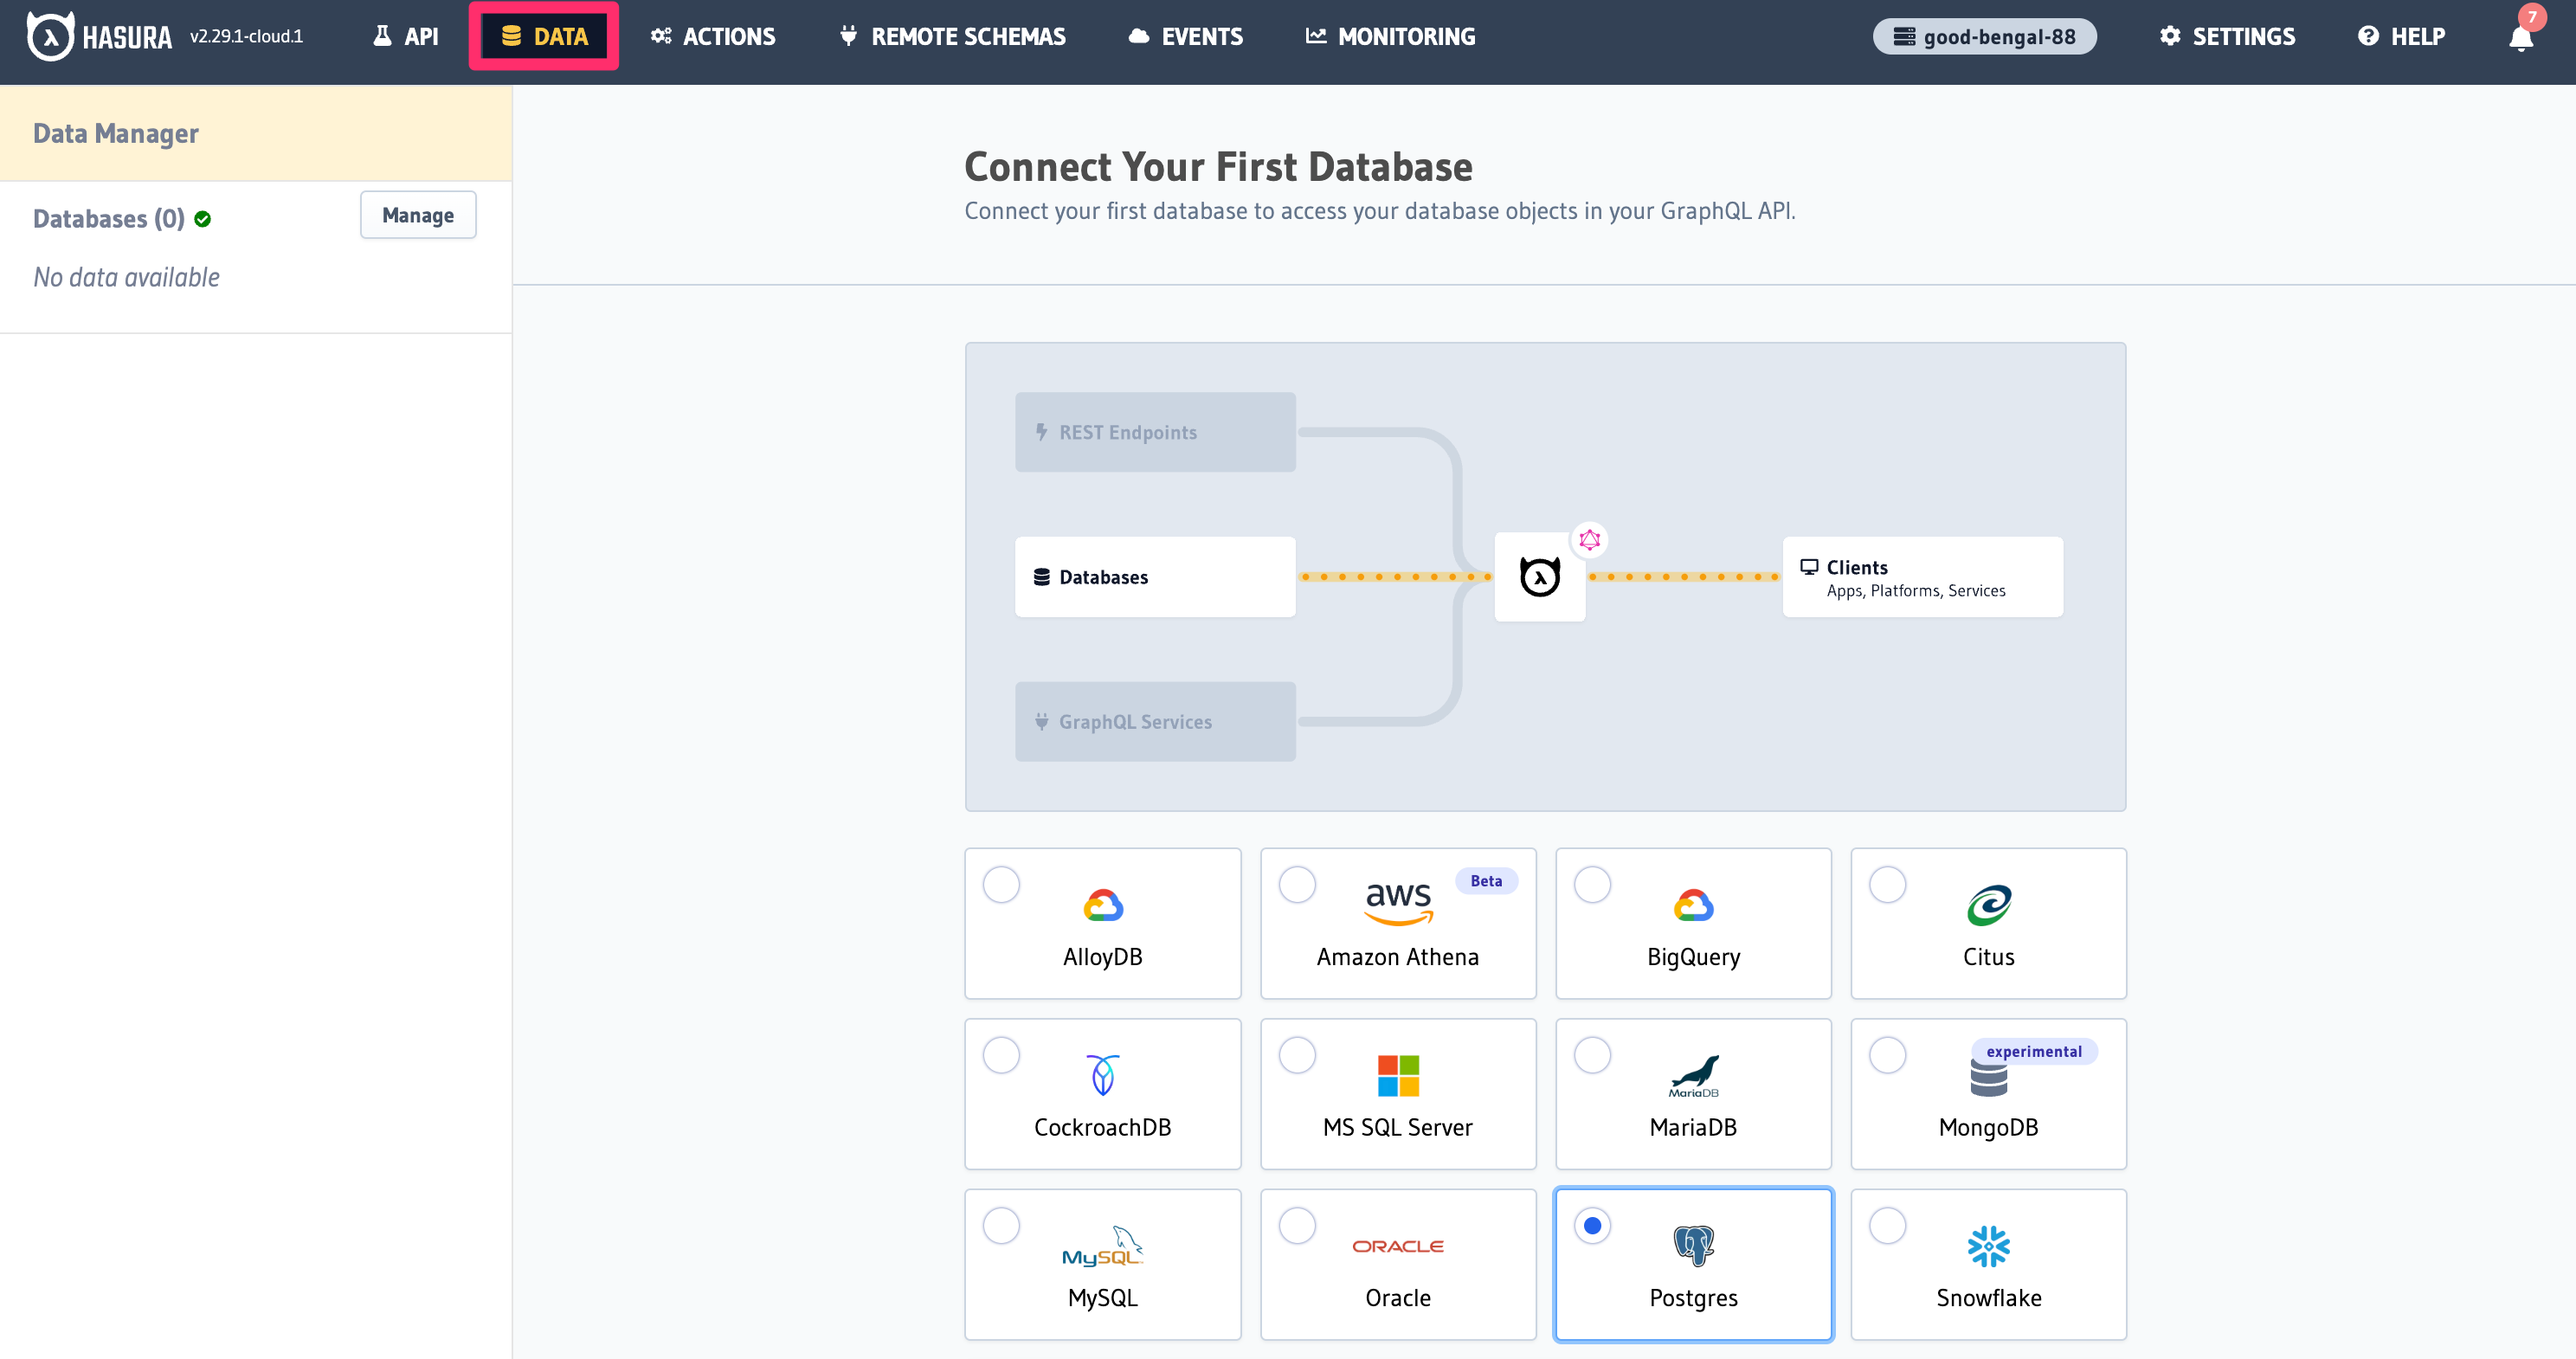
Click on the
Managebutton.
Click on the
Data Connector Agentsbutton.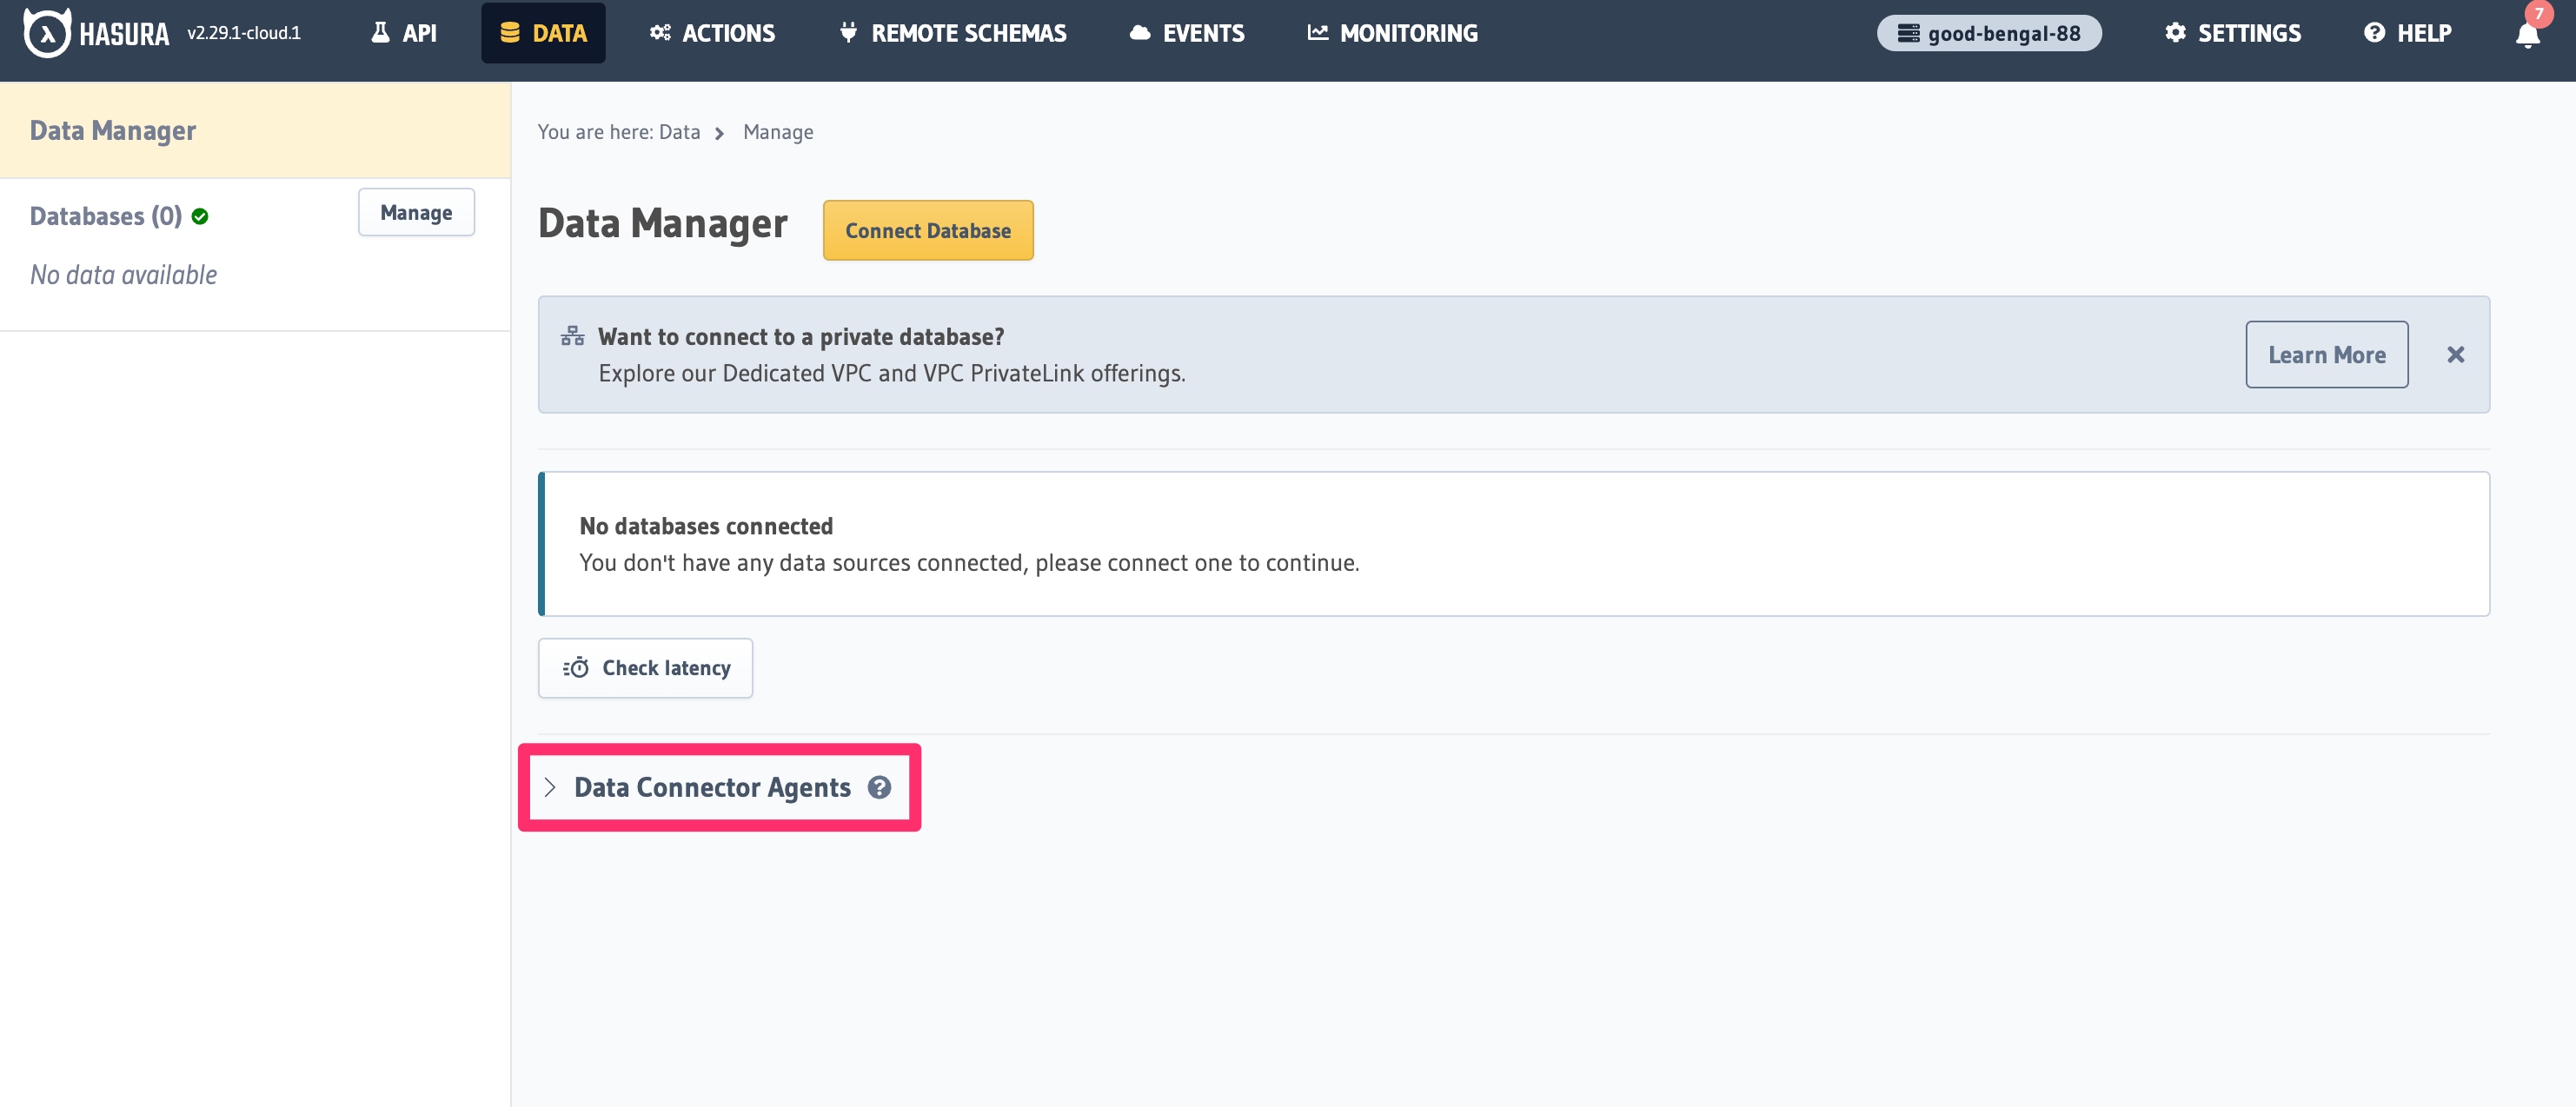
Click on the
Add Agentbutton.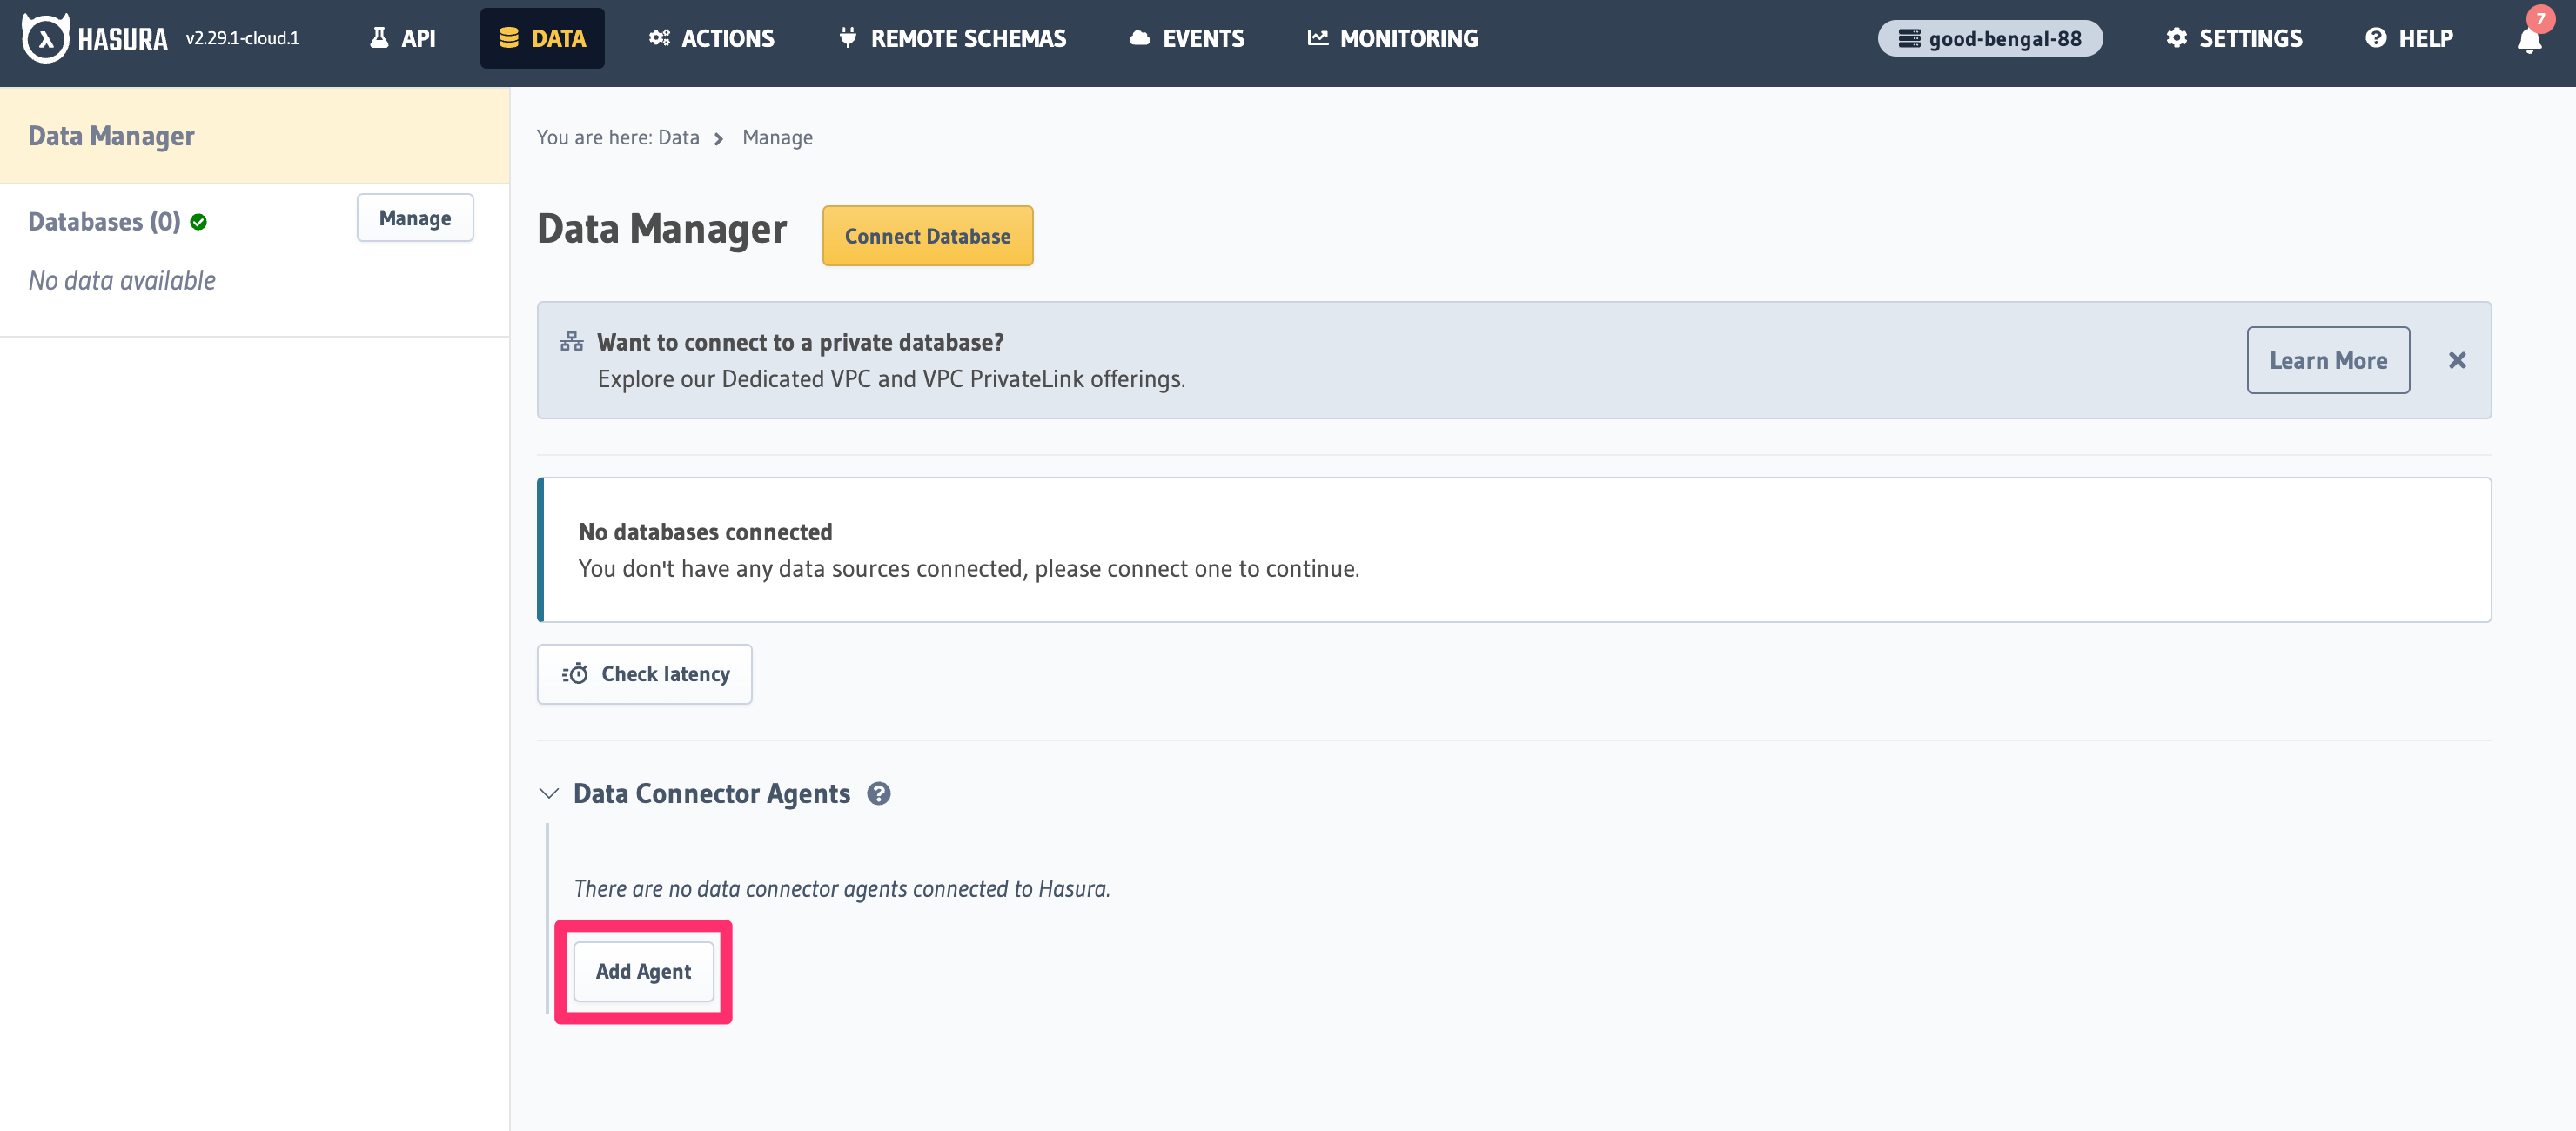
Enter the values for agent name and agent URL. You can also choose to put the agent URL in an environment variable instead and use that variable name here. Click
Connectand you're done!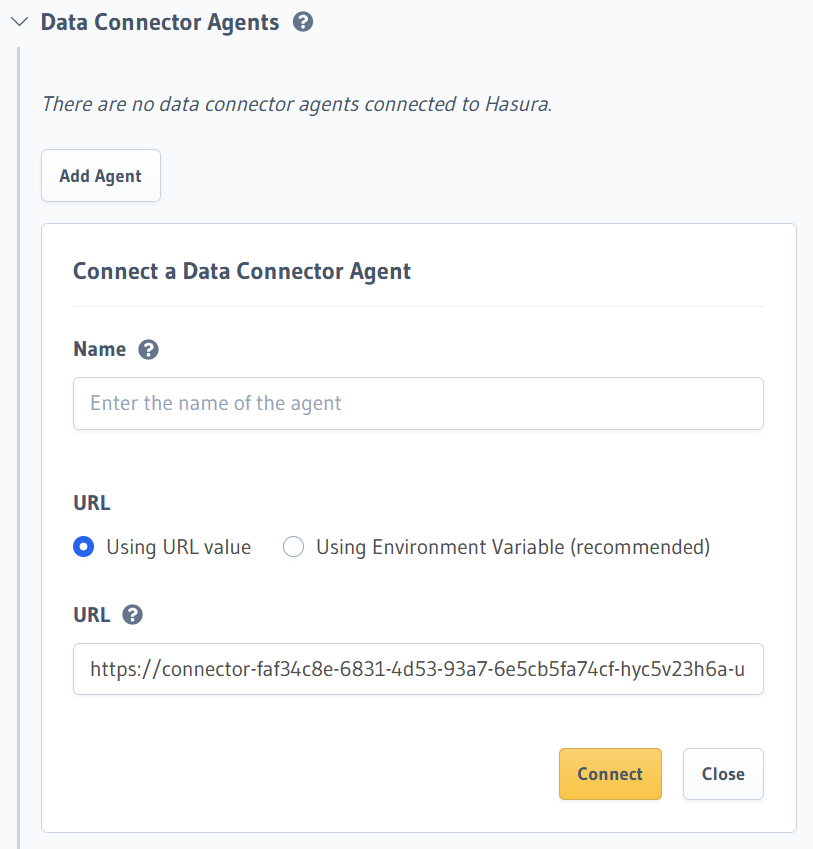
Once the above is done, the new driver supported by the custom connector will be available as one of the options in the
Connect Databasepage.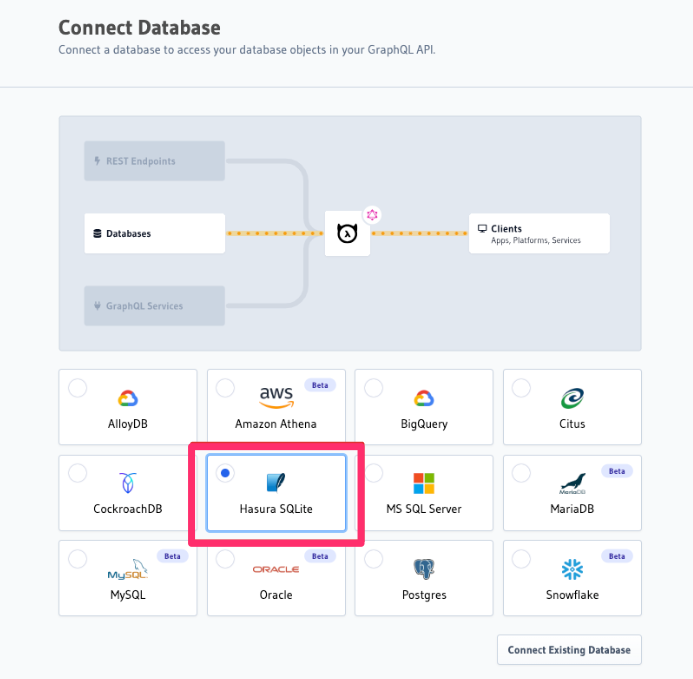
You can add a Data Connector Agent by adding its config to the /metadata/backend_configs.yaml file:
dataconnector:
  sqlite:
    uri: <data-connector-agent-url>
Alternatively, you can provide the Data Connector Agent URL via an environment variable:
dataconnector:
  sqlite:
    uri:
      from_env: <data-connector-agent-url-environment-variable-name>
Apply the Metadata by running:
hasura metadata apply
You can add a Data Connector Agent to Hasura via the dc_add_agent Metadata API.
POST /v1/metadata HTTP/1.1
Content-Type: application/json
X-Hasura-Role: admin

{
  "type": "dc_add_agent",
  "args": {
      "name": "sqlite",
      "url": "<url-where-data-connector-agent-is-deployed>"
  }
}
Alternatively, you can provide the Data Connector Agent URL via an environment variable:
POST /v1/metadata HTTP/1.1
Content-Type: application/json
X-Hasura-Role: admin

{
  "type": "dc_add_agent",
  "args": {
      "name": "sqlite",
      "url": {
        "from_env": "<data-connector-agent-url-environment-variable-name>"
      }
  }
}