Getting Started with MySQL in Hasura Cloud
Introduction
This guide will help you get set up with Hasura Cloud and our MySQL integration. This is the easiest way to set up Hasura Engine and the MySQL GraphQL Data Connector.
- Hasura GraphQL Engine
v2.24.0onwards - Hasura supports most databases with standard implementations of MySQL 8.0 and higher including: Amazon RDS, Amazon Aurora, Google Cloud SQL and Digital Ocean.
- PlanetScale and certain other providers are unsupported.
Hasura currently supports queries, mutations (INSERT, UPDATE, DELETE), table relationships, remote relationships and permissions on MySQL.
Note that Hasura doesn't yet support the ability to modify the database schema for MySQL, so the database you connect to should already contain tables and data. You should also ideally have access to it outside of Hasura to modify the schema.
Try it out
Step 1: Create an account on Hasura Cloud and create a new Hasura Project
Navigate to cloud.hasura.io, and create a new Hasura Cloud account.
Once you create a project on Hasura Cloud, hit the "Launch Console" button to open the Hasura Console for your project.

Step 2: Connect to a MySQL database
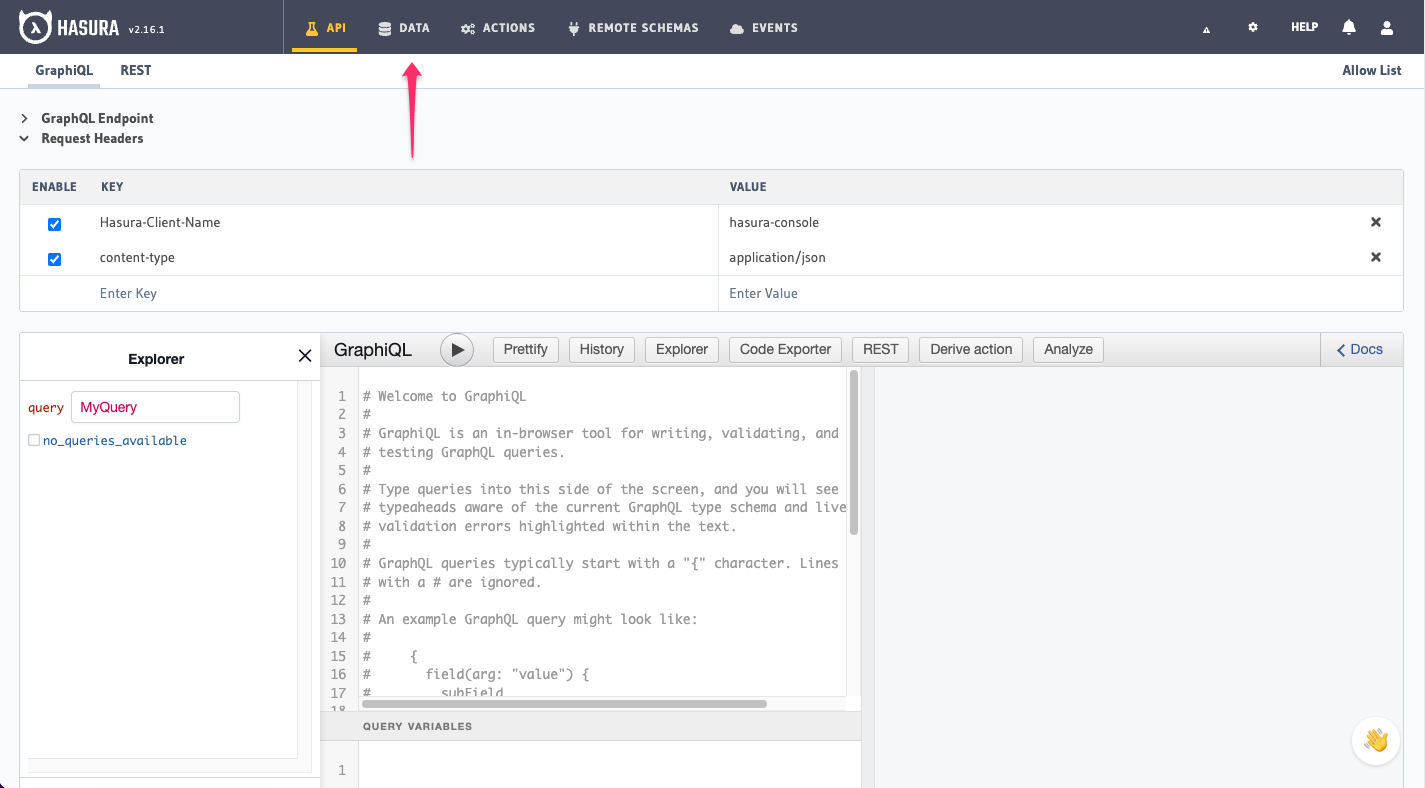
From the Console, click the Data tab:

Select the MySQL data source driver. Enter a database display name and the JDBC Connection URL for your MySQL instance.
The JDBC connection URL should look like this:
jdbc:mysql://<hostname>:<port>/<database name>?user=<username>&password=<password>
For example:
jdbc:mysql://myhost.mycompany.com/mysqltest?user=abc&password=pqr  # assuming the default port 3306
jdbc:mysql://localhost:4533/mysqltest?user=abc&password=pqr        # assuming MySQL is running on port 4533
For more information see MySQL Connection URL syntax.
Click Connect Database.
Due to the potential variations in drivers, it's crucial to escape special characters used in the password of the
connection string. These include { } % & #. To escape a character, use the appropriate escape sequence based on your
database's driver's documentation.
If so, remember that your database will only be accessible to the outside internet if you tunnel your connection using a service like ngrok.
Step 3: Track tables and run GraphQL API queries
Now that you have successfully connected your MySQL database to Hasura, you can track tables and use Hasura to automatically build a GraphQL API on top of it.
Keep up to date
If you'd like to stay informed about the status of MySQL support, subscribe to our newsletter and join our discord!