Get Started with Hasura Cloud & Citus - Hyperscale
Introduction
Step 1: Create an account on Hasura Cloud and create a new Hasura Project
Navigate to cloud.hasura.io, and create a new Hasura Cloud account.
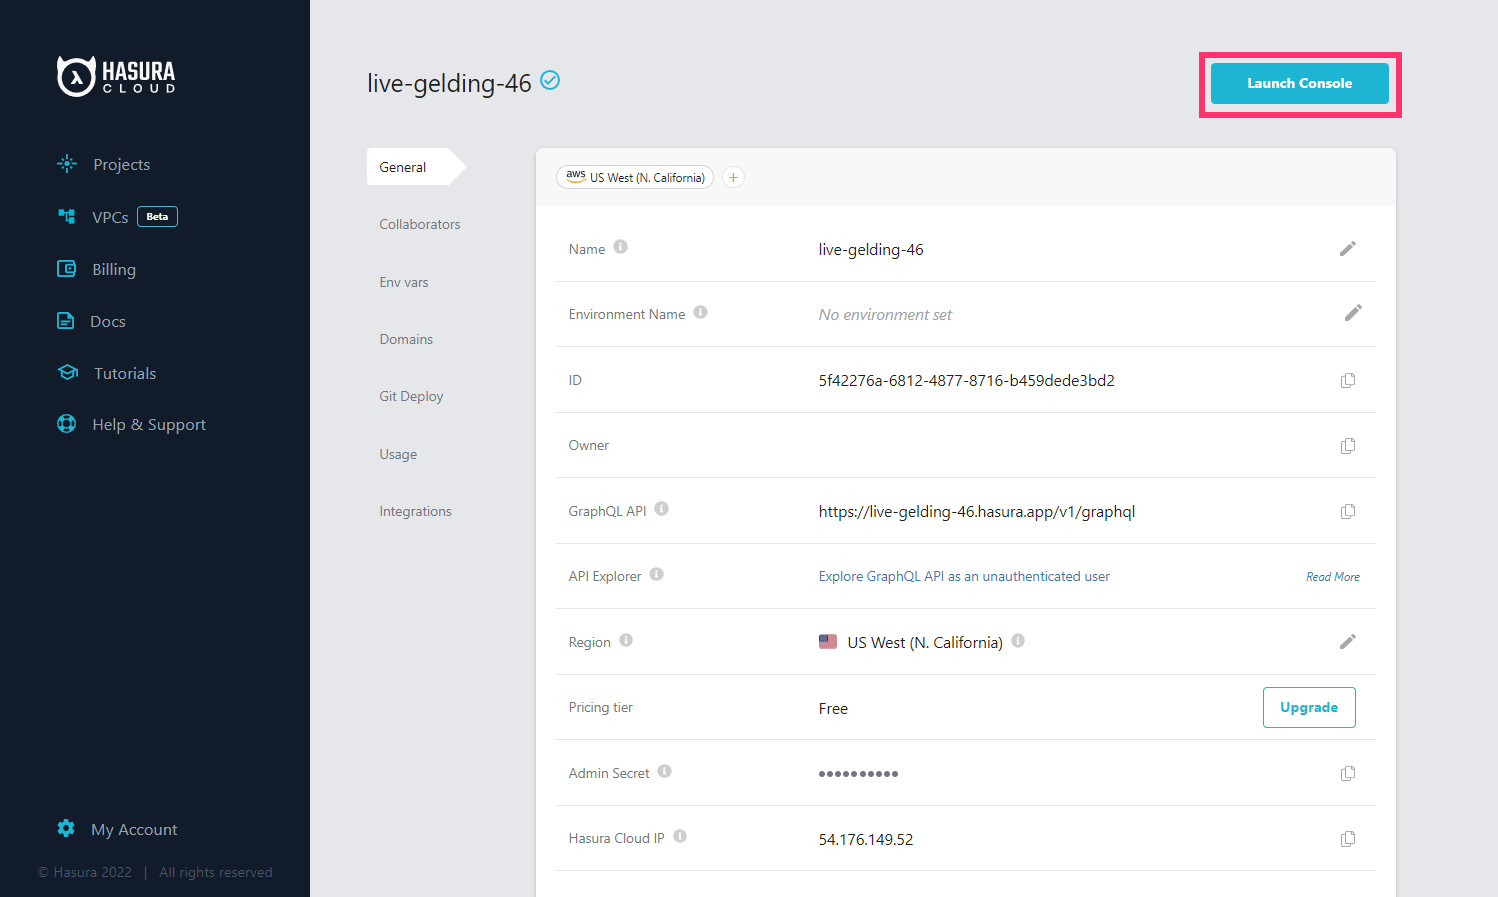
Once you create a project on Hasura Cloud, hit the "Launch Console" button to open the Hasura Console for your project.

Step 2: Add your Citus database as a source to Hasura
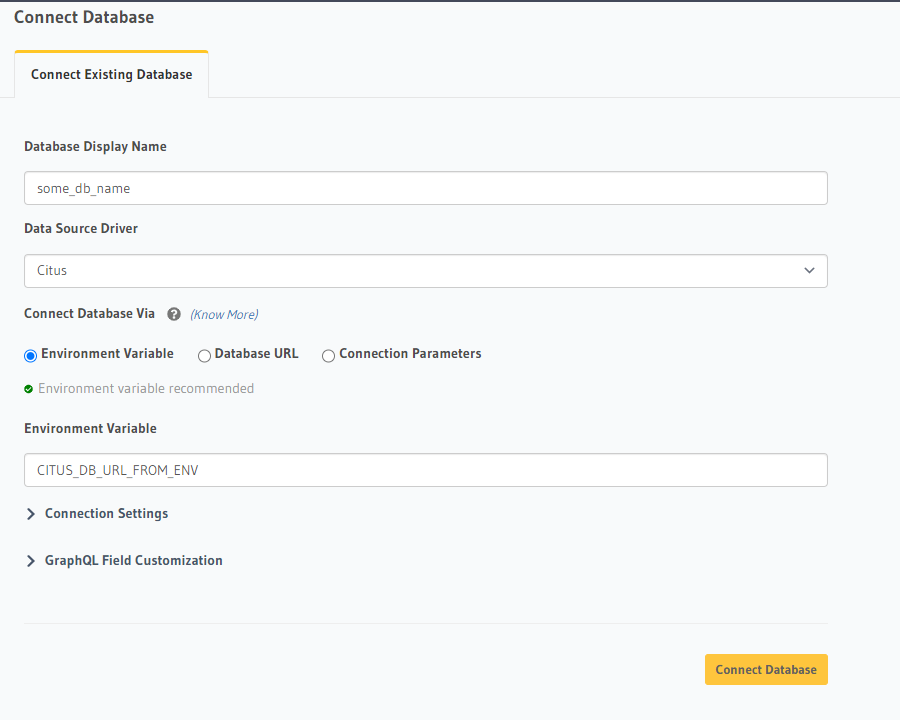
In the Data > Data Manager > Connect Existing Database section on the Console, select Citus from the
Data Source Driver dropdown and add the connection string directly or through an environment variable. As Citus speaks
the same protocol as Postgres, the connection string will start with postgres://, i.e, there is no difference between
Citus’s connection strings and Postgres’s connection strings.

Once you add the database, you'll see your database pop up on the sidebar.
Step 3: Track existing tables or create new tables
If you have existing tables, head to the database page by clicking on the database name on the sidebar. You should see a list of tables.
Track tables selectively or all of them so that Hasura can introspect the tables and create the corresponding GraphQL schema.
If you have foreign keys, you'll also see suggested relationships. Again, you can choose to track them selectively or all at once.
If you don't have existing tables, go ahead and add new tables and data and try out some queries, just like with a regular Postgres database.
Step 4: Try out a GraphQL query
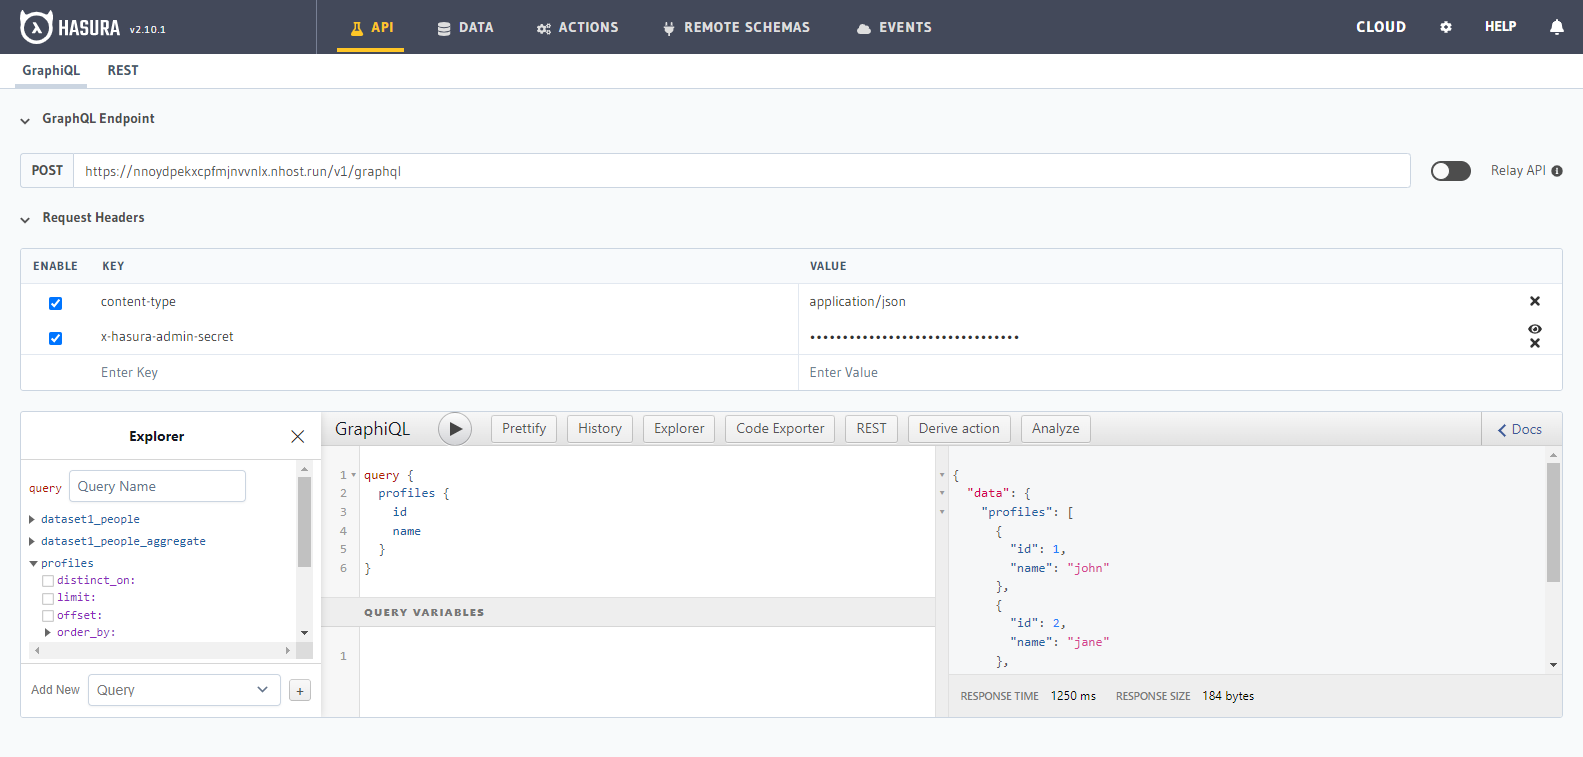
Head to the API tab in the Console and try running a GraphQL query! Use the explorer sidebar on GraphQL to get help in
creating a GraphQL query.

Keep up to date
Hasura supports queries, relationships, permissions, custom functions and mutations on Citus.
Please watch this space to get the latest docs on how you can try these features out via the Console or by manipulating Metadata in JSON/YAML directly.
If you'd like to stay informed about the status of Citus support, subscribe to our newsletter and join our discord!