Manage Metadata
Introduction
We call the Hasura Server configuration the Metadata. All changes made to the Hasura instance via the Console or via the API such as tracking tables / views / custom functions, creating relationships, configuring permissions, creating event triggers and remote schemas, etc. are tracked by Hasura using the Metadata Catalogue and their state can be exported as YAML or JSON Metadata files.
The Metadata can be version controlled to keep the Server configuration in-sync with your codebase, and applied to another Hasura instance to get the same configuration. You can also manually edit the Metadata and then use it to update the instance.
If you have already initialized your project via the Hasura CLI you should see the Metadata directory structure in your project directory. If you are only using the Hasura Console from the Hasura CLI then it will be kept fully updated as you make changes. However, you can always create a manual export if you need to make sure that it is up-to-date.
Example Metadata directory:
📂 metadata
├─ 📂 databases
│  ├─ 📂 default
│  │  └─ 📂 tables
│  │     ├─ 📄 public_author.yaml
│  │     ├─ 📄 public_article.yaml
│  │     └─ 📄 tables.yaml
│  └── 📄 databases.yaml
├─ 📄 actions.graphql
├─ 📄 actions.yaml
├─ 📄 allow_list.yaml
├─ 📄 api_limits.yaml
├─ 📄 cron_triggers.yaml
├─ 📄 graphql_schema_introspection.yaml
├─ 📄 inherited_roles.yaml
├─ 📄 network.yaml
├─ 📄 query_collections.yaml
├─ 📄 remote_schemas.yaml
├─ 📄 rest_endpoints.yaml
└─ 📄 version.yaml
There is no way to create an export of partial Metadata.
There are three ways to interact with the Hasura Metadata. Via the Hasura CLI, the Hasura Console, and the Hasura API. We'll go over each Metadata command below and how it is executed with each method.
Metadata Formats
Internally, Hasura saves Metadata as a single JSON blob in a table called hdb_metadata in a schema called
hdb_catalog in the database which you've designated as your Metadata database. Metadata can be exported and imported
in this JSON blob format using the Console or Hasura API. Using the Hasura CLI, the Metadata is exported and managed in
YAML format using separate files for each Metadata type.
You are also able to abbreviate the Hasura CLI metadata command to its shortened alias: md and it will work the
same.
Export Hasura Metadata
To export your Metadata means to save your internal Hasura Metadata configuration to a file or group of files in order to track it with version control or use it in a CI/CD pipeline.
- CLI
- Console
- API
To export your entire Metadata using the Hasura CLI execute the following command in your terminal:
# in project dir
hasura metadata export
CLI will log:
INFO Metadata exported
This will export the Metadata as YAML files in the /metadata directory eg:
📂 metadata
├─ 📂 databases
│  ├─ 📂 default
│  │  └─ 📂 tables
│  │     ├─ 📄 public_author.yaml
│  │     ├─ 📄 public_article.yaml
│  │     └─ 📄 tables.yaml
│  └── 📄 databases.yaml
├─ 📄 actions.graphql
├─ 📄 actions.yaml
├─ 📄 allow_list.yaml
├─ 📄 api_limits.yaml
├─ 📄 cron_triggers.yaml
├─ 📄 graphql_schema_introspection.yaml
├─ 📄 inherited_roles.yaml
├─ 📄 network.yaml
├─ 📄 query_collections.yaml
├─ 📄 remote_schemas.yaml
├─ 📄 rest_endpoints.yaml
└─ 📄 version.yaml
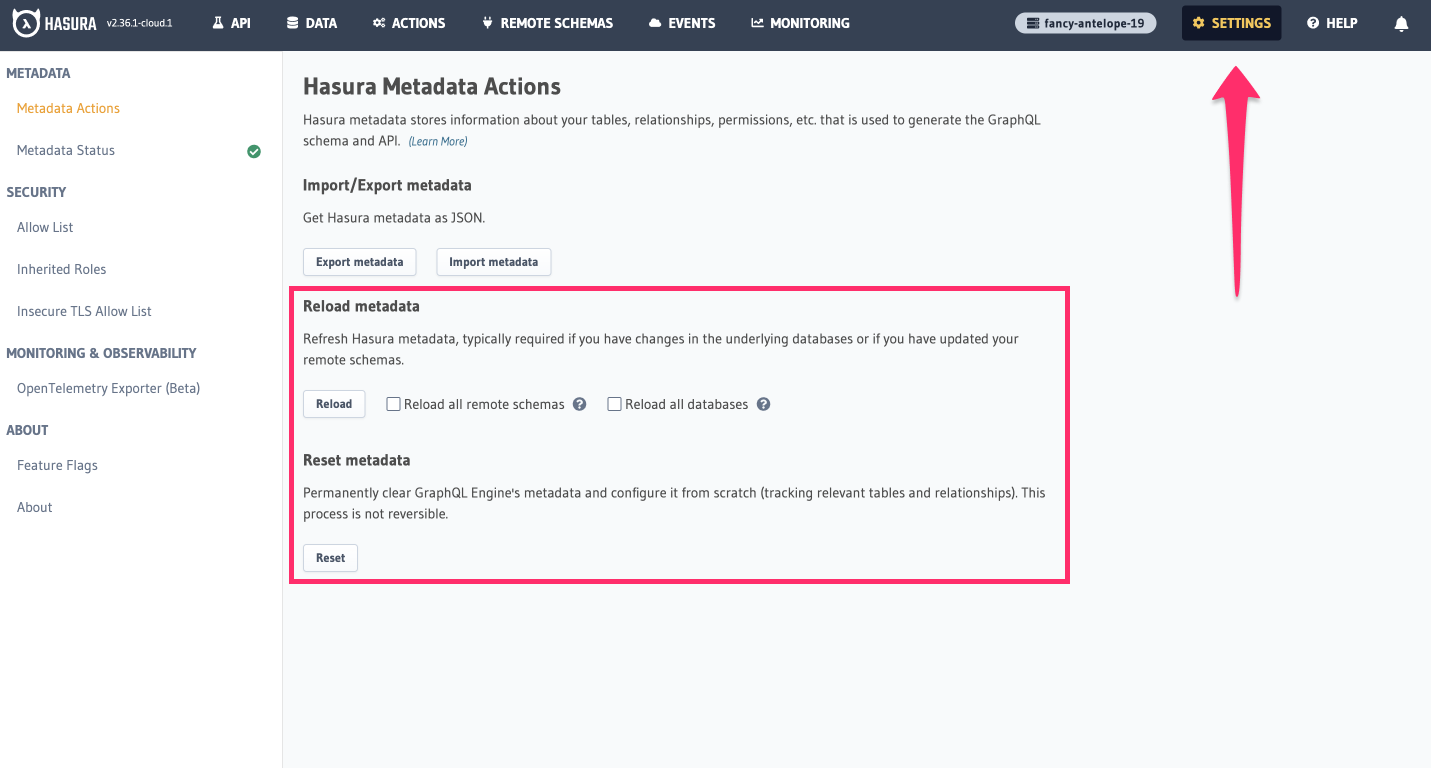
Click on the settings ⚙ icon at the top right corner of the Console screen.
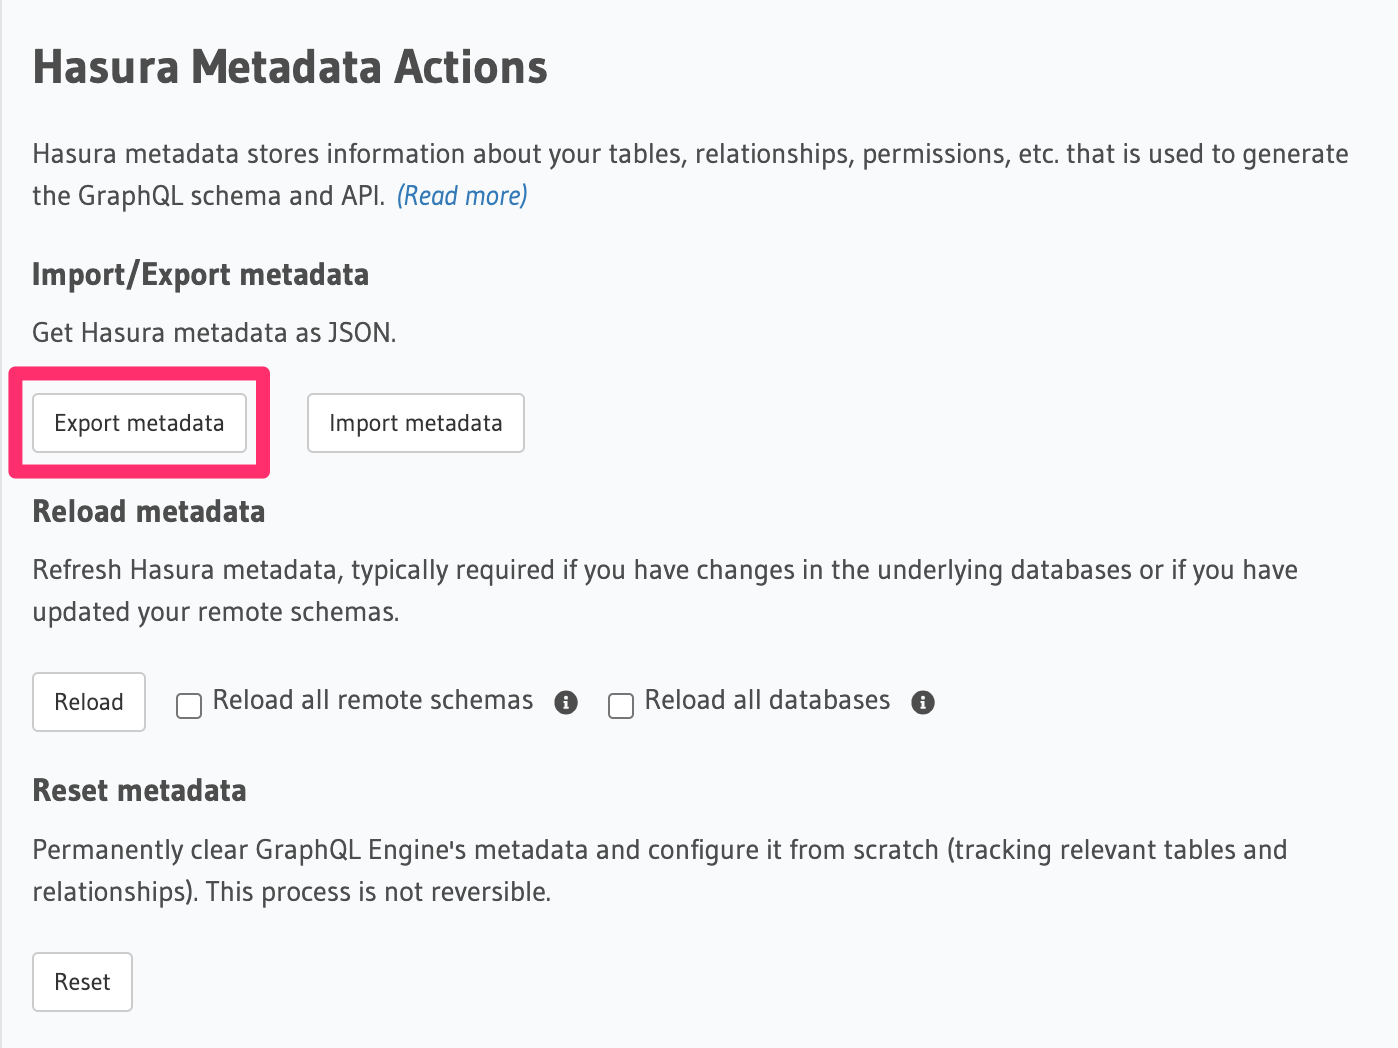
In the Hasura Metadata actions page that opens, click on the
Export Metadatabutton.
This will prompt a file download for
hasura_metadata_[timestamp].json. Save the JSON blob file.
The export can be done via the export_metadata Metadata API.
Response will be a JSON object with the Hasura Metadata.
Here is an example using curl to save this as a file:
curl -d'{"type": "export_metadata", "args": {}}' http://localhost:8080/v1/metadata -o hasura_metadata.json
This command will create a hasura_metadata.json file. If an admin secret is set, add
-H 'X-Hasura-Admin-Secret: [your-admin-secret]' as the API is an admin-only API.
Apply Hasura Metadata
You can apply Metadata from one Hasura Server instance to another. You can also apply an older or modified version of an instance's Metadata onto itself to replace the existing Metadata.
Applying or importing completely replaces the Metadata on that instance, i.e. you lose any Metadata that existed before applying.
- CLI
- Console
- API
Metadata can be applied with the hasura metadata apply command.
# in project directory
hasura metadata apply
CLI will log:
INFO Metadata applied
Click on the settings ⚙ icon at the top right corner of the Console screen.
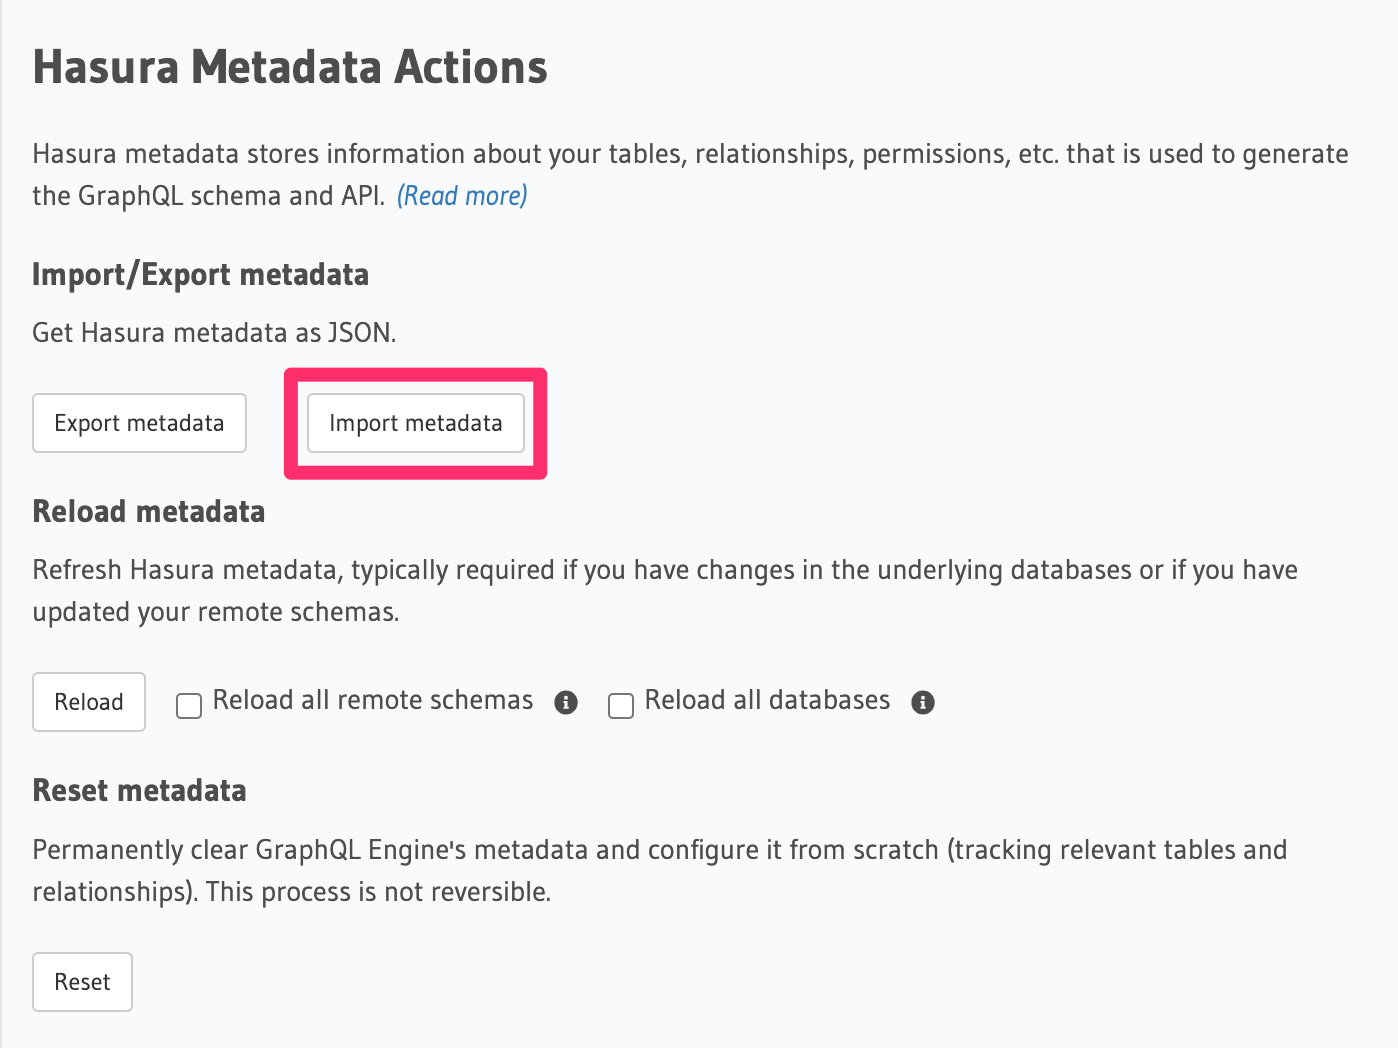
Click on
Import Metadatabutton.
Choose a
hasura_metadata.jsonfile that was exported earlier.A notification should appear indicating the success or error.
The exported JSON can be imported via the replace_metadata metadata API.
Here is an example using curl:
curl -d '{"type":"replace_metadata", "args":'"$(cat hasura_metadata.json)"'}' http://localhost:8080/v1/metadata
This command reads the hasura_metadata.json file and makes a POST request to replace the Metadata. If an admin secret
is set, add -H 'X-Hasura-Admin-Secret: <YOUR_ADMIN_SECRET>' as the API is an admin-only API:
curl -H "X-Hasura-Admin-Secret: <YOUR_ADMIN_SECRET>" -d '{"type":"replace_metadata", "args":'"$(cat hasura_metadata.json)"'}' http://localhost:8080/v1/metadata
All the dependent objects, like tables, views, custom functions etc. should exist on the database before importing the Metadata. Otherwise, it will result in an error saying the object does not exist. So, apply the database Migration schema first, before apply the Metadata.
Roll back Hasura Metadata
As Hasura Metadata is Managed via snapshots of whole of the Metadata, to roll it back to a particular state you need the Metadata snapshot at that point which you would typically achieve by checking out stable checkpoints of a project in version control.
Reload Hasura Metadata
In some cases, the Metadata can be out of sync with the database schema. For example, when a new column has been added
to a table via an external tool such as psql.
- CLI
- Console
- API
Metadata can be reloaded with the hasura metadata reload command.
# in project directory
hasura metadata reload
CLI will log:
INFO Metadata reloaded
INFO Metadata is consistent
Click on the settings ⚙ icon at the top right corner of the Console screen.
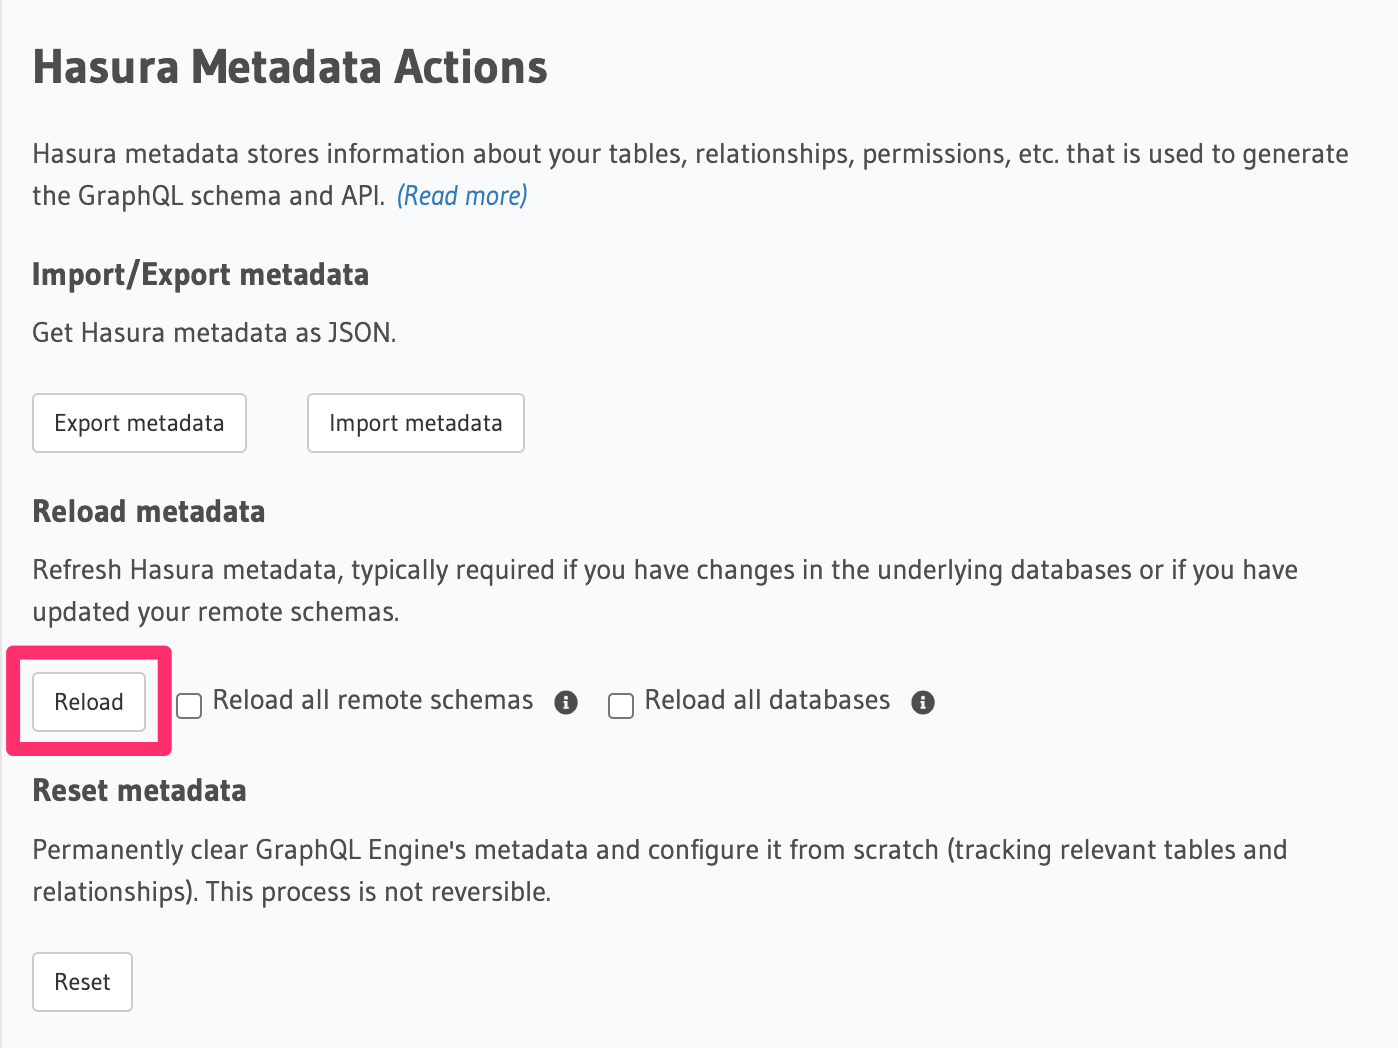
Click on
Reloadbutton.
A notification should appear indicating success.
The reload of Metadata can be done via the reload_metadata Metadata API.
Here is an example using curl:
curl -d'{"type": "reload_metadata", "args": {}}' http://localhost:8080/v1/metadata
If an admin secret is set, add -H 'X-Hasura-Admin-Secret: [your-admin-secret]' as the API is an admin-only API.
Reloading may result in an inconsistent metadata status. You may need to
resolve all inconsistent objects manually or
delete them. After that, you will need to reload Metadata again.
Clear Hasura Metadata
Clearing the Hasura Metadata is an irreversible process. It is highly recommended to first export the Metadata as a backup so that it can be reapplied if necessary or else that information will be lost and Hasura will have to be configured again from scratch (e.g. tables tracking, relationships, triggers, actions, etc.).
- CLI
- Console
- API
Metadata can be cleared with the hasura metadata clear command.
hasura metadata clear
CLI will log:
INFO Metadata cleared
Click on the settings ⚙ icon at the top right corner of the Console screen.
Click on
Resetbutton.
A pop-up will appear prompting you to confirm the process.
A notification should appear indicating success.
The clearing of Metadata can be done via the clear_metadata Metadata API.
Here is an example using curl:
curl -d'{"type": "clear_metadata", "args": {}}' http://localhost:8080/v1/metadata
If an admin secret is set, add -H 'X-Hasura-Admin-Secret: [your-admin-secret]' as the API is an admin-only API.
Metadata Inconsistencies
Metadata should always be consistent against the underlying database schemas. When it's not, Hasura will mark the
Metadata objects as inconsistent. You can learn more about Metadata inconsistencies on
this page.
Diff Metadata
The Hasura CLI includes a tool to show a highlighted diff between two sets of Metadata.
If no arguments are given it will diff the server endpoint Metadata and the Metadata in the current project directory
hasura metadata diff
You can provide the tool with two Metadata folders to diff.
hasura metadata diff folder1 folder2
Auto-Applying Metadata in CI/CD
If you need an automated way of applying Migrations and Metadata, take a look at the cli-migrations Docker image, which can automatically apply Migrations and Metadata when the Hasura Server starts. Check out more information here.