One Click Deploy to Hasura Cloud
Introduction
One Click Deploy to Hasura Cloud enables you to instantly deploy a Hasura application from a public GitHub repository to Hasura Cloud. This feature can be used to share Hasura applications with Metadata, Migrations and Seeds with anyone and they can try them out instantly on Hasura Cloud.
- Try deploying some sample apps from the Hasura Hub.
- Create a One Click Deploy app to share your Hasura application.
How it works
On initiating a One Click Deploy to Hasura Cloud workflow a new Hasura Cloud Project is spun up for you, the source repository is cloned and Migrations, Metadata and seeds from it are applied to the created Hasura Cloud Project. You will then be able to try out queries from the Hasura Console of the project. Environment variables, such as database connection strings, required for the app to be set up are requested during the project setup workflow.
See the detailed steps in the workflow below:
Step 1: Initiate the One Click Deploy to Hasura Cloud workflow
Click a Deploy to Hasura Cloud button or navigate to a One Click Deploy URL to initiate a One Click Deploy to Hasura
Cloud workflow.
One Click Deploy URL
A One Click Deploy to Hasura Cloud URL follows the following format:
https://cloud.hasura.io/deploy?github_repo=<github-repo-link
  >&hasura_dir=<hasura-dir-path>&branch=<branch-name></branch-name></hasura-dir-path
></github-repo-link>
- Base URL:
https://cloud.hasura.io/deploy - URL Params:
github_repo: URL of the GitHub repository containing the Hasura assets e.g.https://github.com/hasura/data-hubhasura_dir: Path to the directory in the repository containing the Hasura assets e.g.data-models/postgres/ecommerce/hasurabranch: (optional) Branch in the repository from which the assets are picked. If not provided, the default branch of the repository is used.
One Click Deploy button
The One Click Deploy URL is typically linked to a Deploy to Hasura Cloud button shown below which can be clicked to
initiate a One Click Deploy workflow:

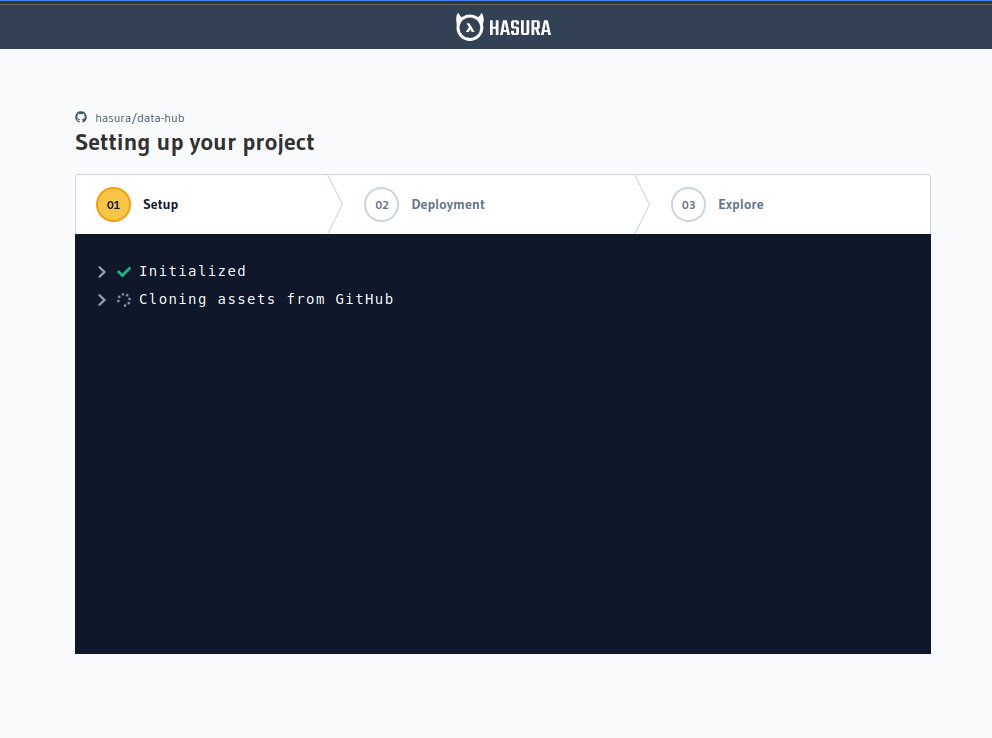
Step 2: Create Hasura Cloud Project
Once you initiate the deployment workflow, we'll auto-generate a new Hasura Cloud Project for the deployment of your app.

Once the Project is created, you will be redirected to the Project's Console for the next steps.
Step 3: Clone assets from GitHub
Next, we clone the Hasura assets, i.e. Metadata, Migrations and seeds, from the source GitHub repository to be applied on your Project.
Step 4: Set Environment Variables
If the app you're deploying requires environment variables, like database connection strings, we'll prompt you to enter those before the assets can be applied

If the app requires a Postgres database, you can create and connect to a free new Neon Postgres database by clicking
Create New Database. You can also connect an existing database by clicking Connect Existing Database.
After populating the environment variables as required, click on Set Environment Variables to proceed.
Step 5: Apply Migrations, Metadata and Seeds
Next, the Hasura assets, i.e. Metadata, Migrations and seeds, are applied on your Project to complete the application setup.
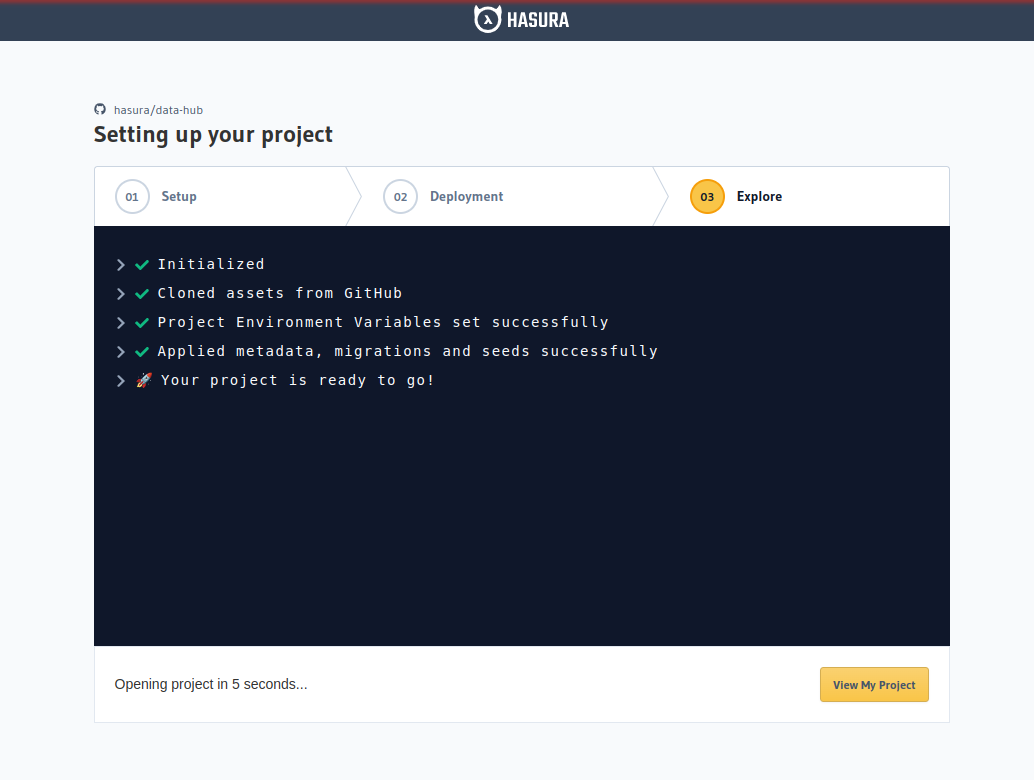
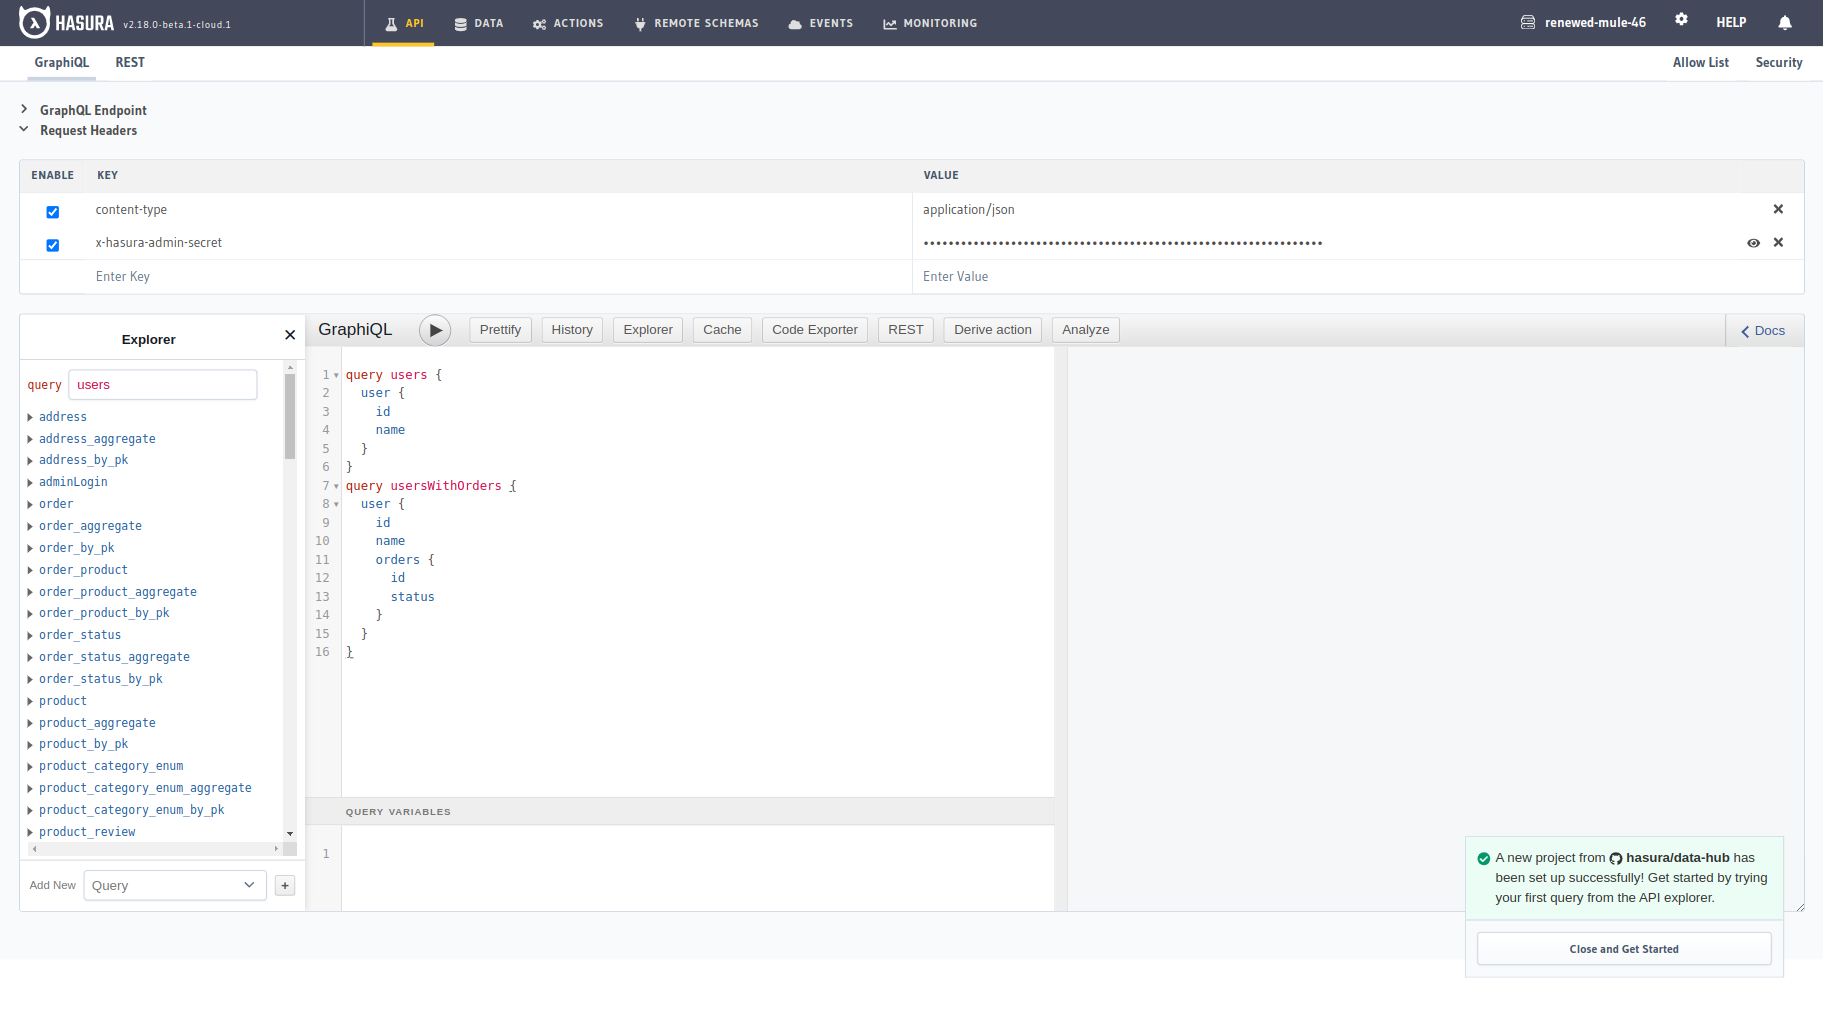
Step 6: Explore!!
Your Hasura Cloud App deployment is now complete!
Play around and explore the capabilities of the Hasura GraphQL Engine's pre-generated GraphQL queries. To get started, try running a few queries from the Hasura Console to interact with the data. See more information on GraphQL queries generated by Hasura here.
Troubleshooting
Failed cloning assets from GitHub
- There might be an intermittent issue with connecting to GitHub. Retrying should typically fix this.
Failed setting Environment Variables for the project
- Confirm the env vars entered are of the expected format.
- This could be an intermittent issue. Retrying should typically fix this.
Applying migrations failed
- There might be an issue with your database connection. Please check if the database URL entered is accurate. You can
see the env vars set for your project on the Env vars page. In case the
provided env var is not correct, update its value and hit
Launch consoleto continue the One Click Deploy workflow. - If an existing database is connected, there might be a conflict between the existing schema and the schema being deployed by the One Click Deploy workflow. In this case, either connect another database or update the connected database's schema to not conflict with the app schema. You can update the database connection env vars for your project on the Env vars page.