


Action relationships
Table of contents
Introduction
Action relationships allow you to join data across tables and actions. Once you create relationships between types from your database and types created from actions, you can then “join” them by running GraphQL queries.
Actions are a way to extend Hasura’s schema with custom business logic using custom queries and mutations. The resolvers for these custom fields are written in REST endpoints. They are especially useful for setting up serverless functions as resolvers.
Create an action relationship
Step 0: Create an action
Create an action either from scratch or derived from an existing mutation.
Step 1: Open the action relationship section
- From your action, go to the
Relationshipstab. - Click
Add a relationship.
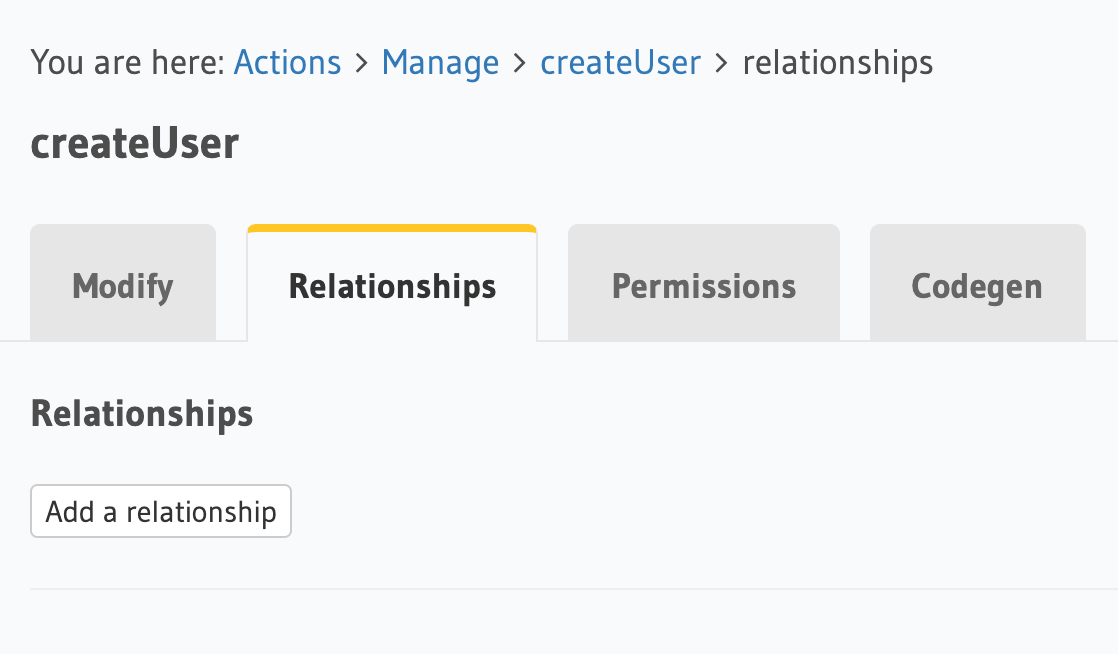
In this example, we’re creating a relationship for the createUser action.
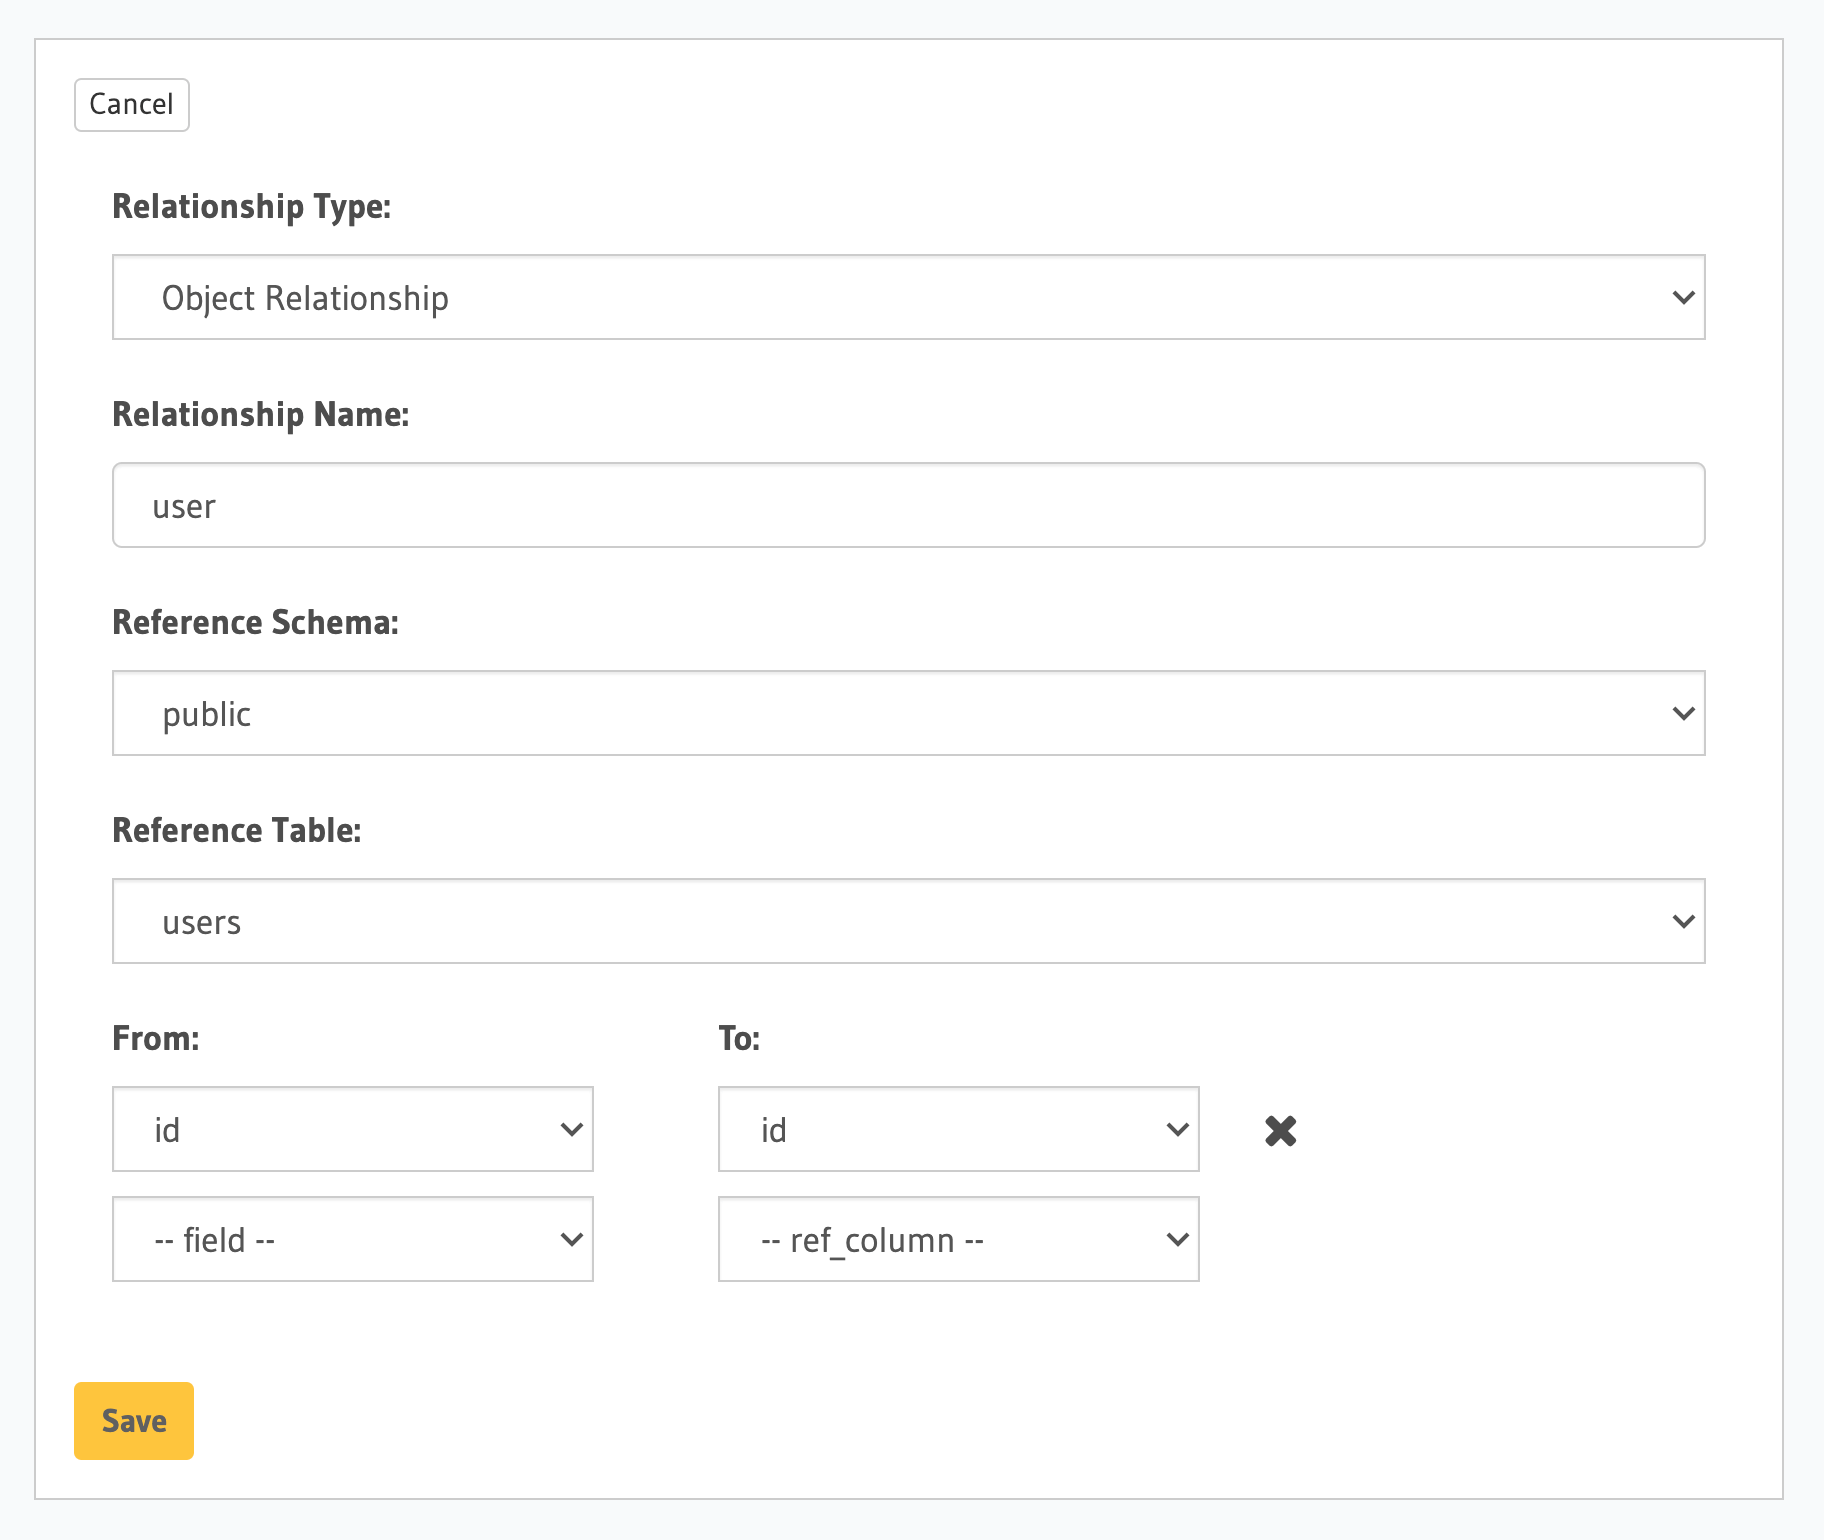
Step 2: Define the relationship
The following values can be defined for an action relationship:
- Relationship type: Select a type of relationship.
- Object relationship: For one-to-one relationships.
- Array relationship: For one-to-many relationships.
- Relationship name: Create a name for the relationship.
- Reference schema: Select a reference schema from your database.
- Reference table: Select a table from your database.
- From: Select a field returned in the action response.
- To: Select a column from the reference table to join the field to.
In the section opened by the above step, fill out the following fields:
You can add an action relationship by adding it to the respective custom type in the actions.yaml file inside the metadata directory:
- custom_types
  - objects
    - name: UserOutput
      relationships:
      - remote_table:
          schema: public
          name: users
        name: user
        type: object
        field_mapping:
          id: id
Apply the metadata by running:
hasura metadata apply
You can create an action relationship when defining custom types via the set_custom_types metadata API:
POST /v1/query HTTP/1.1
Content-Type: application/json
X-Hasura-Role: admin

{
  "type": "set_custom_types",
  "args": {
    "scalars": [],
    "enums": [],
    "input_objects": [],
    "objects": [
      {
        "name": "UserOutput",
        "fields": [
          {
            "name": "id",
            "type": "Int!"
          }
        ],
        "relationships": [
          {
            "name": "user",
            "type": "object",
            "remote_table": "users",
            "field_mapping": {
              "id": "id"
            }
          }
        ]
      }
    ]
  }
}
In this example, we’re creating a relationship called user, from the id field returned in the action response, to the id column of the users table.
Step 3: Explore with GraphiQL
In the GraphiQL tab, test out your action relationship.
mutation {
  createUser(name: "Hodor") {
    id
    user {
      name
      auth0_id
    }
  }
}
If your table has an existing remote relationship, you can also query the fields from the remote schema.
mutation {
  createUser(name: "Hodor") {
    id
    user {
      name
      auth0_id
      auth0_profile {
        email
        nickname
        last_login
      }
    }
  }
}
In the Remote schema relationships section, we joined our users table with a remote Auth0 schema. Here, we’re able to get the Auth0 profile data of the user returned from our action.
 Thank you for subscribing to our newsletter!