Installing PostgreSQL
Before we dive in to the core concepts, we will install Postgres on the local machine to try out all the SQL statements given in examples. There are multiple ways to set up Postgres, but for this tutorial we will focus on local development and one Cloud alternative.
Setup Postgres locally using Docker
We can make use of docker-compose to install Postgres locally
Create a new file called compose.yaml and copy the contents below:
version: '3.6'services:postgres:image: postgres:13.3restart: alwaysports:- "5432:5432"volumes:- db_data:/var/lib/postgresql/dataenvironment:POSTGRES_PASSWORD: postgrespasswordvolumes:db_data:
In your terminal, execute the following command:
docker-compose up -d
Now you can check if the above command was successful, by executing the following command:
docker ps
This should give an output which should look something like this:
CONTAINER ID IMAGE COMMAND CREATED STATUS PORTS NAMES2aa0954cd3e0 postgres:13.3 "docker-entrypoint.s…" 12 seconds ago Up 5 seconds 0.0.0.0:5432->5432/tcp, :::5432->5432/tcp postgres_1
If the status is up, then Postgres is ready to be connected. In the next step, we will look at how to connect to this instance.
Setup PostgreSQL via Heroku Postgres
Alternatively, you can also set up PostgreSQL via Heroku. Heroku has a free tier Postgres add-on that can be used for quick testing and of course can be later upgraded for production usage.
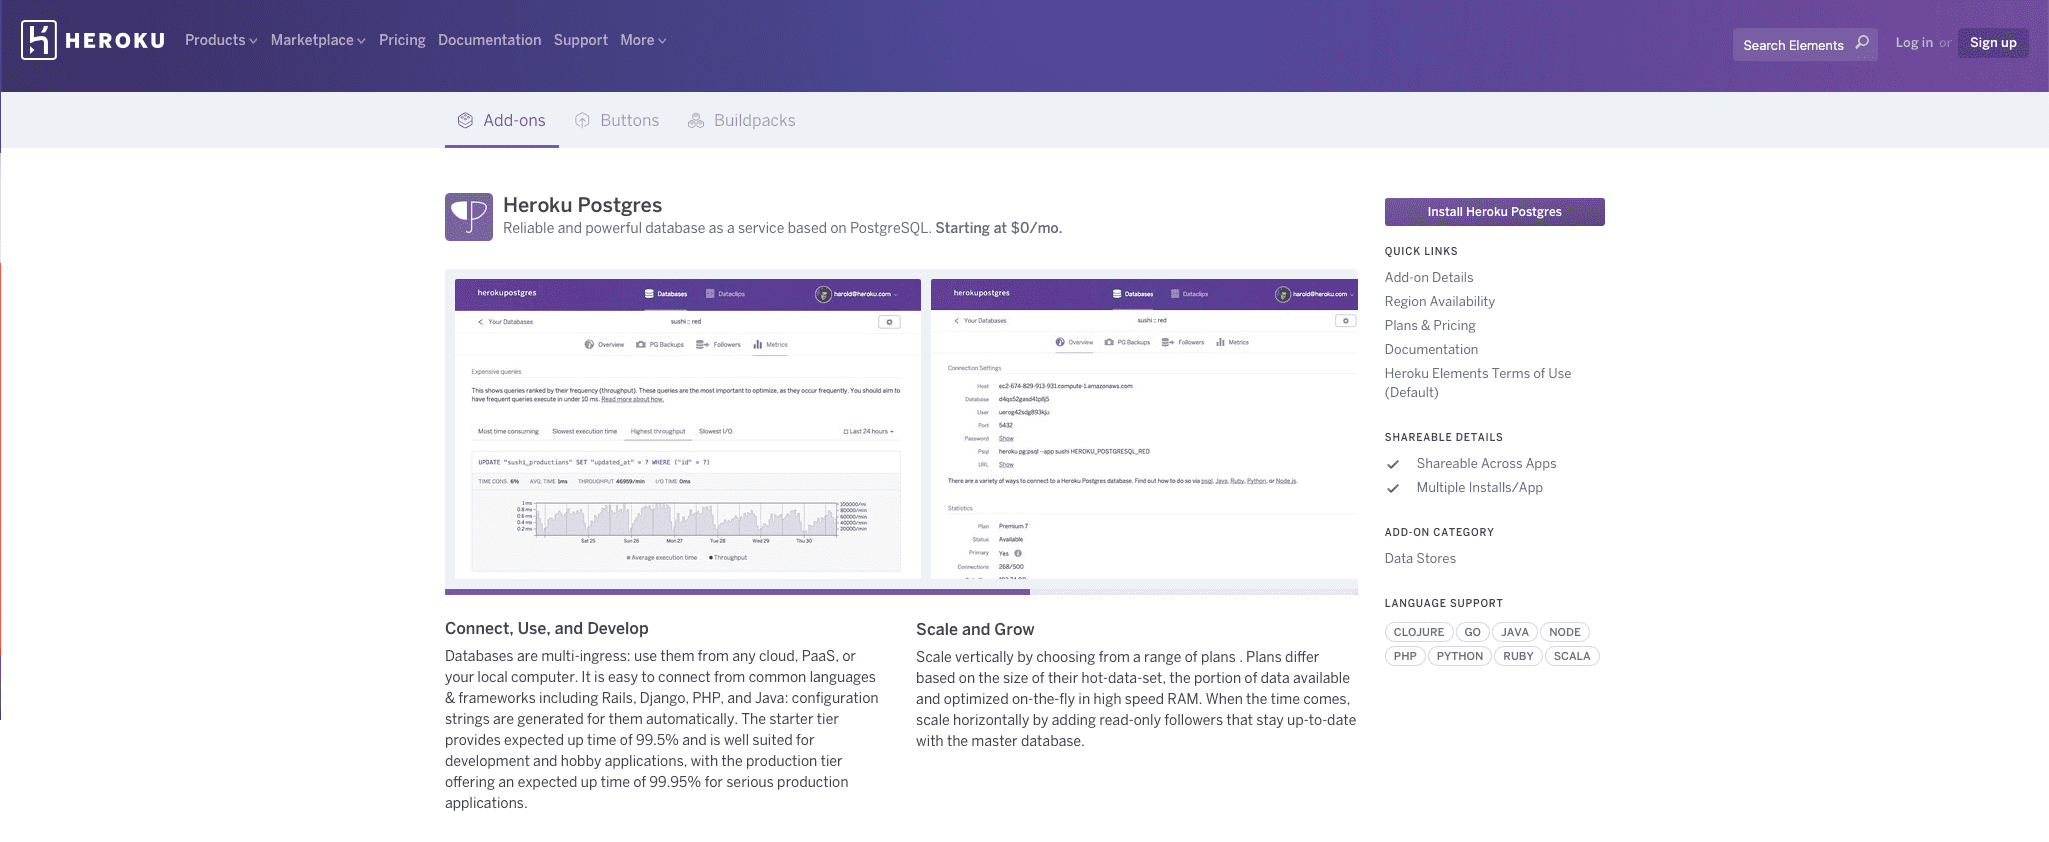
Head to Heroku Postgres Add-on page and click on Install Heroku Postgres button.

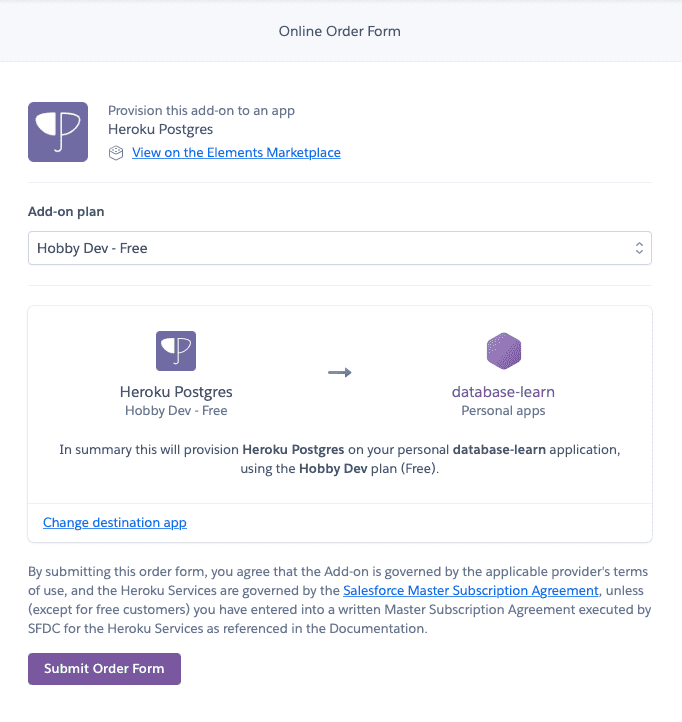
In the next step you will be asked to select an app in your Heroku account to provision the Postgres addon. In case you are new to Heroku or don't have an app created yet, you can head to Heroku Dashboard to create a new app and map that to your Postgres addon in the above step.

This will provision the database on the app you have selected.
Build apps and APIs 10x faster
Built-in authorization and caching
8x more performant than hand-rolled APIs


