


 Edit on GitHub
This course is no longer maintained and may be out-of-date. While it remains available for reference, its content may not reflect the latest updates, best practices, or supported features.
教程和样板设置
在本教程中,GraphQL后端和基本的应用程序用户界面已经准备就绪。我们的任务将是将“静态”用户界面转换为一个工作实时应用程序。
克隆并运行样板
- 克隆学习-graphql报告。在您的终端执行以下命令:
# make sure git version is >= v2.26git clone --filter=blob:none --sparse git@github.com:hasura/learn-graphql.gitcd learn-graphqlgit sparse-checkout init --conegit sparse-checkout add tutorials/frontend/react-apollo-hooks/app-boilerplate
- 导航至
app-boilerplate目录。
cd tutorials/frontend/react-apollo-hooks/app-boilerplate
安装依赖项并运行“静态”应用程序
npm installnpm start
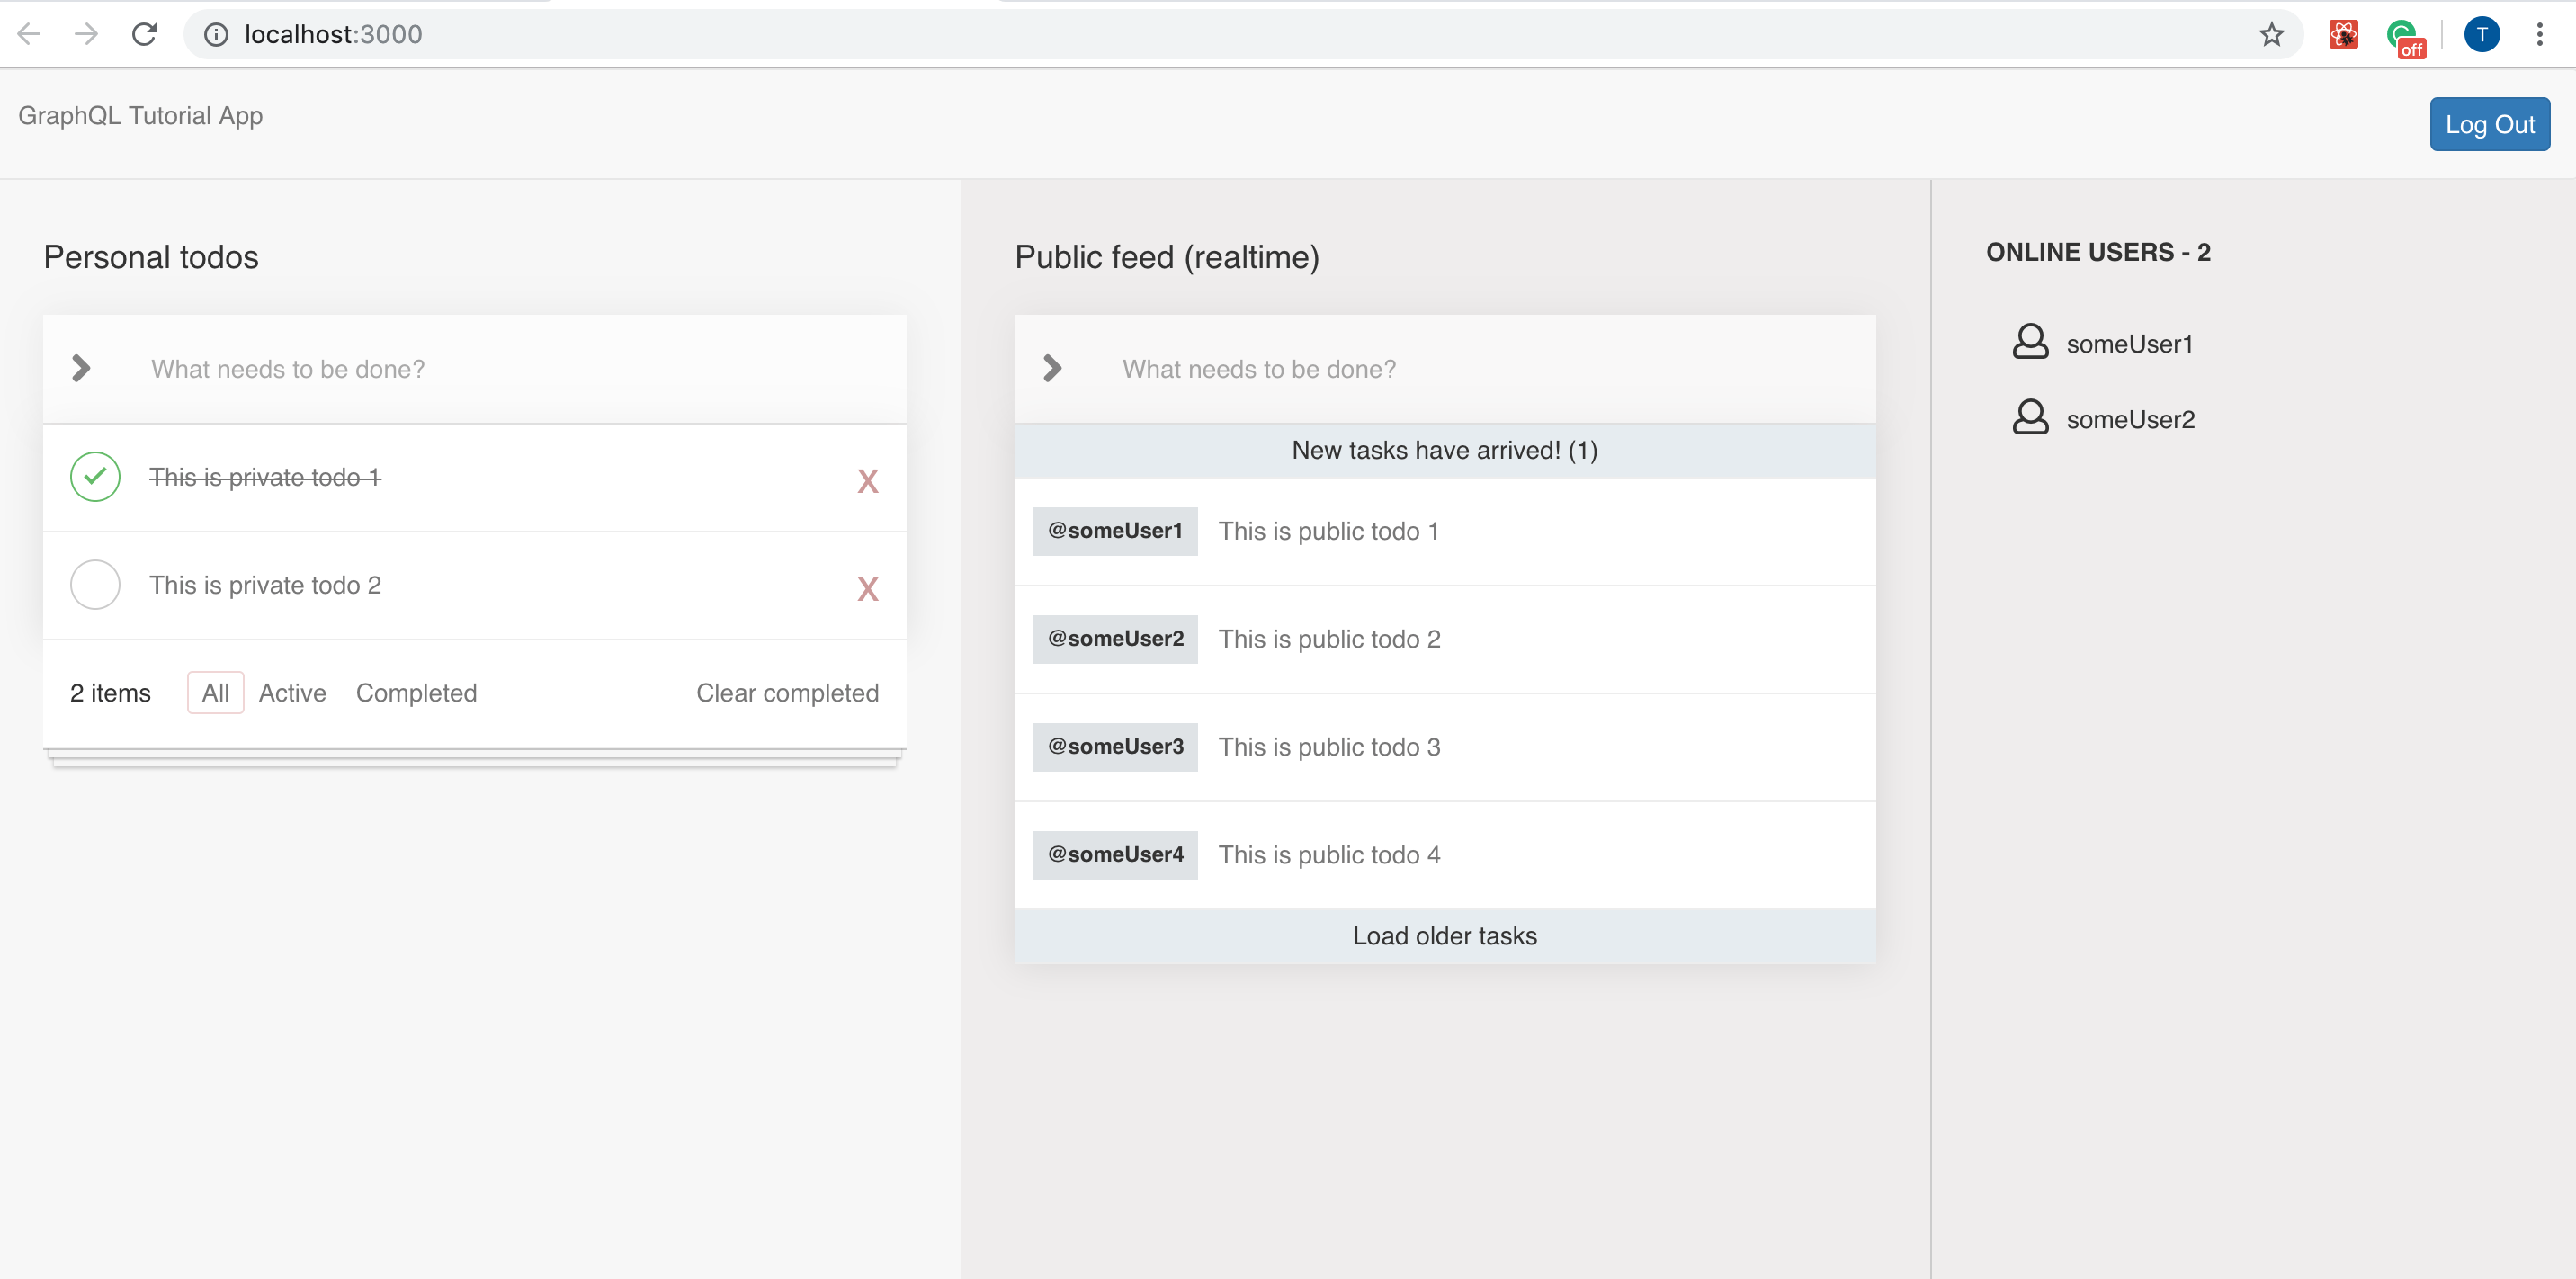
以用户身份注册/登录以加载待办事项应用程序页面
这就是在完成上述步骤后应该看到的:
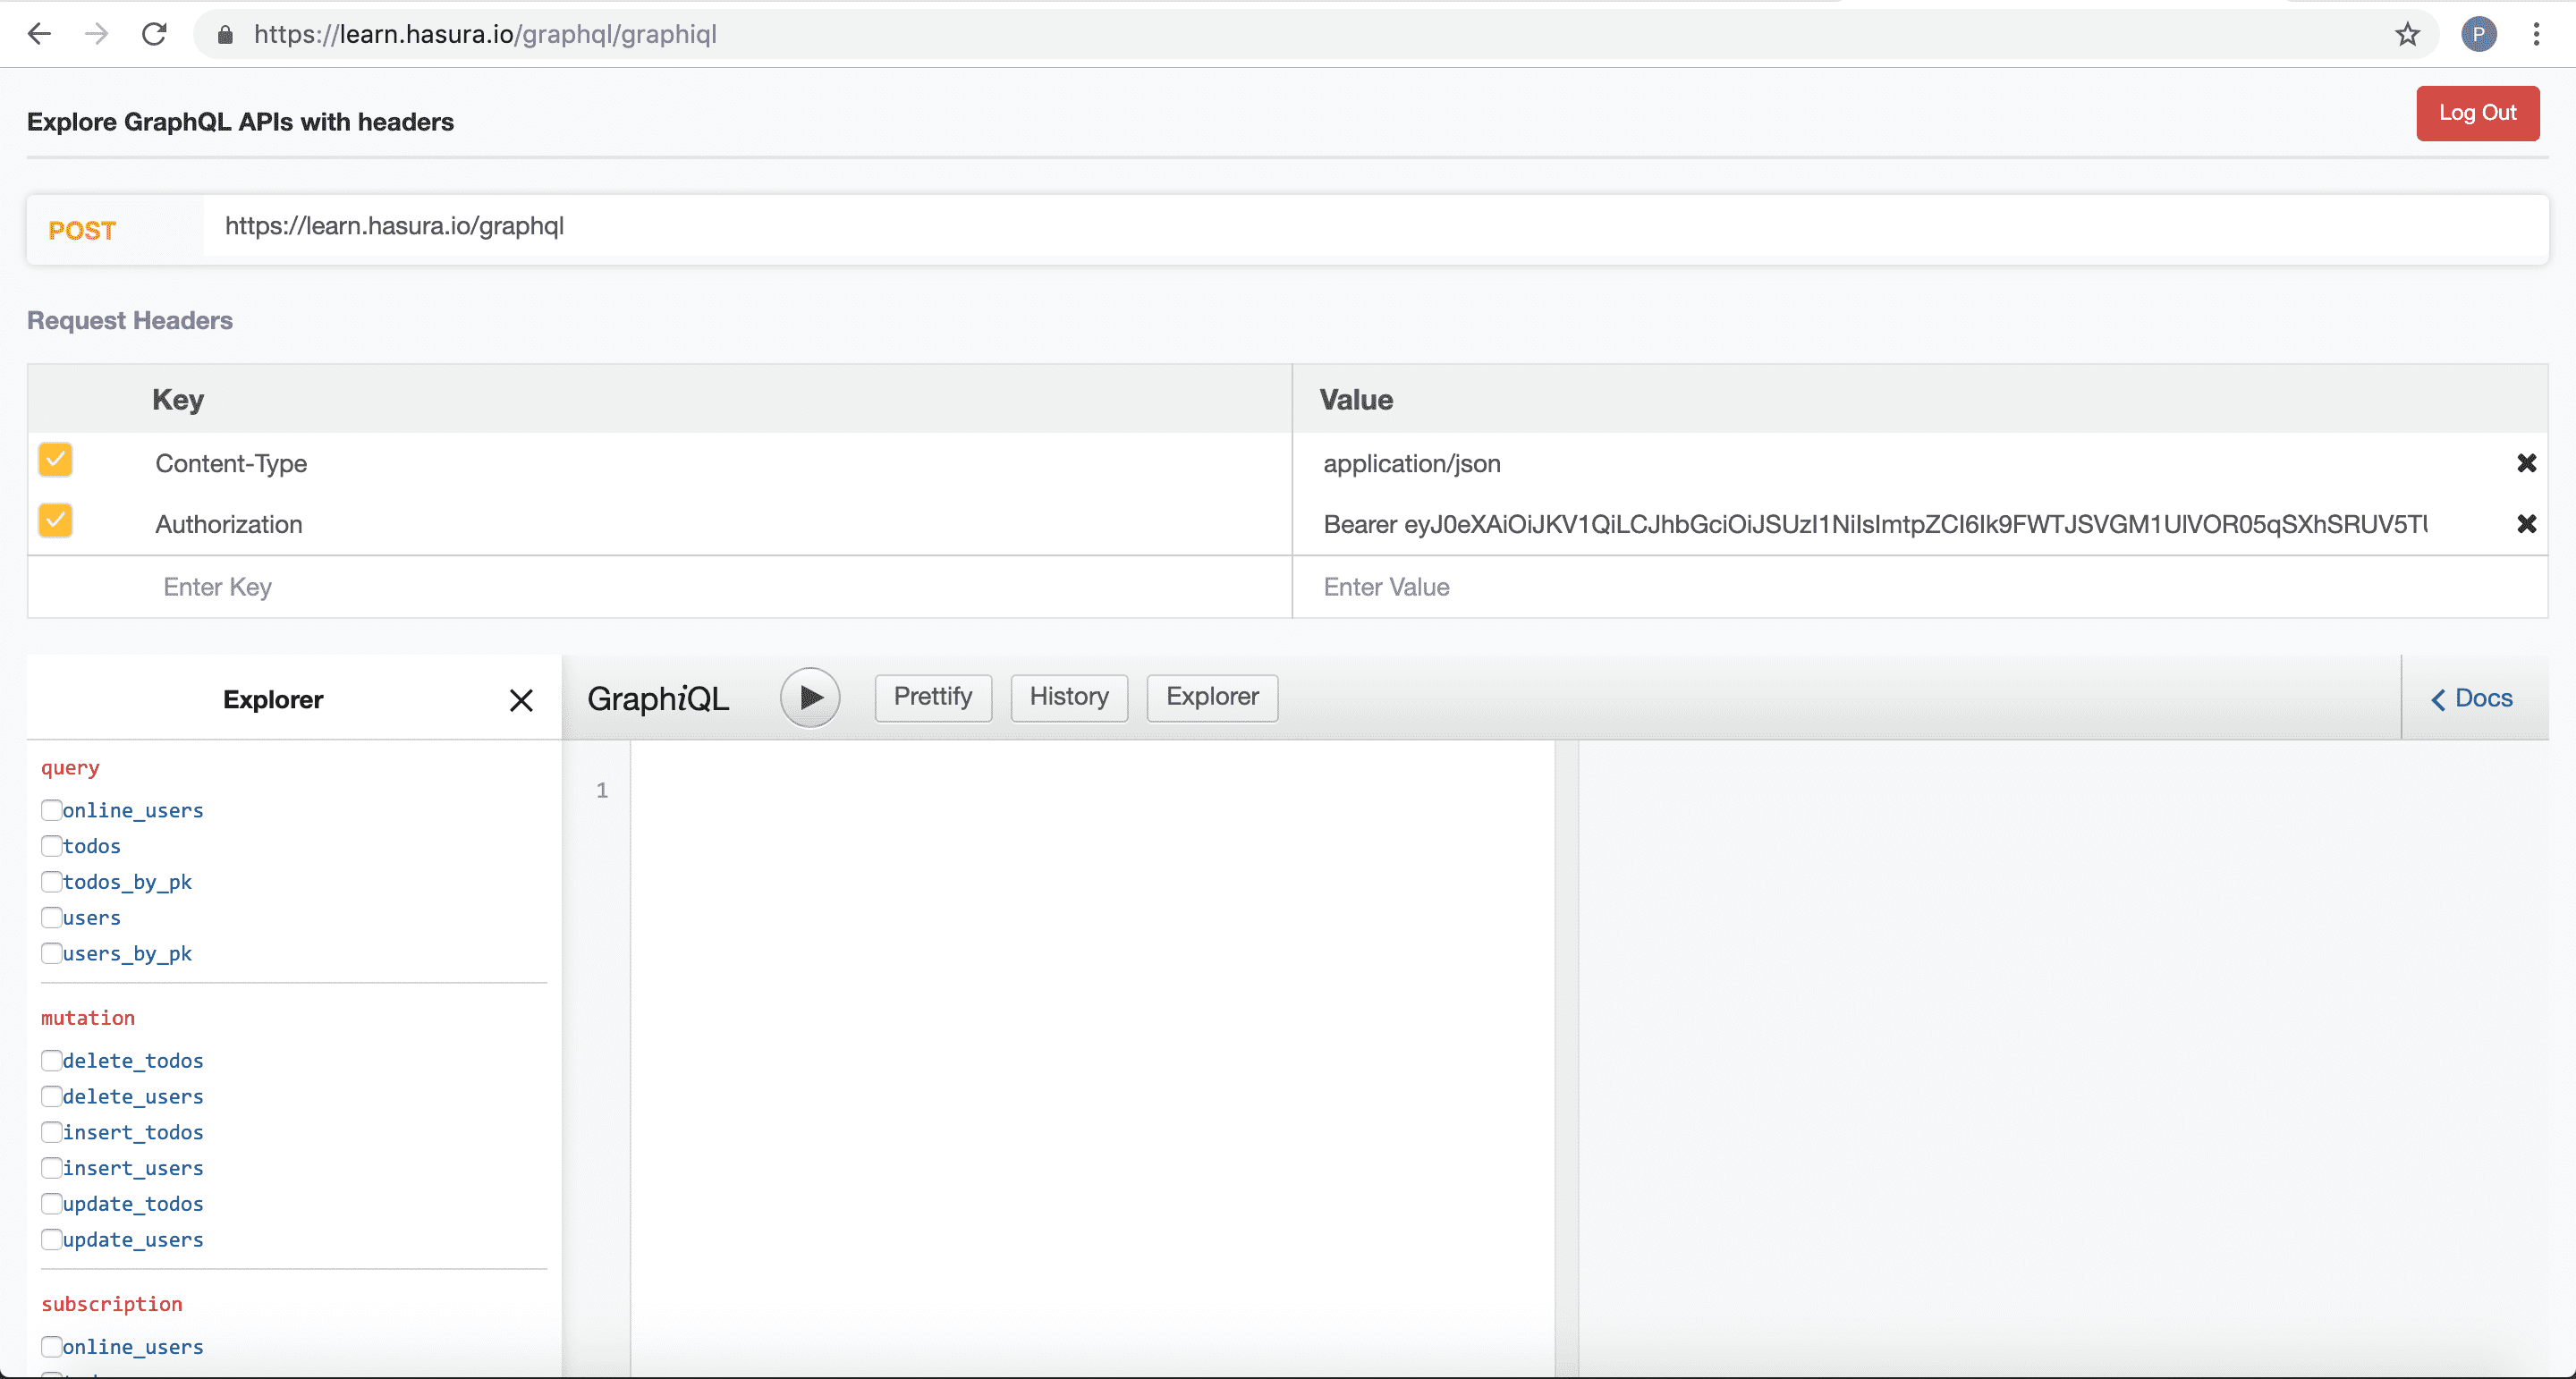
加载GraphiQL,玩转您的GraphQL APIs
- 前往https://hasura.io/learn/graphql/graphiql
- 登录(这样你就可以用一个有效的用户令牌来测试GraphQL API)
这就是在完成上述步骤后应该看到的:
GraphQL端点
在本教程中,我们将利用https://hasura.io/learn/graphql端点来提出我们的GraphQL请求。
现在,如果您想运行自己版本的上述 GraphQL 端点,你可以按照 Hasura 后端教程进行操作
- 部署 Hasura Cloud

- 设置 Hasura 后端
前往 Hasura 后端教程,并开始创建您自己的版本。
Did you find this page helpful?
Start with GraphQL on Hasura for Free
 Build apps and APIs 10x faster
- Built-in authorization and caching
- 8x more performant than hand-rolled APIs


© 2025 Hasura Inc. All rights reserved


