GraphQL with Postgres views and materialized views
Postgres views are awesome. You can link them to regular tables using relationships and then make a single nested query to fetch related data.

TL;DR
- Introduction to views — Views are basically virtual tables. There are a lot of advantages to using them.
- What makes working with views on Hasura GraphQL engine special? — The Hasura GraphQL engine is an open source tool that lets you setup your own GraphQL server over Postgres in minutes. Using the
graphql-engine, you get the ability to add views as relationships to tables or other views. This makes it extremely simple to fetch all the required data with a single query. - Example use-case — We put everything we discussed in the earlier sections to build a backend for a blog engine where authors can post articles and other authors can upvote this article. We try to model the database in a way that lets us get all of the data with a single query.
What are views in SQL?
Why are views useful?
- Helps encapsulate the details of the structure of your tables behind a consistent interface. It also lets you structure your data in an intuitive way.
- Provides more readability since a named query can set the context much faster than a raw SQL query. You can use a view instead of littering your client code base with complex queries.
- Views have separate permissions and hence can be used to restrict access to the tables such that users are only allowed to see specific rows and columns.
- Avoid making multiple queries and performing complex calculations on the client by specifying the logic in the DB. Querying a view is also much faster than making multiple queries on your client and then crunching the data.
Working with views on the Hasura GraphQL Engine
- Instant GraphQL APIs to store and retrieve data from tables and views.
- Ability to add a relationship between a view and a table. You can then query the table (or the view) and get the respective data from both the table as well as the view.
Example use-case
Feature set
- We will have a list of authors and each author will have articles that they can publish.
- Every article can be “upvoted” by other authors.
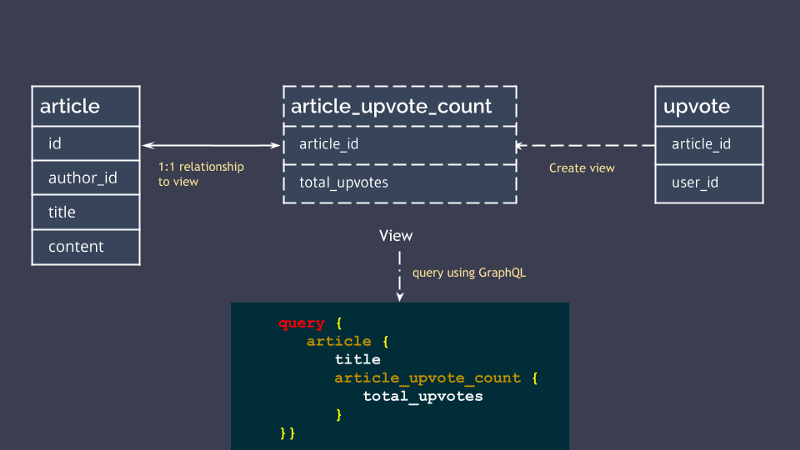
- We want the ability to fetch the list of articles by an author along with the total upvotes received by each article, in one query.
Execution overview
- An
authortable to store information about the authors. - An
articletable which stores the content of each article. - The upvotes will be tracked in the
upvotetable. - A
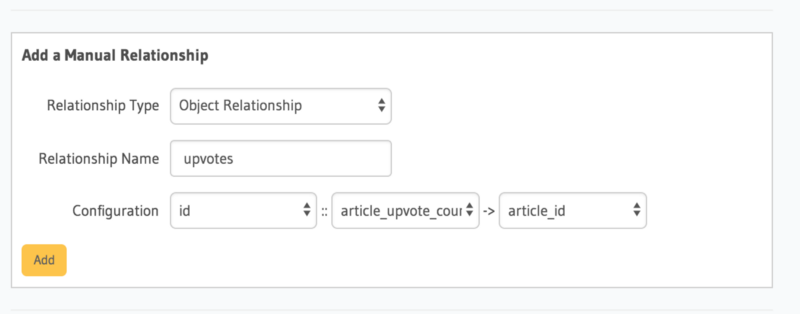
article_upvotes_countview which sums up all of the “upvotes” an article has received. Add an object relationship from the article table to the view. - Fetch the articles (along with the upvotes) for an author using the GraphQL APIs provided by Hasura.
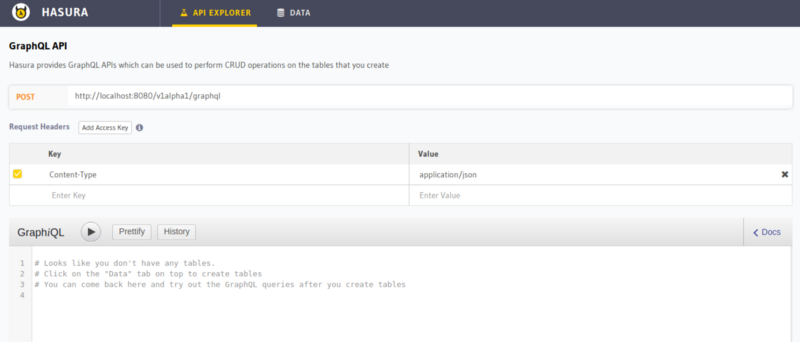
Getting GraphQL APIs over Postgres

Console

Creating tables
user_idInteger Primary KeyusernameText
idInteger (auto increment) Primary Keyauthor_idIntegertitleTextcontentTextcreated_atTimestamp Default now()
user_idIntegerarticle_idInteger- Compound Primary Key:
user_idandarticle_id
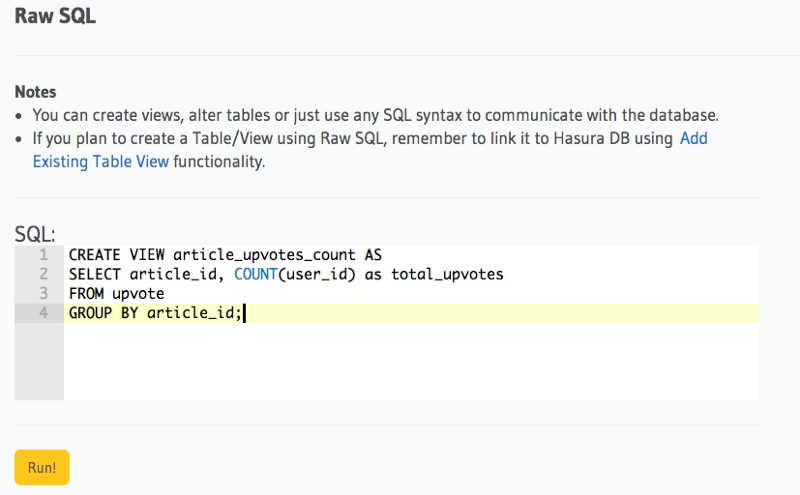
Creating a view
CREATE VIEW article_upvotes_count AS
SELECT article_id, COUNT(user_id) as total_upvotes
FROM upvote
GROUP BY article_id;
Fetching data from view
query {
  article_upvotes_count {
    article_id
    total_upvotes
  }
}
Creating a relationship between a table and a view

query fetch_articles_by_author {
  article (where: { author_id: 1 } order_by: ["-upvotes.total_upvotes"]) {
    id
    author_id
    title
    content
    created_at
    upvote {
      total_upvotes
    }
  }
}Related reading


