Edit on GitHub
This course is no longer maintained and may be out-of-date. While it remains available for reference, its content may not reflect the latest updates, best practices, or supported features.
Next.js Boilerplate Setup
For this tutorial, the GraphQL backend and the basic app UI is already ready. Our task will be to convert the "static" UI into a working realtime app in Next.js
Clone and run the boilerplate
- Clone the learn-graphql repo. Execute the following commands in your terminal:
# make sure git version is >= v2.26git clone --filter=blob:none --sparse git@github.com:hasura/learn-graphql.gitcd learn-graphqlgit sparse-checkout init --conegit sparse-checkout add tutorials/frontend/nextjs
- Navigate to the
app-boilerplatedirectory.
cd tutorials/frontend/nextjs/app-boilerplate
- Install dependencies and run the "static" app
yarn installyarn dev
Configure the environment variables
Copy the .env.example to .env and configure the values for Auth0.
The AUTH0_CLIENT_ID, AUTH0_DOMAIN, AUTH0_CLIENT_SECRET are available in your Auth0 application settings and SESSION_COOKIE_SECRET can be any random string of at least 32 characters and it is used to encrypt the cookie. Enter the Identifier found from your Auth0 API settings to AUTH0_AUDIENCE.
DOMAIN=http://localhost:3000AUTH0_CLIENT_ID=AUTH0_AUDIENCE=https://hasura.io/learnAUTH0_DOMAIN=AUTH0_CLIENT_SECRET=REDIRECT_URI=/api/callbackPOST_LOGOUT_REDIRECT_URI=http://localhost:3000/SESSION_COOKIE_SECRET=
Do note that, the value of AUTH0_DOMAIN should be a full URL including the https:// prefix as required.
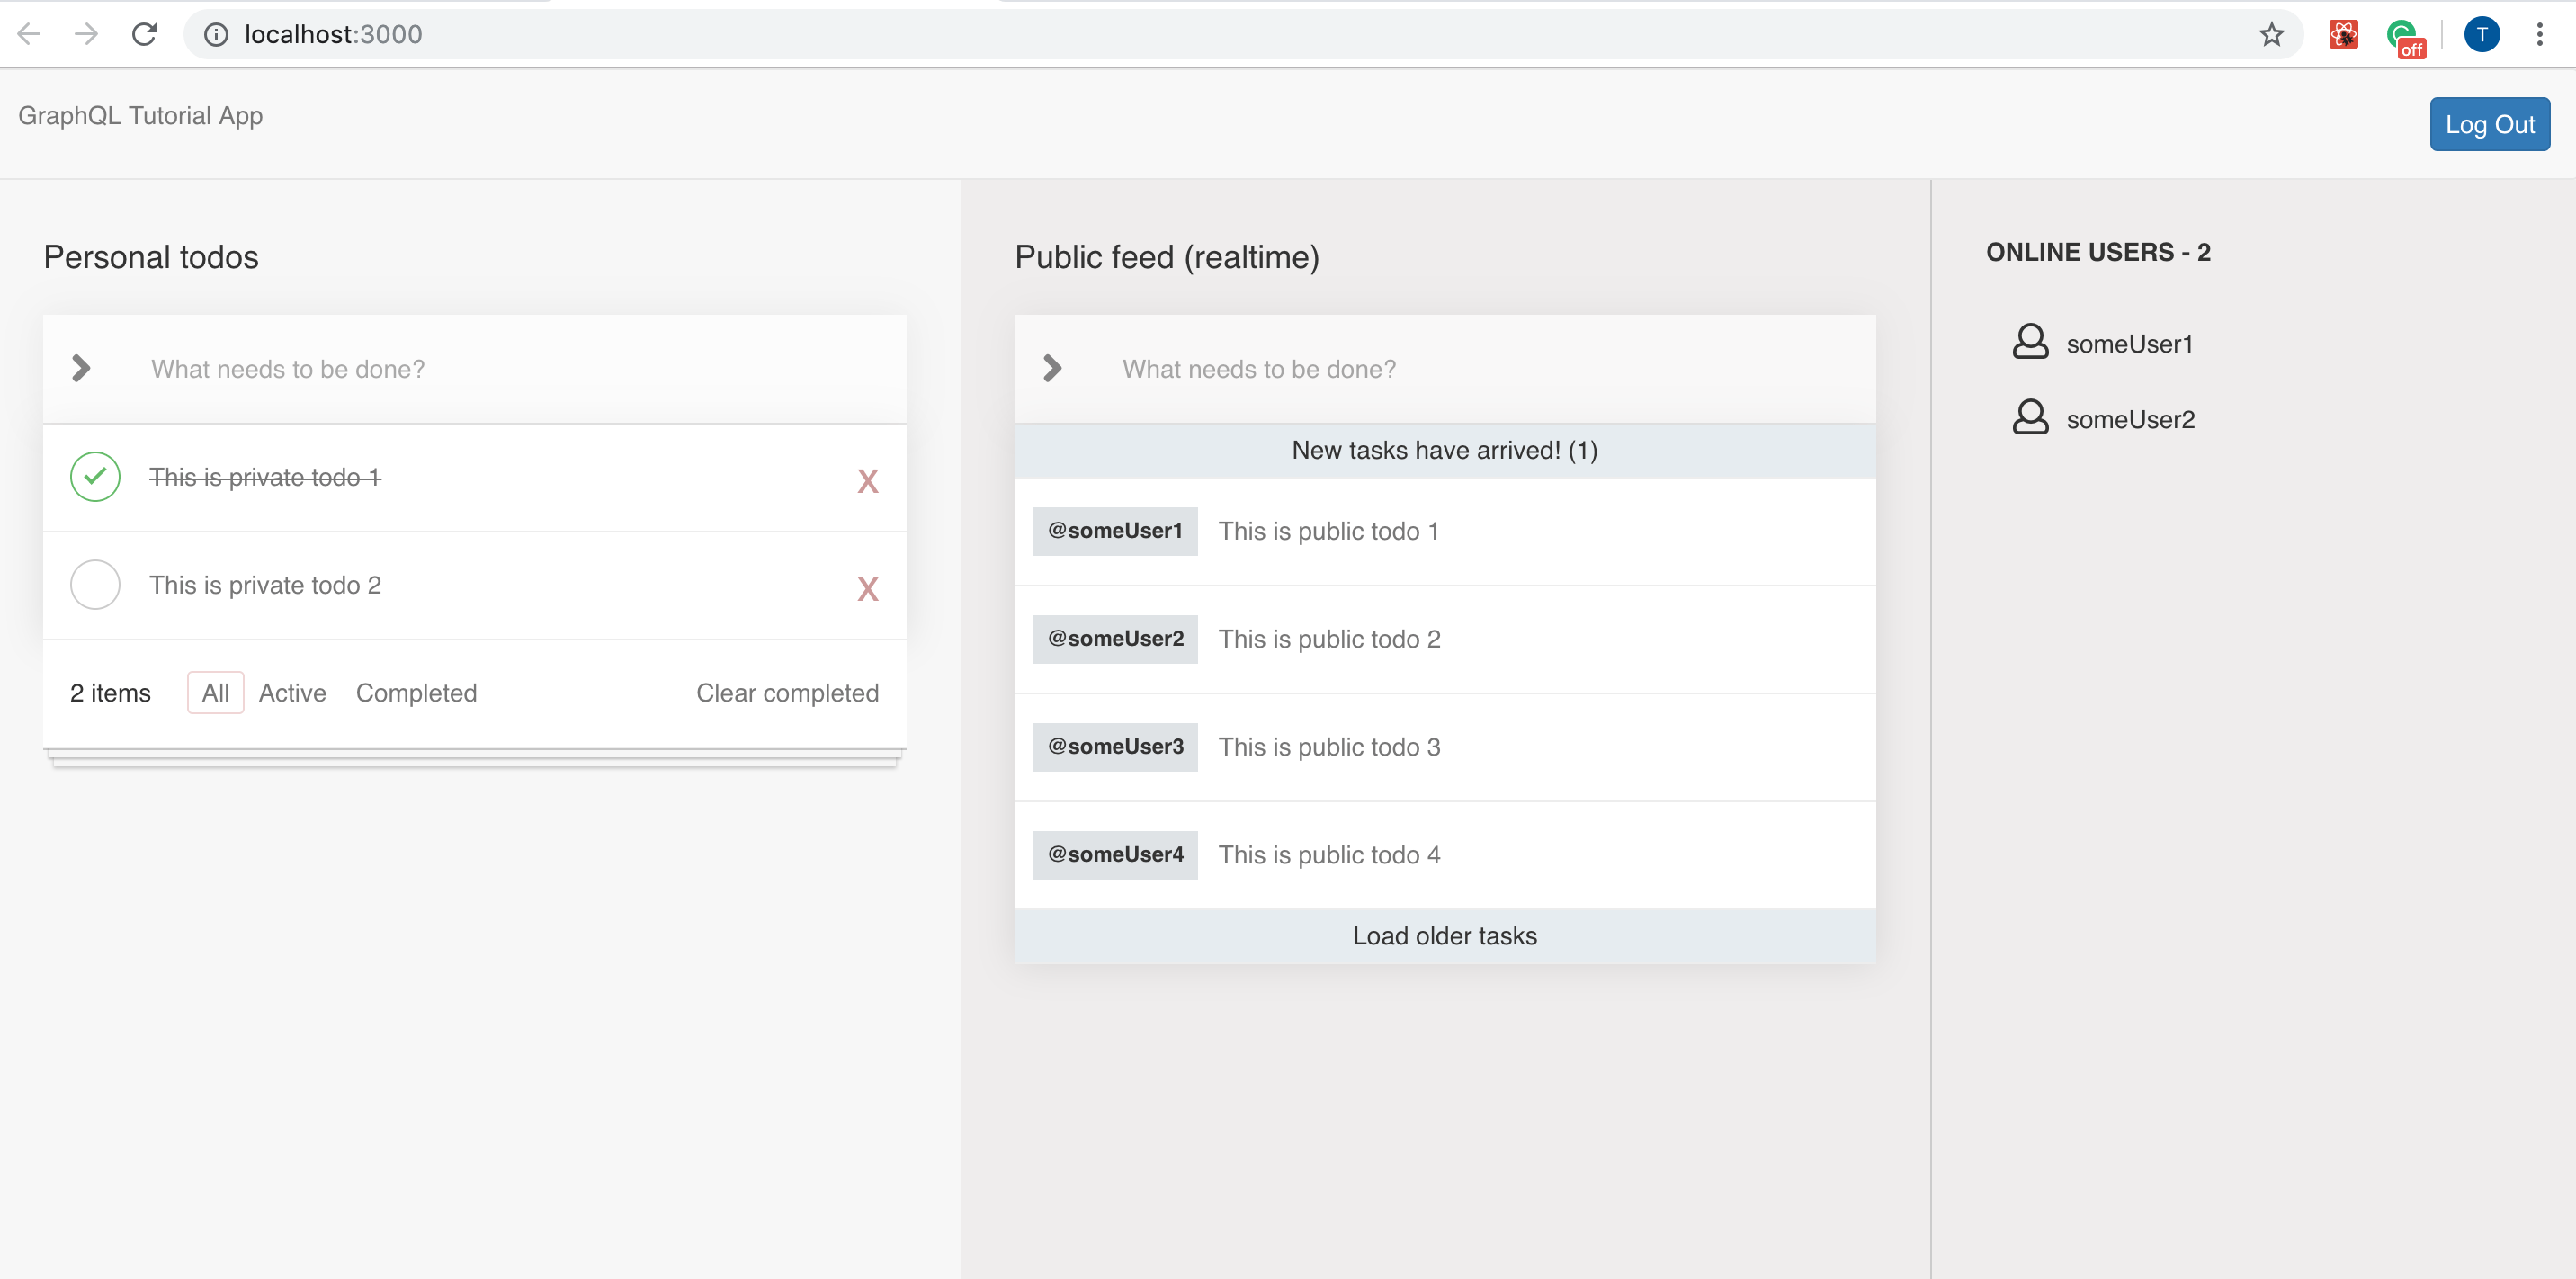
This is what you should see after the steps above:
 Build apps and APIs 10x faster
- Built-in authorization and caching
- 8x more performant than hand-rolled APIs