Edit on GitHub
This course is no longer maintained and may be out-of-date. While it remains available for reference, its content may not reflect the latest updates, best practices, or supported features.
Hasura Backend Setup
The first step in the tutorial is to setup the backend with Hasura and create the necessary data models.
Setup GraphQL Backend with Hasura
Let's start by deploying Hasura.
One-click deployment on Hasura Cloud
The fastest way to try out Hasura is via Hasura Cloud. Hasura Cloud gives you a scalable, highly available, globally distributed, fully managed, secure GraphQL API as a service!
Click on the following button to create a new project on Hasura Cloud:

Note: It is free to signup and no credit card is required.
Once you register and sign in, you should see the following welcome screen and a new Hasura project will be created automatically for you:
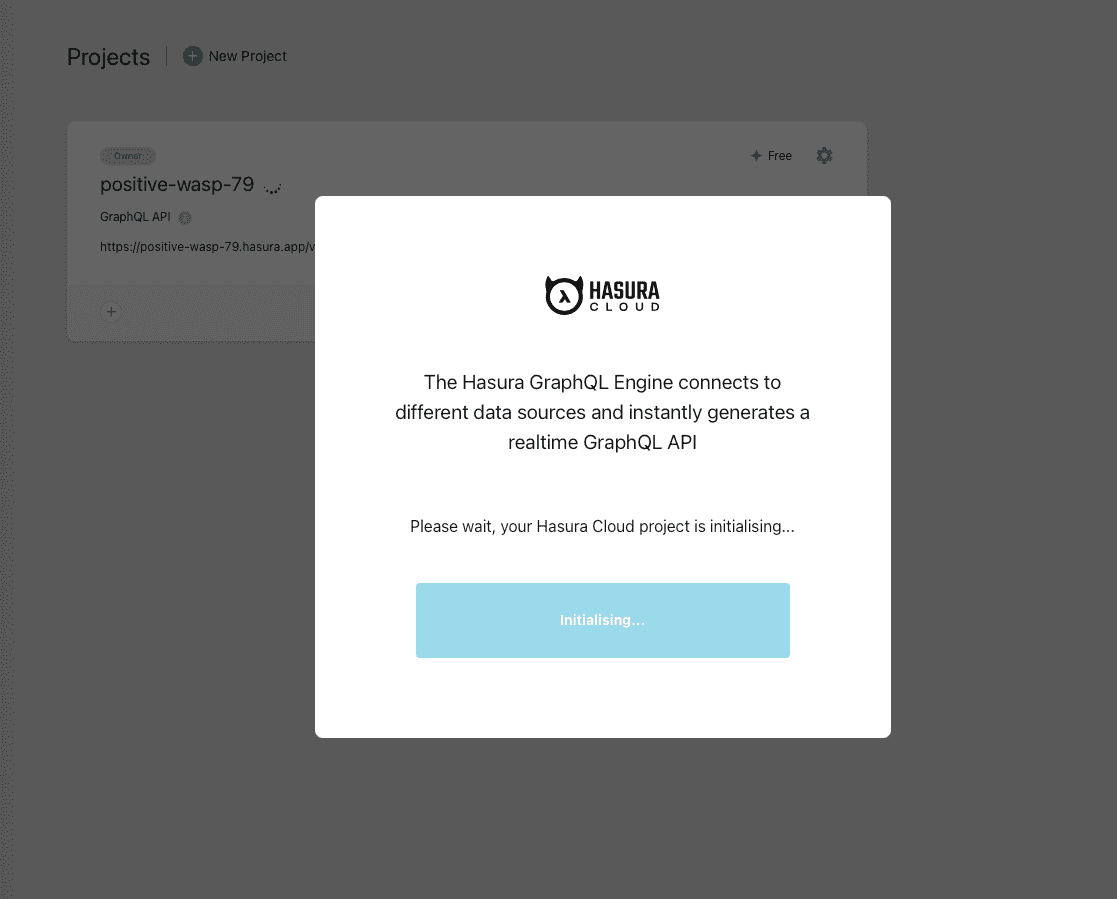
Once the project is initialised, you can click on Launch Console button on the pop up screen. If you already have a Hasura Cloud account before, you can manually create a new project by clicking on the + New Project action at the top, followed by Launch Console.
Hasura Console
This will open up Hasura Console for your project. It should look something like this:
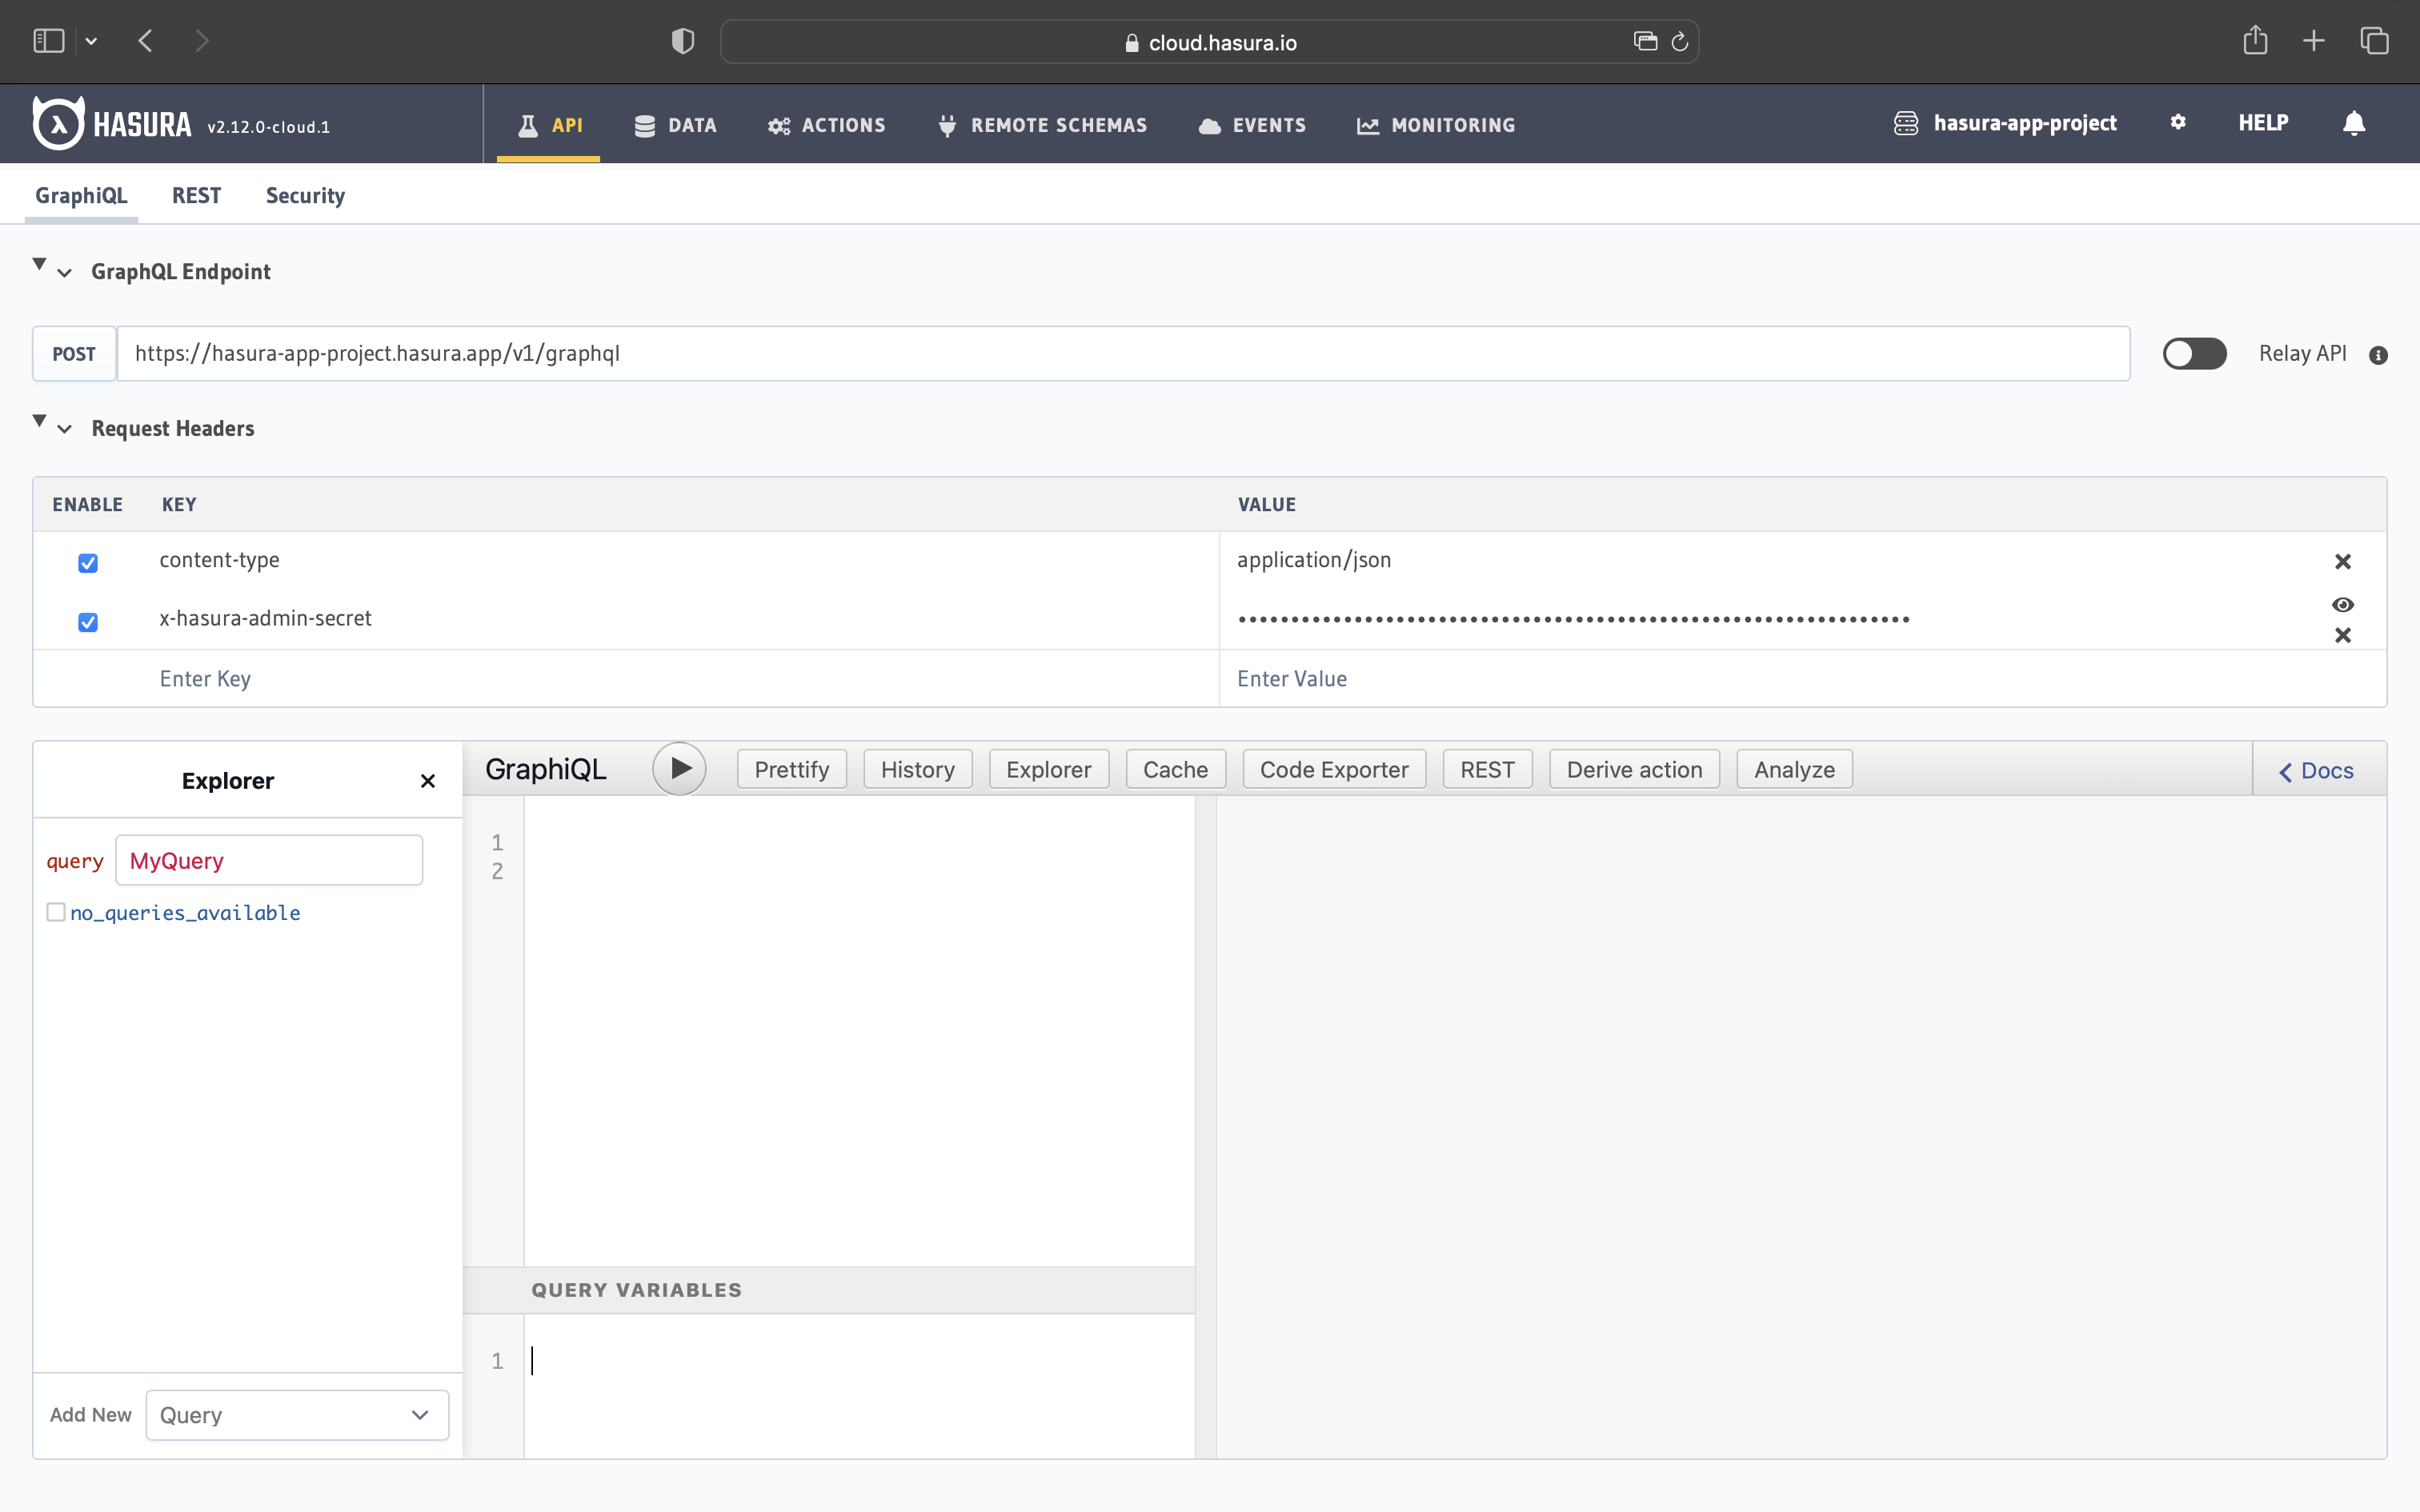
The next step is to connect the database to Hasura. We can make use of Neon's free Postgres database tier to set this up. Head to the Data tab on the Console and click on Connect Database.
We have two options to connect a database:
- Connect an existing database
- Create a new database (free)
To quickstart this process, we are going to create a new Postgres DB from scratch using Neon Postgres. Click on Create New Database (Free) tab. In this tab, you now have an option to click on the Connect Neon Database button. Note that Neon gives you 3 free Posgres database instances.

After logging in to Neon and clicking on Create Neon Database, Hasura Cloud will perform the following for you:
- Create a Postgres database on Neon
- Fetch database URL that you can use to configure Hasura
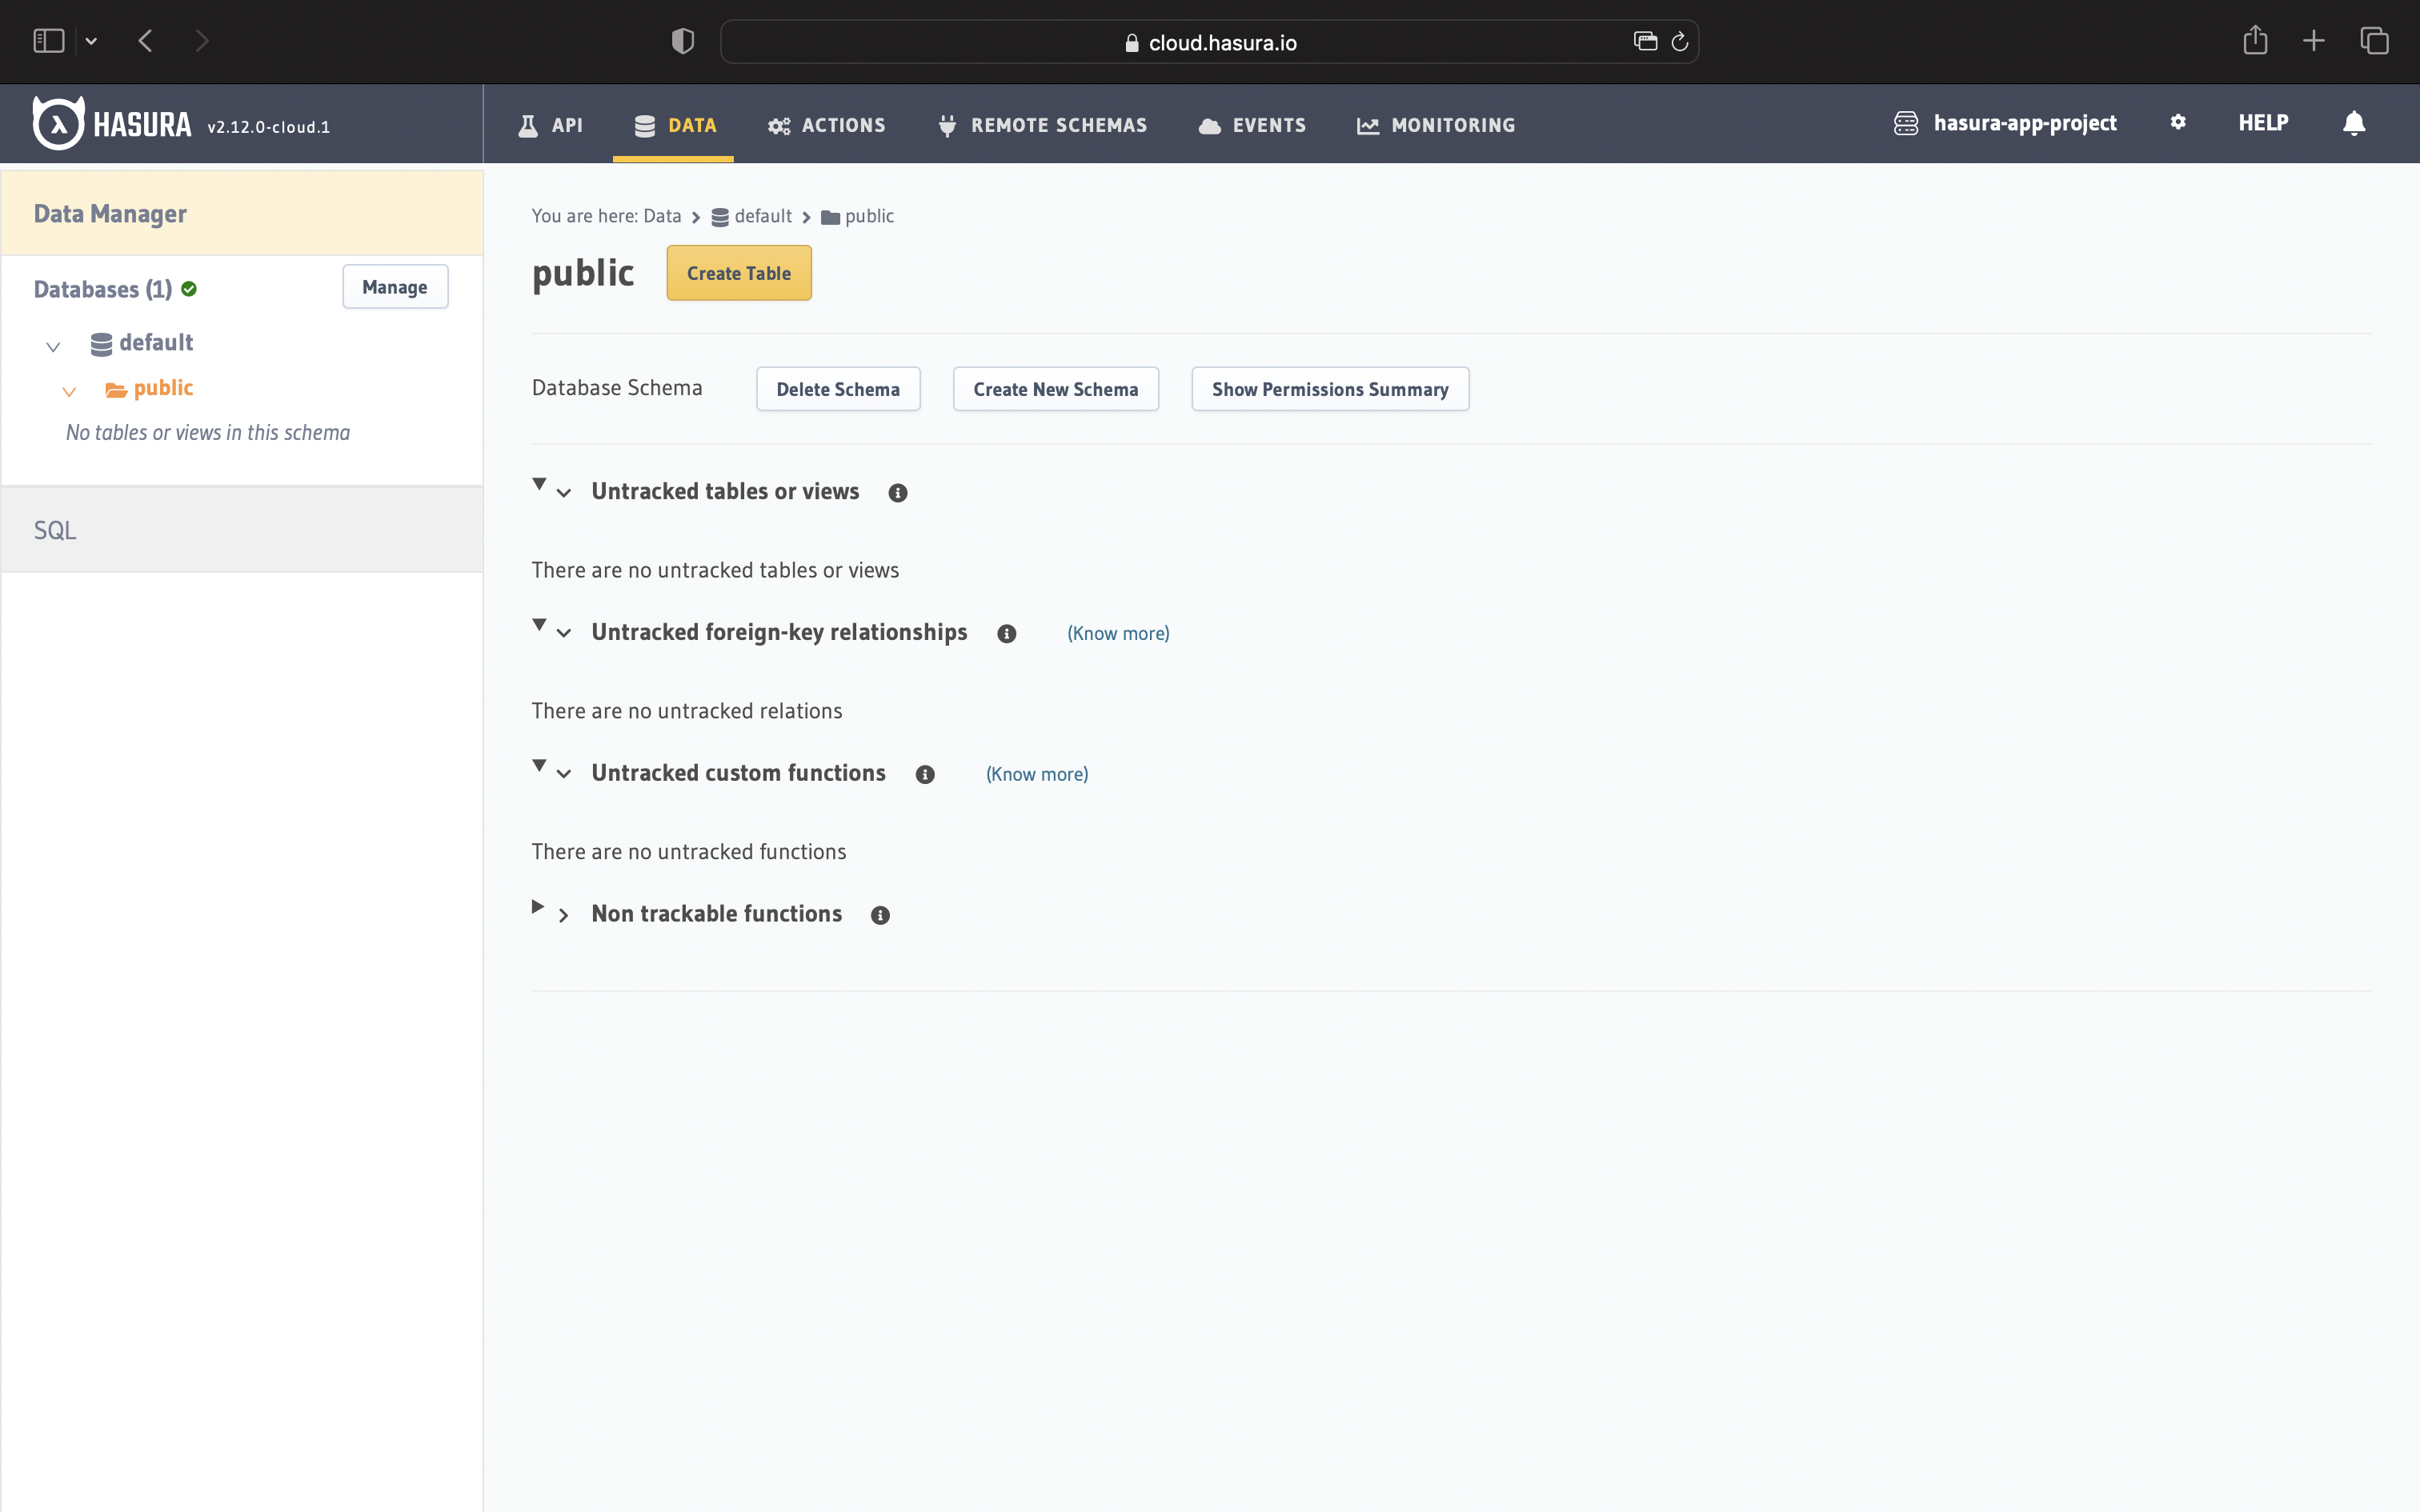
It will take a few seconds to connect to Neon Postgres and initialise. Once the connection is established, you will be taken to the Data Manager page on the Console, listing the database that we just connected.
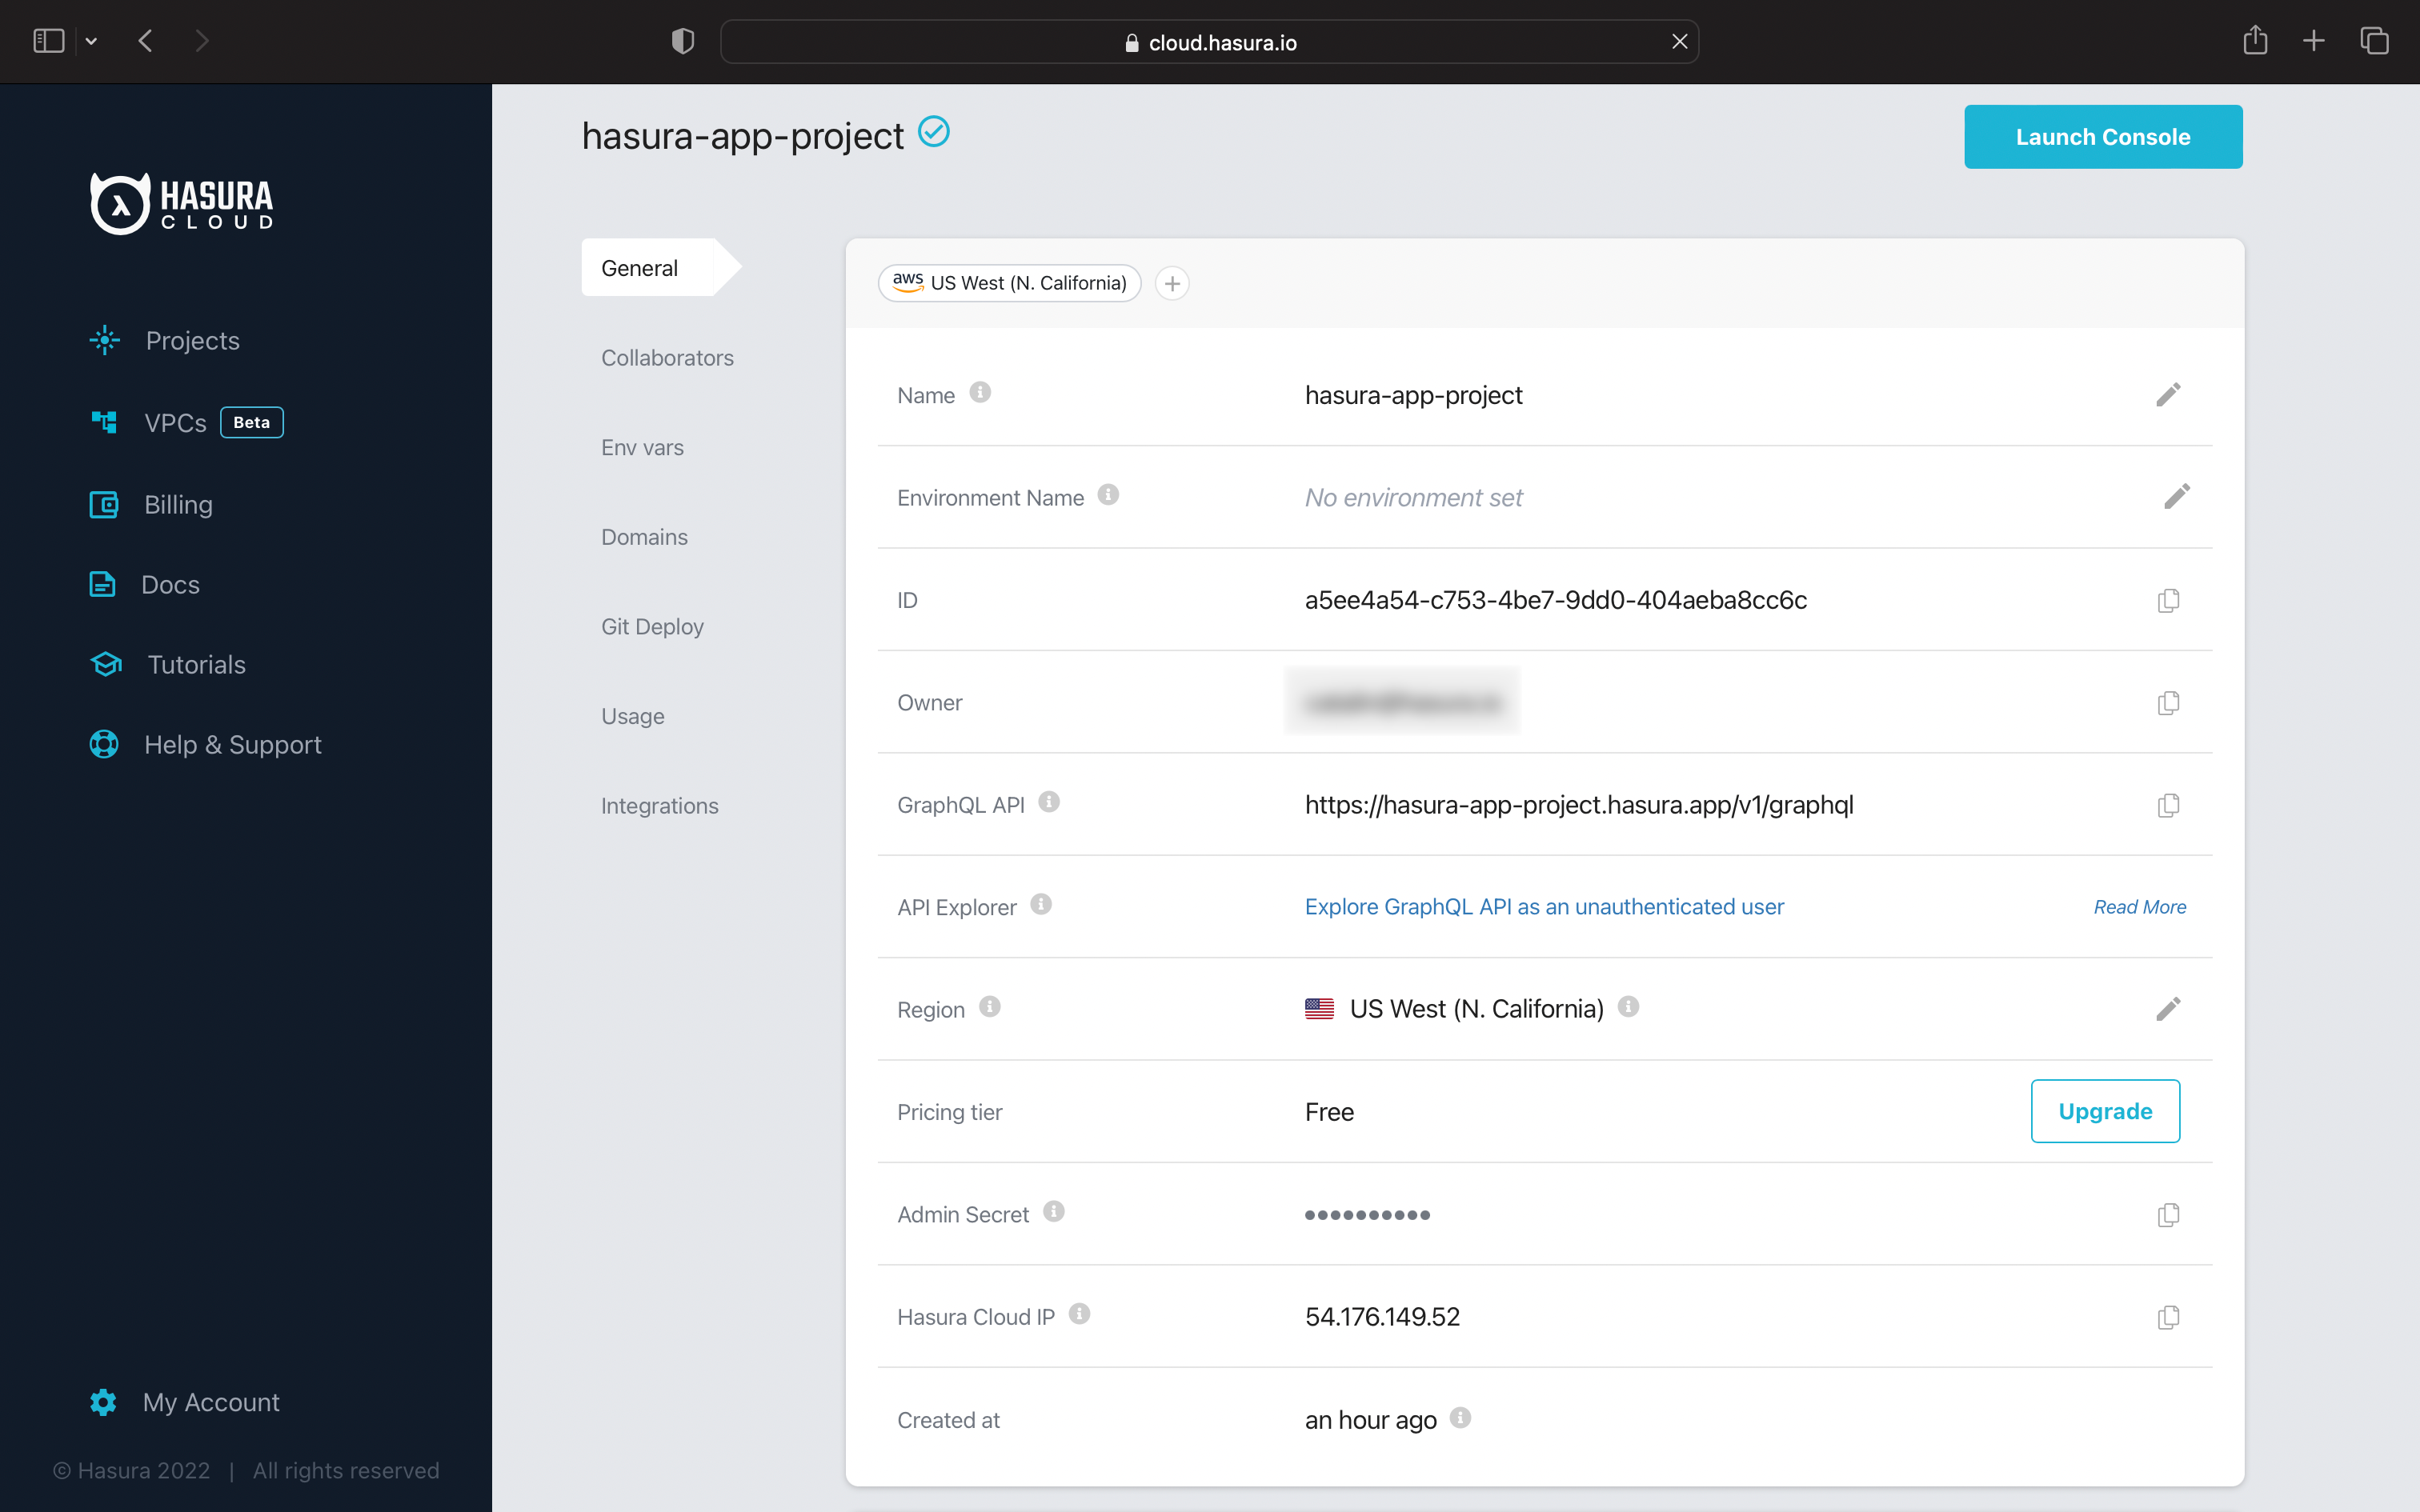
You can also manage the project from the Hasura Cloud Dashboard.
Great! You have now deployed Hasura and have the admin console ready to get started!
Local project setup
If you haven't already, clone the learn-graphql repo. Execute the following commands in your terminal:
# make sure git version is >= v2.26git clone --filter=blob:none --sparse git@github.com:hasura/learn-graphql.gitcd learn-graphqlgit sparse-checkout init --conegit sparse-checkout add tutorials/frontend/nextjs
Apply database migrations
Let's get started by creating the tables and relationships for the Realtime todo app.
Head to the hasura directory inside nextjs to apply the Hasura migrations and metadata.
Download the latest Hasura CLI from here. We are going to use the config version v3.
Configure the endpoint to point to the Hasura Cloud app URL. Open the config.yaml file and set the endpoint value.
version: 3endpoint: https://ready-panda-91.hasura.app...
Open the metadata/databases/databases.yaml file and set your Custom Env Vars PG_DATABASE_URL value.
database_url:from_env: PG_DATABASE_URL...
Note: Your Hasura Cloud app URL will be different.
Now let's apply the metadata and migrations.
hasura metadata apply --admin-secret xxxxhasura migrate apply --database-name default --admin-secret xxxxhasura metadata reload --admin-secret xxxx
This will create the tables and relationships for the realtime todo app.
Great! Now navigate to the Hasura Cloud app to see the schema on the Hasura console.
 Build apps and APIs 10x faster
- Built-in authorization and caching
- 8x more performant than hand-rolled APIs