Moving from Self Hosted Hasura OSS to Hasura Cloud
Migrating from OSS to Hasura Cloud
We recently announced the launch of Hasura Cloud that takes care of managing the GraphQL Infrastructure automatically for you, so that you can focus on building your apps and not worry about Infrastructure. If you are running Hasura OSS, it's fairly straigtforward to migrate to Hasura Cloud. We will look at why and how to migrate in this post and the benefits it brings along.
Why migrate to Hasura Cloud?
Hasura Cloud uses the OSS graphql-engine as the base and provides a cloud offering on top of that. Broadly there are two benefits to move your OSS instance to Hasura Cloud.
GraphQL Server concerns like data caching, rate-limiting, regression testing, error monitoring are some of the features that will be useful at scale.
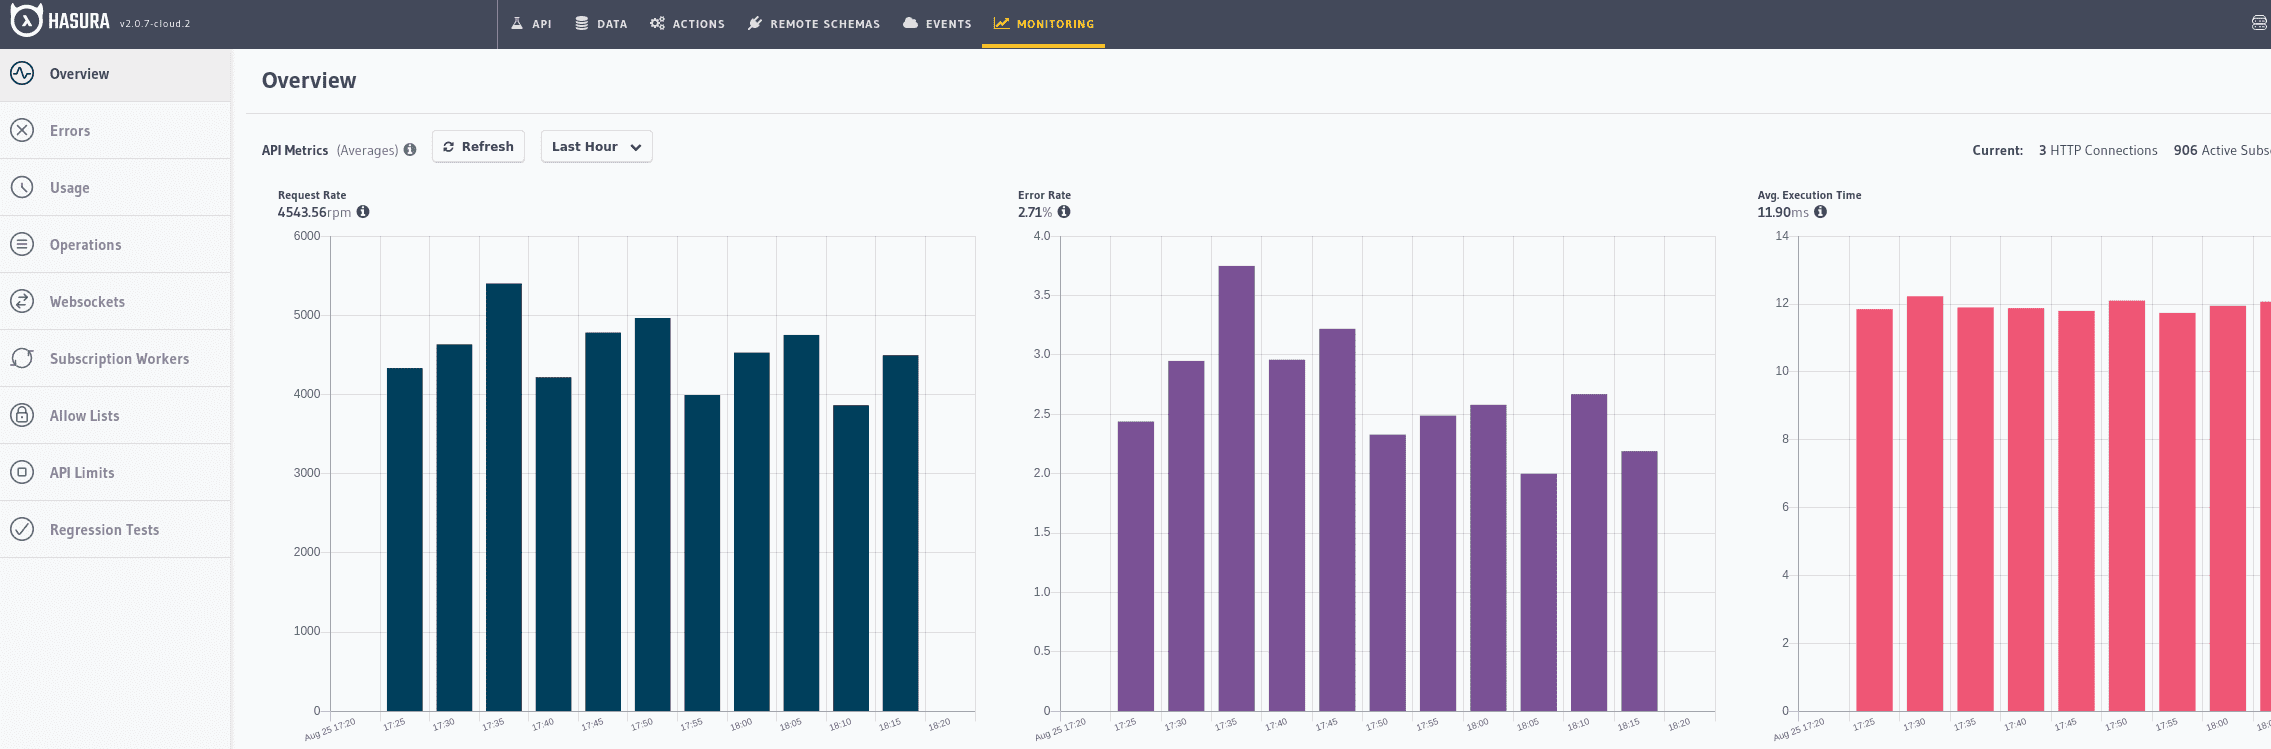
With Hasura Cloud, GraphQL becomes the invisible piece in your architecture. Auto-scaling kicks in if you have a sudden traffic rush and eventually the only bottleneck will be the database. To optimise for database bottlenecks, Hasura Cloud gives you monitoring and tracing features that help you understand database query performance and give you insight into what to do.
You will also have the ability to add collaborators to your team per project and give restricted access to the console and server operations among other benefits.
Hasura Cloud Monitoring Overview
Read more in detail about the benefits of Hasura Cloud in our announcement post.
Now that you know the benefits of migrating, let's quickly look at the steps required in performing the migration. The process depends on where your current Hasura instance is running and where your database is hosted. Do remember that, the database will still remain hosted the same way as before and doesn't need any migration apart from a potential configuration update like IP whitelisting. It is only the graphql-engine OSS server that needs to be migrated to Hasura Cloud.
Migration Steps
Note: If you are running Hasura OSS in production, you can follow all of the steps below on your staging server first and recommend moving your production workload to Hasura Cloud once it reaches general availability.
This guide also assumes that your current Hasura version is atleast v2. If you are running versions prior to v2, for example, v1.3.3, you will need to follow the steps here to migrate to v2.0 before proceeding.
Step 1: Update your current Hasura OSS GraphQL server to the latest version.
Any new project created via Hasura Cloud runs on the latest version of Hasura OSS. At the time of writing this guide, the latest version of Hasura OSS is v2.0.7 and the docker image for the same is hasura/graphql-engine:v2.0.7. Change yours accordingly. Before migrating, we need to ensure OSS server is on the latest version to avoid any inconsistencies in metadata and configuration. Read more on how to update your current Hasura instance.
Step 2: Take a database backup and metadata snapshot.
Although updating to Hasura Cloud will only make use of the internal schema that the server maintains in the database, it's a good practice to take a backup before any migration. Use pg_dump CLI tool or the PG Dump API to take a backup of your database and take a snapshot of your metadata using the Hasura CLI. ie. hasura metadata export. Read more on metadata export.
Step 3: Find the connection string for your existing database(s).
We need to keep the database connection URL handy before creating a project on Hasura Cloud. This would look something like postgres://username:password@hostname:port/dbnamefor a PostgreSQL database.
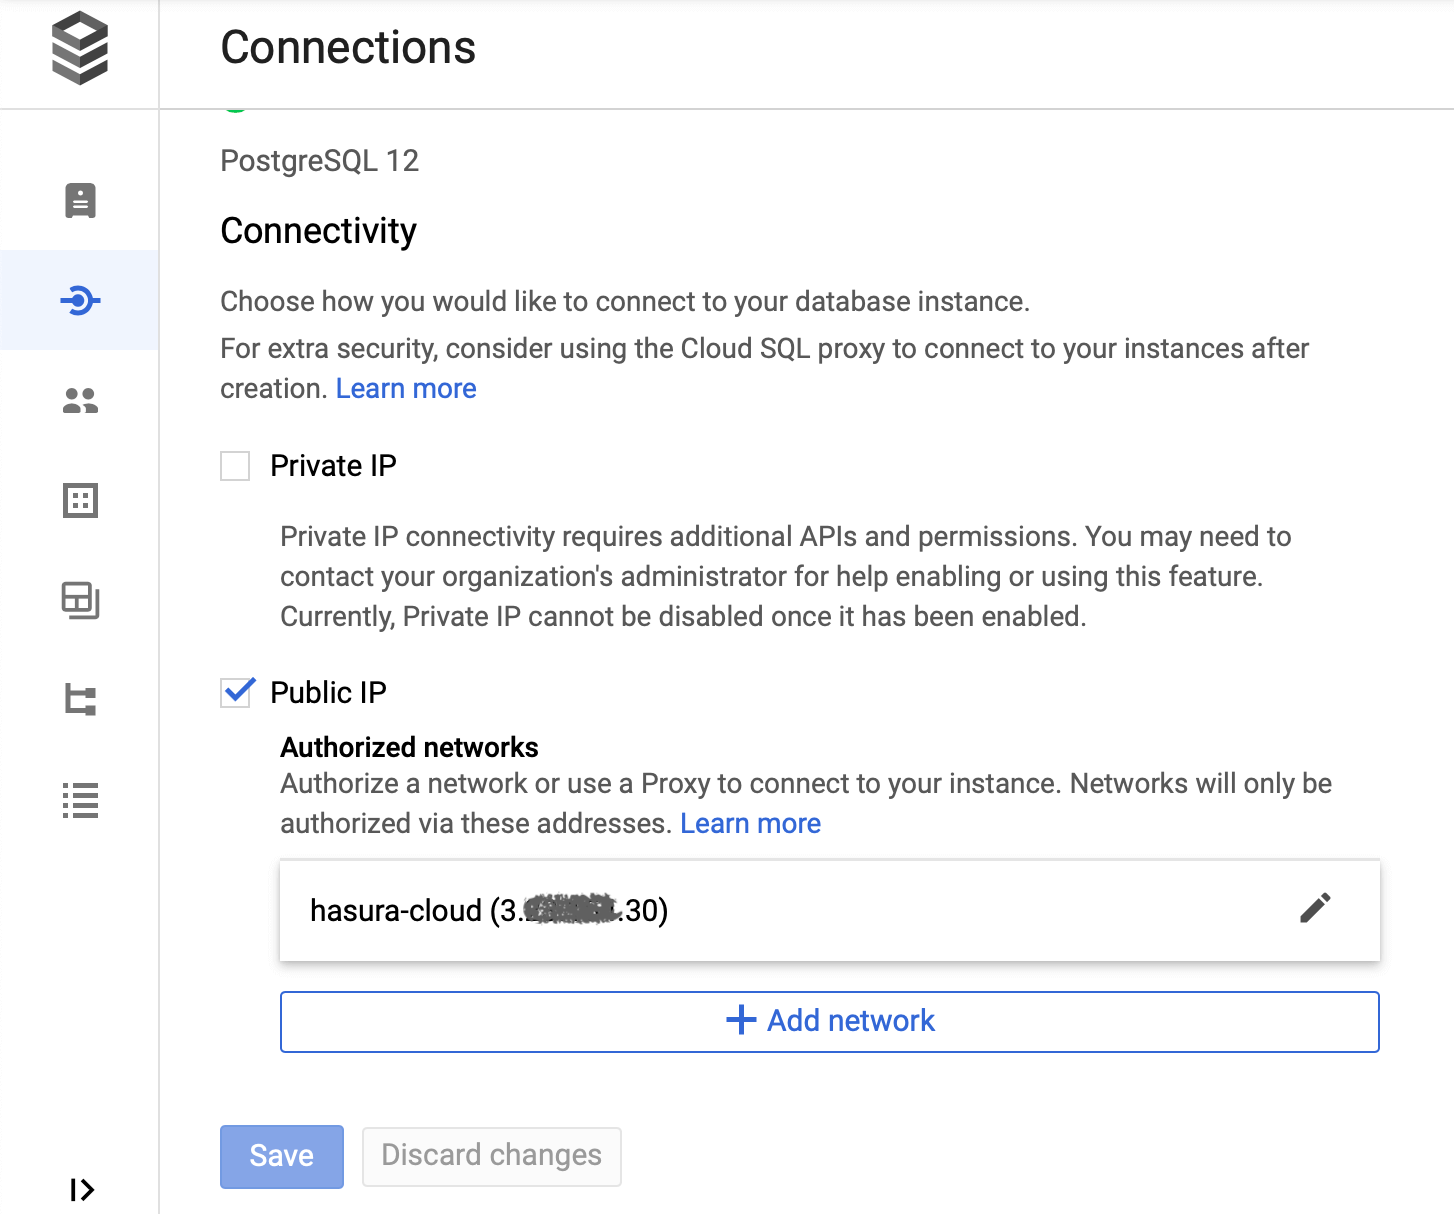
But if the database is not exposed to the outside world and the server is hosted on the same cluster as the database, accessing db via internal network, then you need to expose the database on a port which is accessible from outside that server. You can add a VPC which lets you access database not exposed over internet.
For example, if you are running Hasura OSS on a DigitalOcean droplet, usually created via the One-Click integration on their marketplace, then the database instance is not exposed outside. In this case, you will need to modify the docker-compose file to run the db and expose on a port (for example: 5432). DigitalOcean has Firewall Rules that can be setup to limit who can access what ports.
Below is an example from Google Cloud Platform to whitelist an IP to authorize access.
We will find what IP to whitelist after creating the project on Hasura Cloud.
The whitelisting IP step varies depending on the cloud vendor where your database is hosted currently and I would recommend checking official docs of the Cloud provider to configure this.
Step 4: Keep the HASURA_GRAPHQL_* environment variables ready
Depending on where Hasura OSS is hosted, fetch all the Hasura environment variables and their values used for the server. If it's a docker-compose file, then all envs used would be present there. If it's a kubernetes cluster, check the deployment.yaml for the env used.
Note: If you are passing server flags to the OSS server, make sure to find the equivalent environment variable from the docs and keep them handy.
Step 5: Configure necessary database permissions
This step is optional and applicable only if your database is running in a controlled environment, where you might need to configure Hasura Cloud to use a specific database user that your DBA gives you.
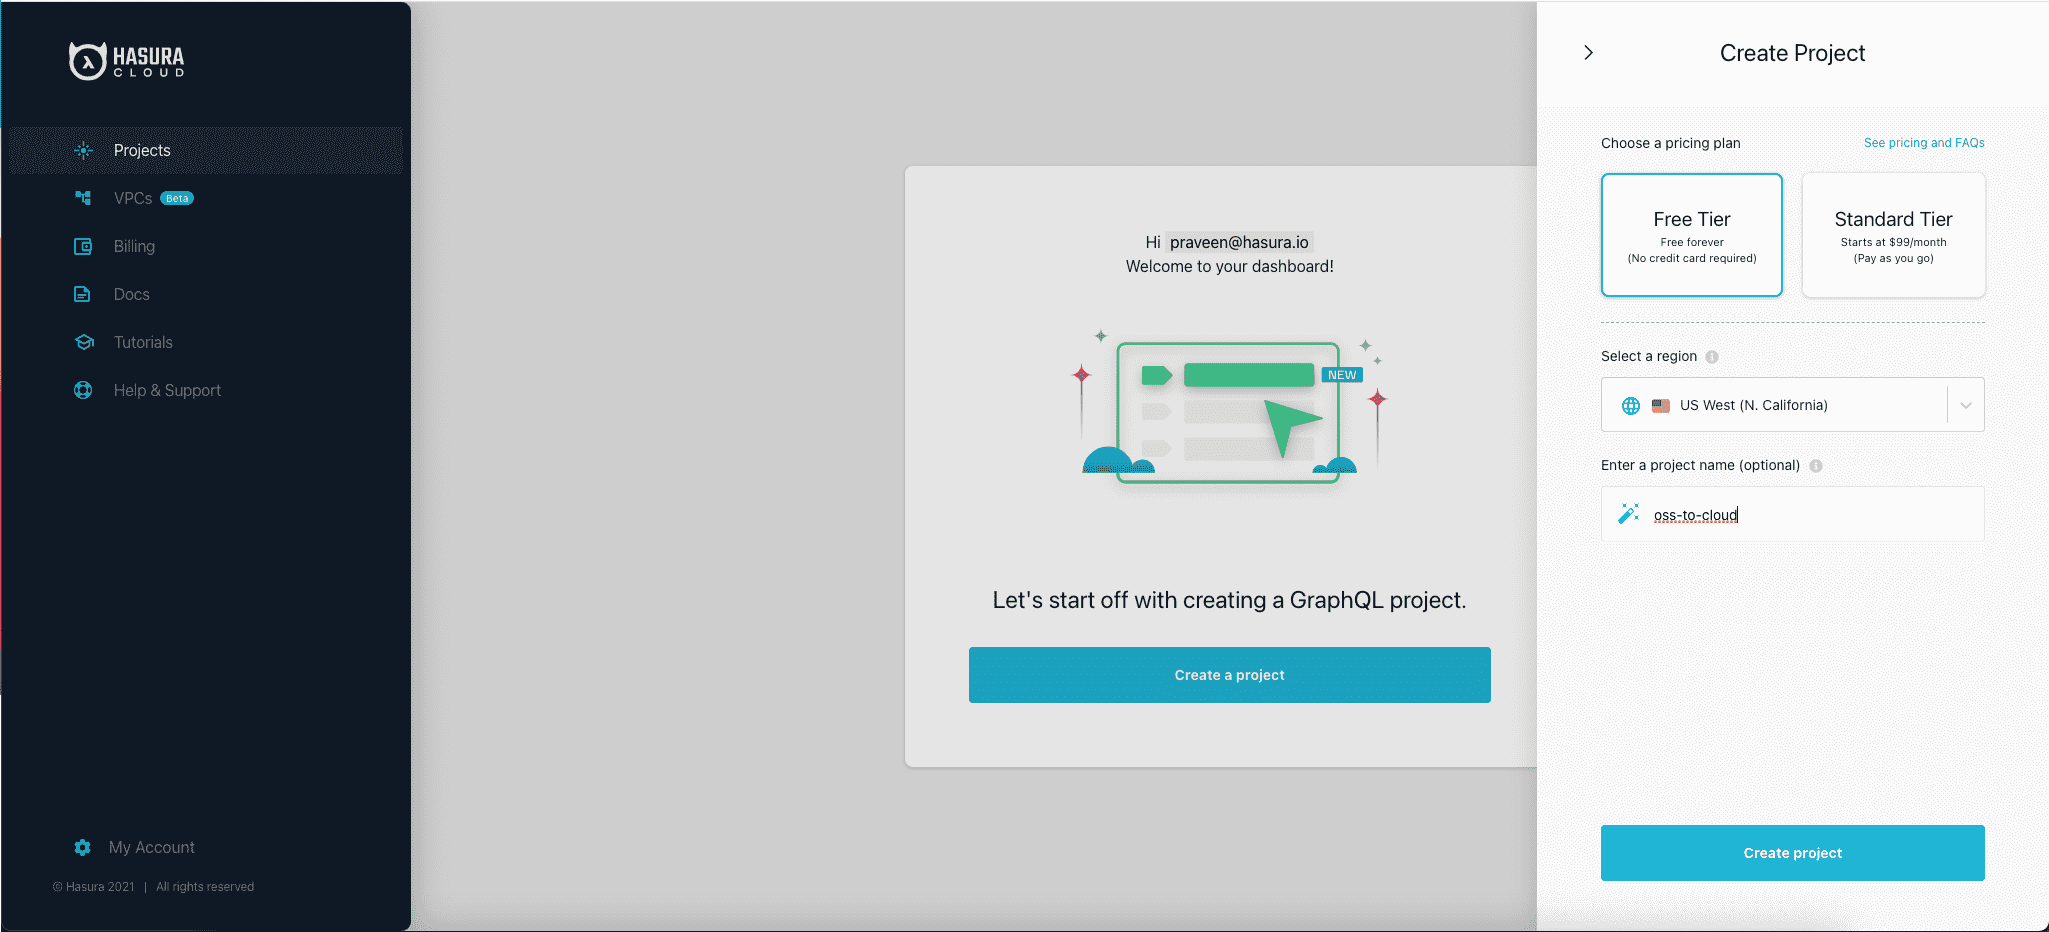
Now that all configurations are ready, we can move on to the project creation step. Click on the Deploy to Hasura button below, signup for free to create a new project.
In the new project page, enter the project name.
Create new Hasura Cloud Project
Once you click on Create project, your project will be initialised and ideally after a few seconds you should get the Launch Console button enabled for the project.
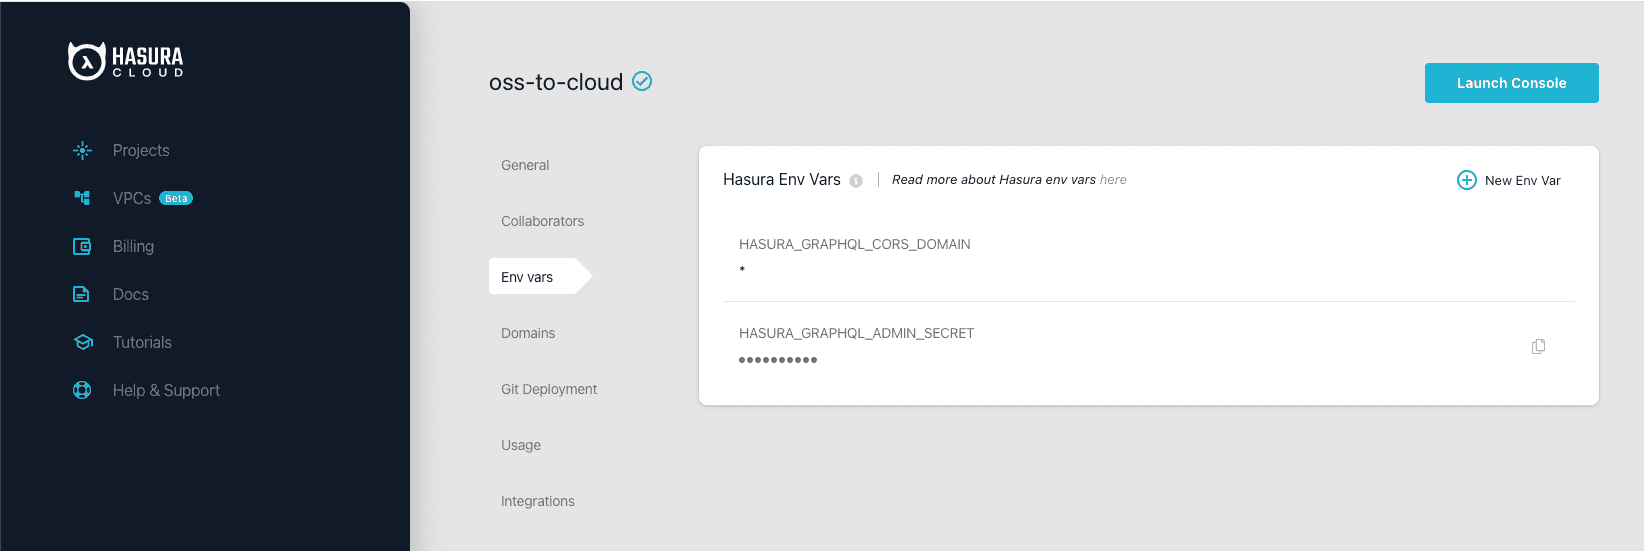
Step 7: Configure Environment variables
Once the Cloud project is initialised, click on the Env vars tab on the project detail page.
Environment Variables on Hasura Cloud
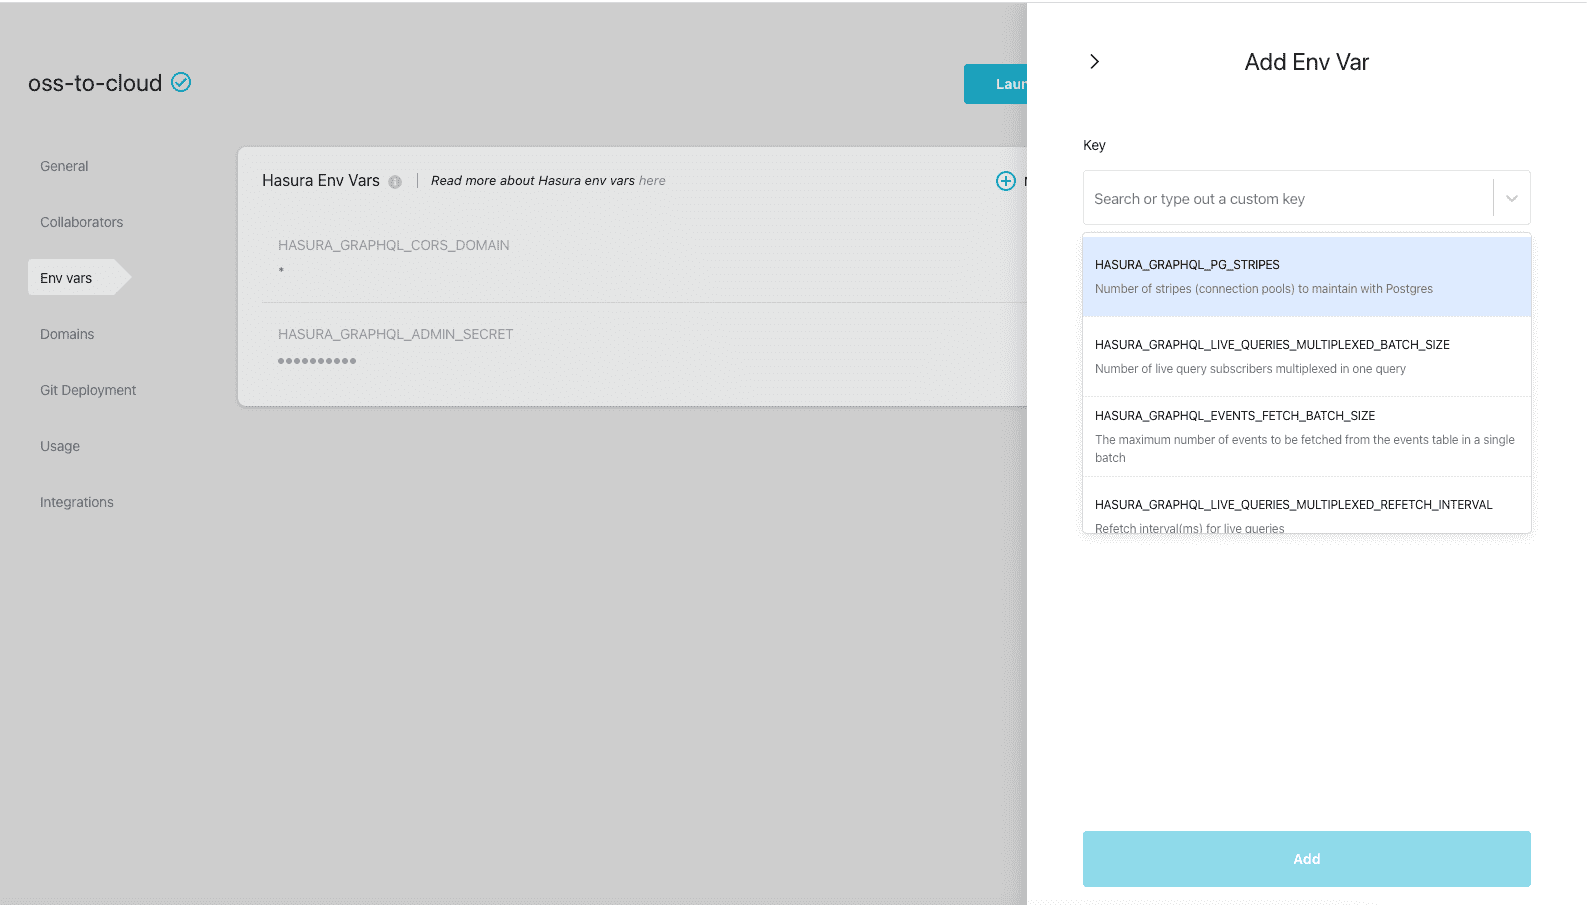
To add a new environment variable, click on New Env Var and it should open up the following screen:
Add ENV Hasura Cloud
Add all the environment variables obtained from Step 4 to your Cloud project. You can ignore the HASURA_GRAPHQL_ADMIN_SECRET environment variables since that's already configured. In case you are using the old admin secret in other backend servers / APIs, you can update that env here so that those APIs don't break.
Make sure to add the right envs for database connection strings. The default one in your local docker-compose comes with PG_DATABASE_URL, but you could be using any env for any data source that you have connected.
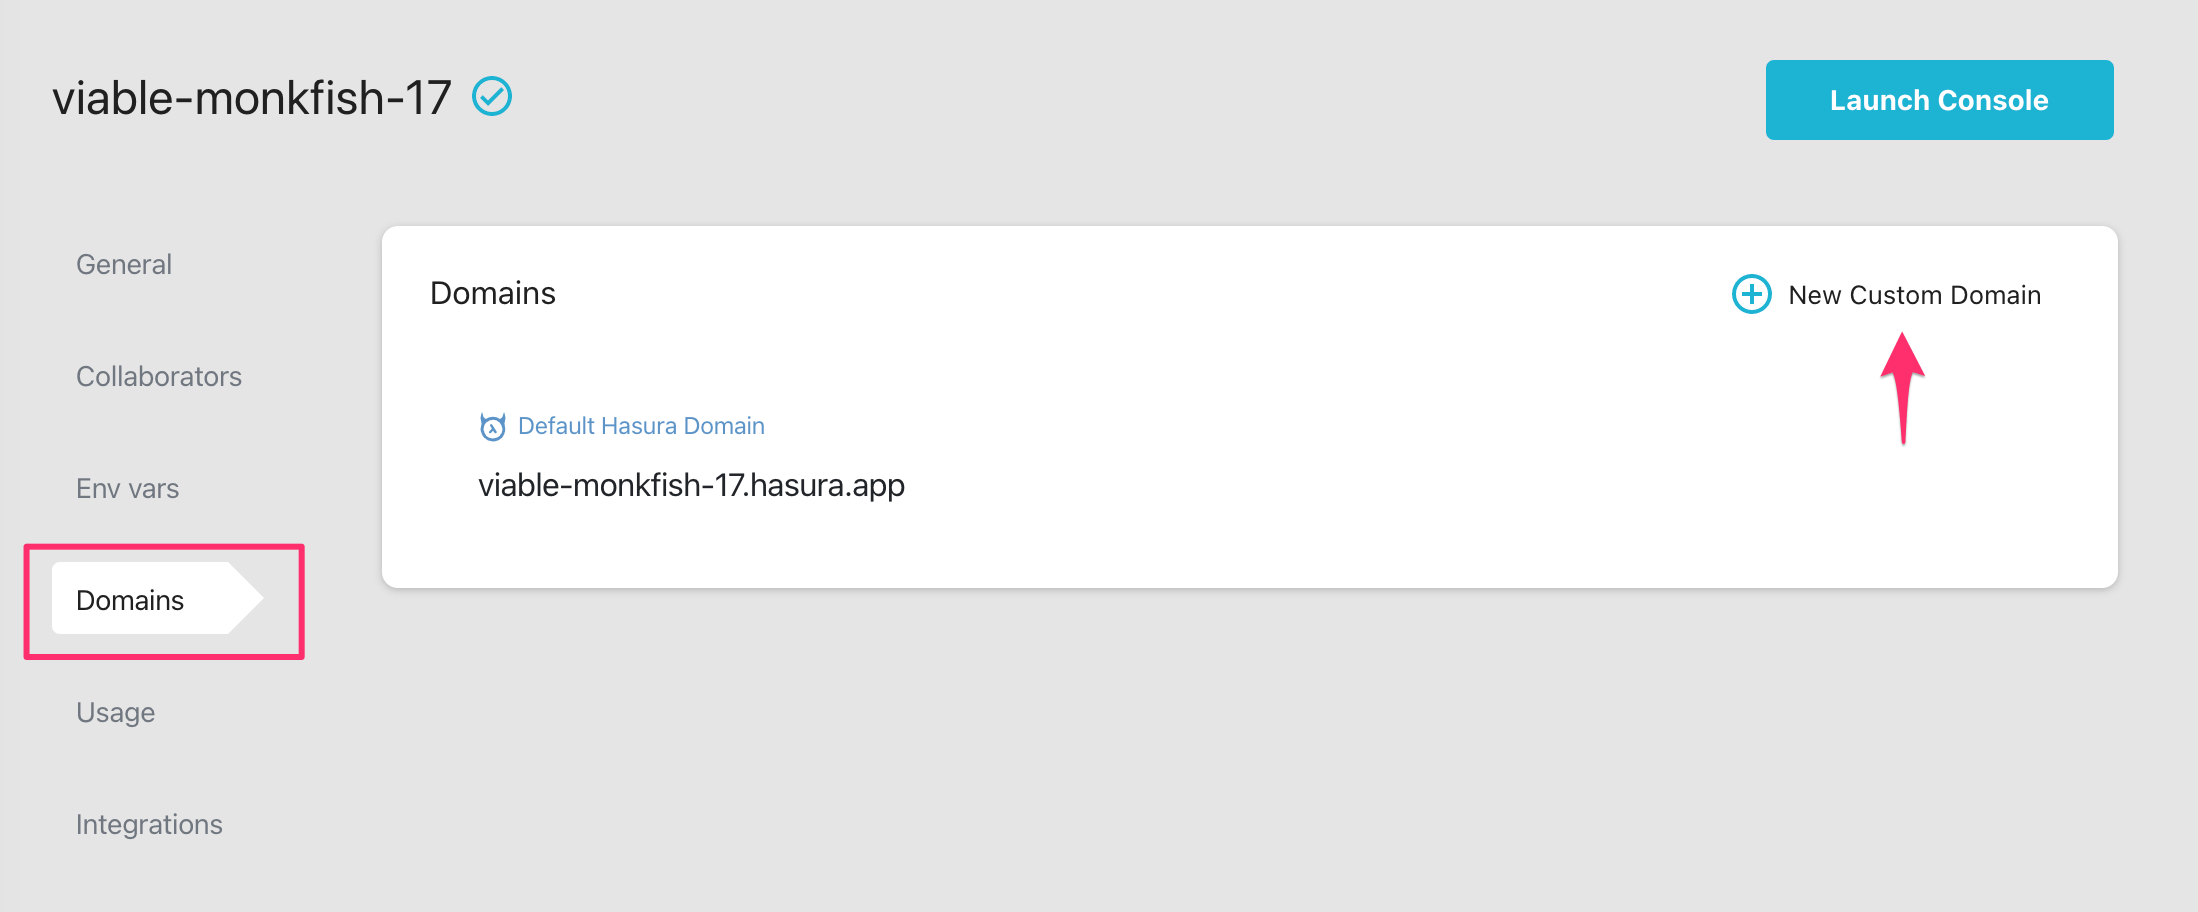
Step 8: Add Custom Domain
This is the final step of the migration process. Hasura Cloud lets you configure your own domain for the API endpoint instead of the auto-generated hasura.app endpoint. To add a custom domain, navigate to the Domains tab on the project detail page and click on New Custom Domain at the top.
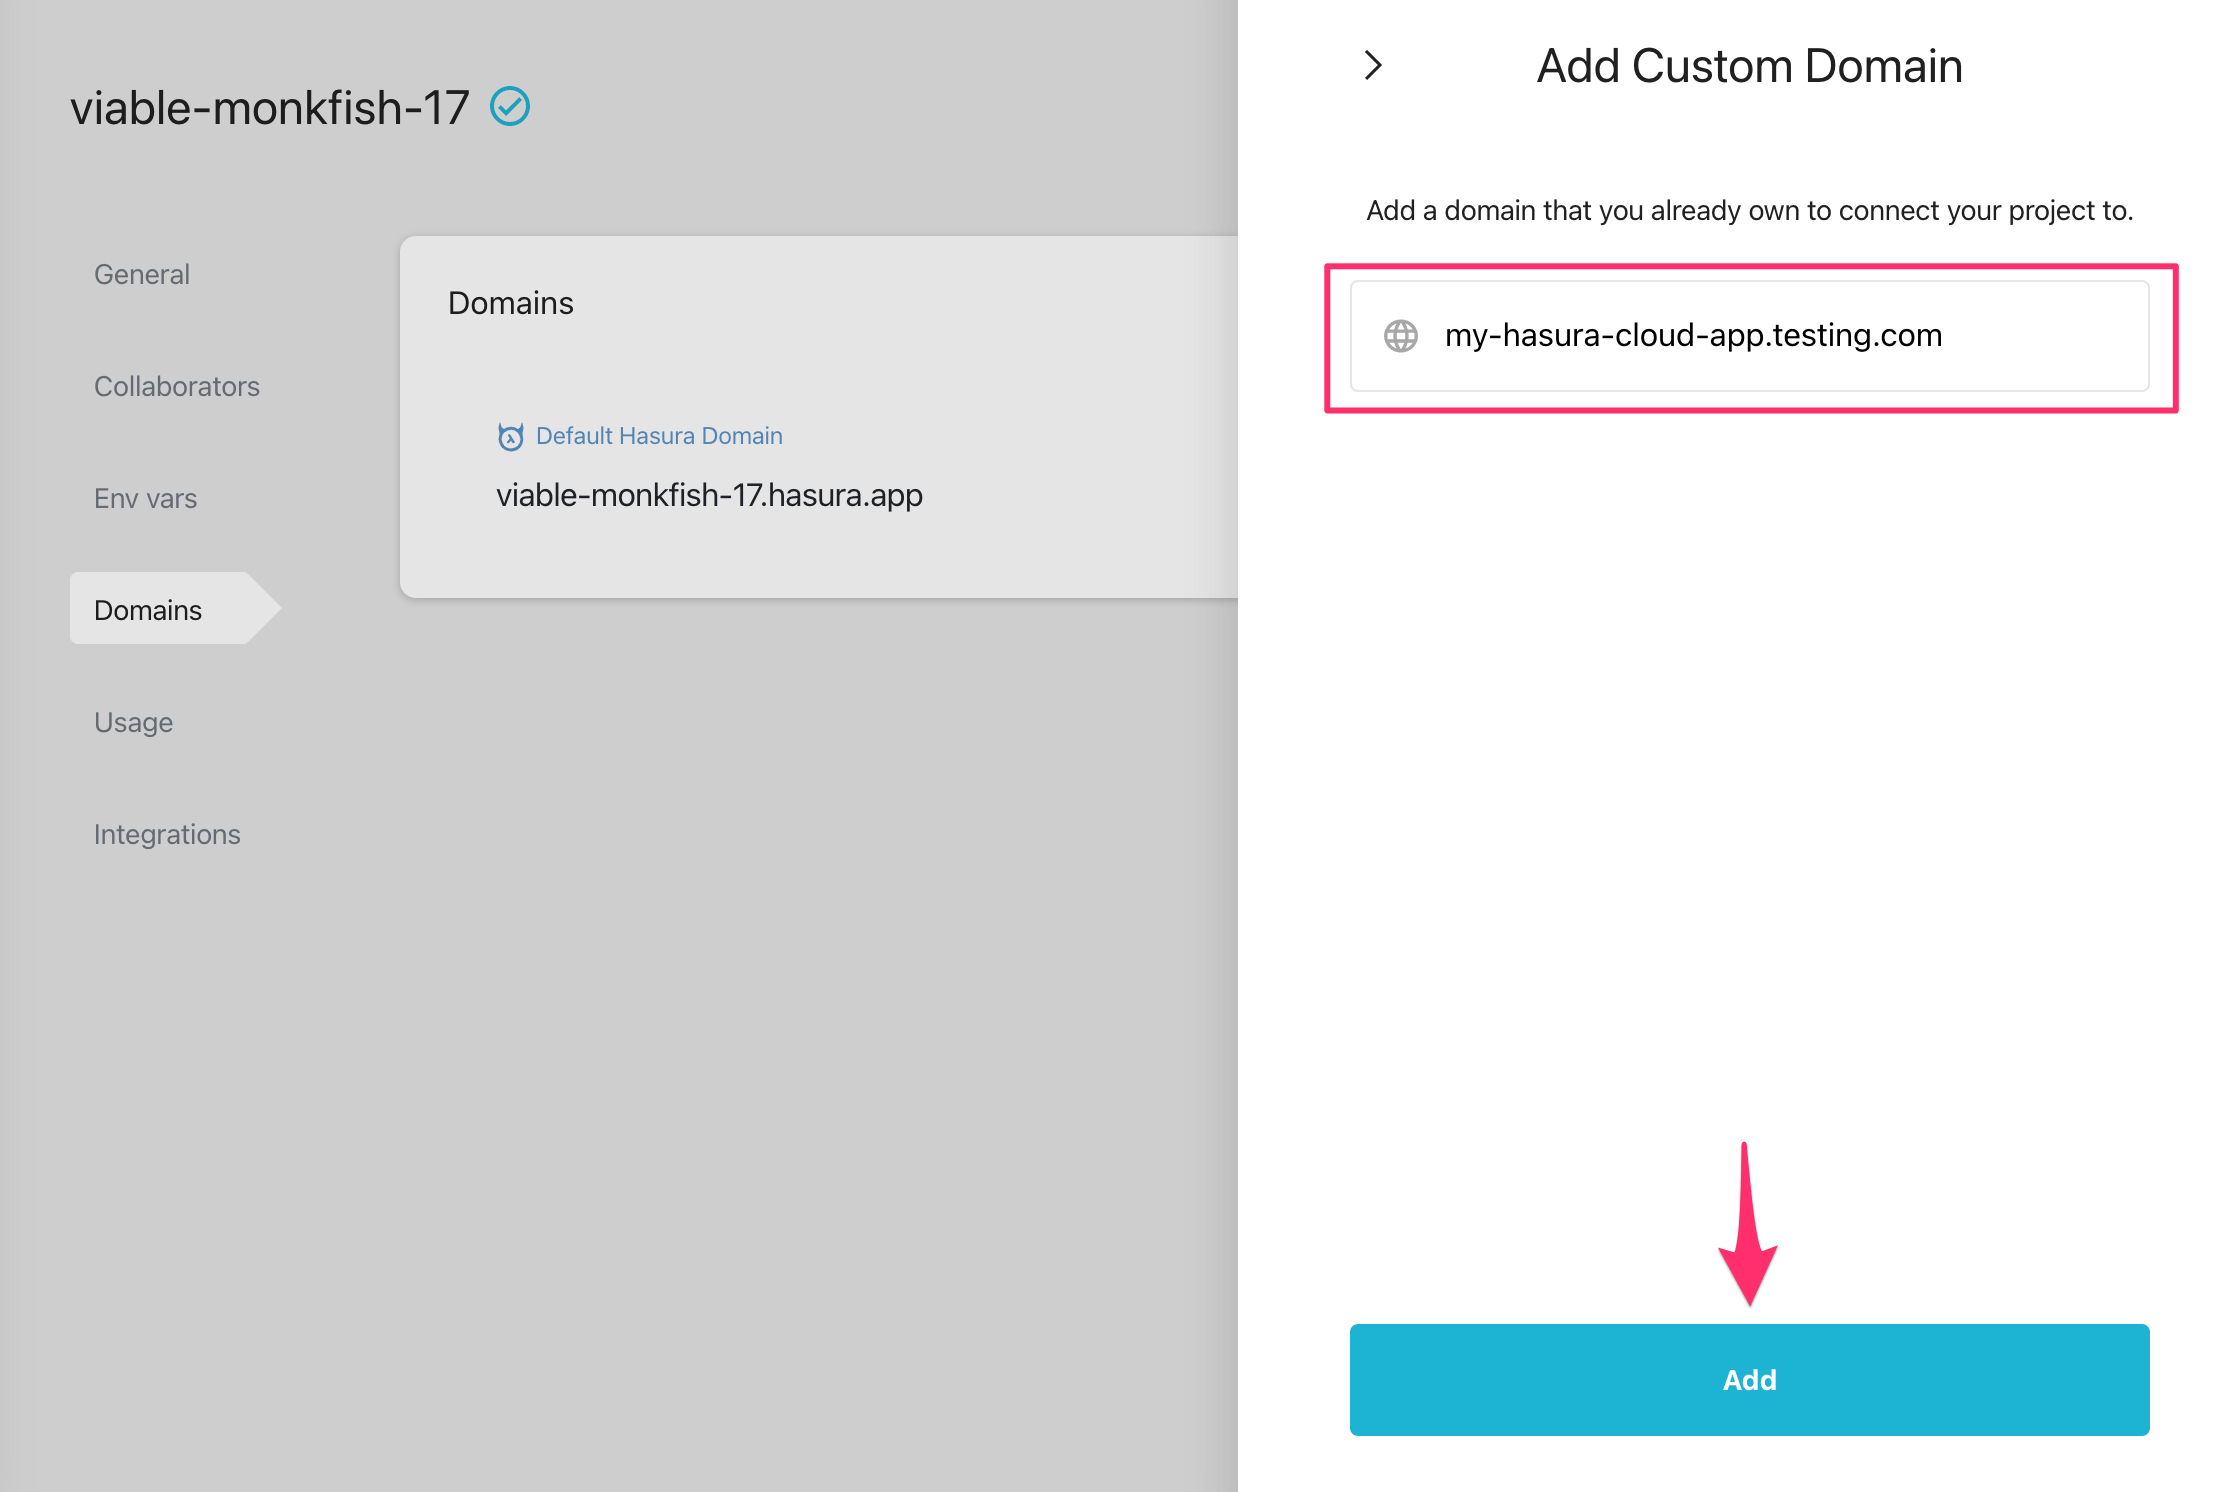
Enter your custom domain and click on Add.
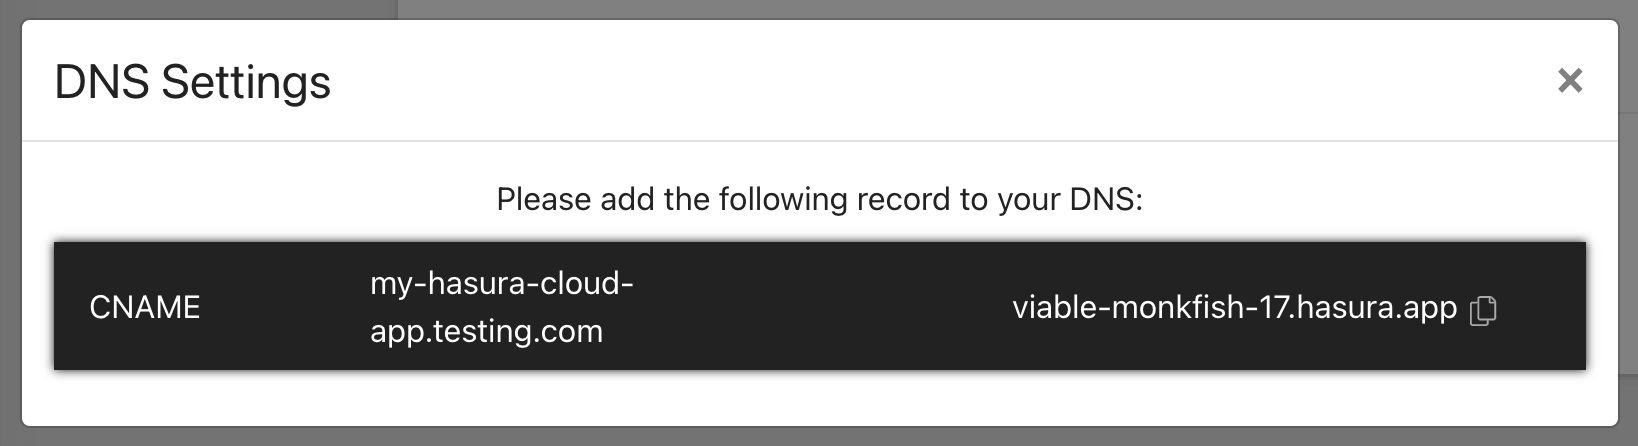
After adding a custom domain, a pop-up similar to the one below, will appear.
Add the hasura domain as a CNAME record to your DNS. Depending on your DNS provider, this can take time.
Apply metadata and migrations
Once your Hasura Cloud project is configured like the above, the next step is to apply the metadata and migrations from your existing OSS project. Execute the following commands against your newly created Hasura Cloud Project.
That's it! You should be able to access the Hasura Console and make all your API requests to the new endpoint from your app. You can monitor the requests and see if queries are failing from the Monitoring tab of the console.
Local to Cloud
What if there is an instance of Hasura running on local environment without migrations already? Migrating this to Hasura Cloud will involve additional steps, primarily around setting up the database itself. (the schema)
You need to setup the database somewhere (Either on Heroku Postgres via One-Click integration on Hasura Cloud, or via other cloud vendors).
All of the steps mentioned above for migration would apply for local to cloud migration too.
Once the cloud project is created, if you have the migrations and metadata ready for your local instance, apply them to the cloud project using the Hasura CLI via hasura metadata apply and hasura migrate apply --database-name <database-name> commands.
If you don't have the migrations ready or didn't use the Console via CLI for migrations in your local dev, you can make use of the PG Dump API to export the local database schema and apply it to the new database created as the initial migration file. The metadata can be exported from your local db by using hasura metadata export.
Follow the Production Checklist to ensure your local instance is ready to go live.
Things to Note:
Moving from Hasura OSS to Hasura Cloud (and vice-versa) is reversible as long as the server version connecting to the database remains the same on both.
You can create the project, apply the environment variables via an API too. Read more on the API reference.
Let us know how the migration went through! In case you want help to troubleshoot/debug, feel free to join our Discord server and post your queries over there.