Edit on GitHub
Hasura CLI
Install Hasura CLI
Depending on the platform, install Hasura CLI by following the steps in docs.
We will make use of Hasura CLI to manage the project locally. Start with an empty folder and execute the following command:
hasura init
This will create a new project structure locally under the given directory (hasura by default). This is how the directory structure looks:
├── config.yaml├── metadata│ ├── actions.graphql│ ├── actions.yaml│ ├── allow_list.yaml│ ├── cron_triggers.yaml│ ├── databases│ │ └── databases.yaml│ ├── query_collections.yaml│ ├── remote_schemas.yaml│ └── version.yaml├── migrations└── seeds
The migrations and seeds directories are initially empty. The metadata directory contains yaml files, each describing different parts of the GraphQL API, like the actions, remote schemas, and the various databases connected to this project (along with their tables, functions, and others).
Since you have Hasura running locally via docker-compose, run the following command:
hasura console
This should open up the console on http://localhost:9695, which is the same GUI as the one you see on the server console at http://localhost:8080.
Connect a database
Once on the console, head to the Data tab and navigate to the Connect Database section.
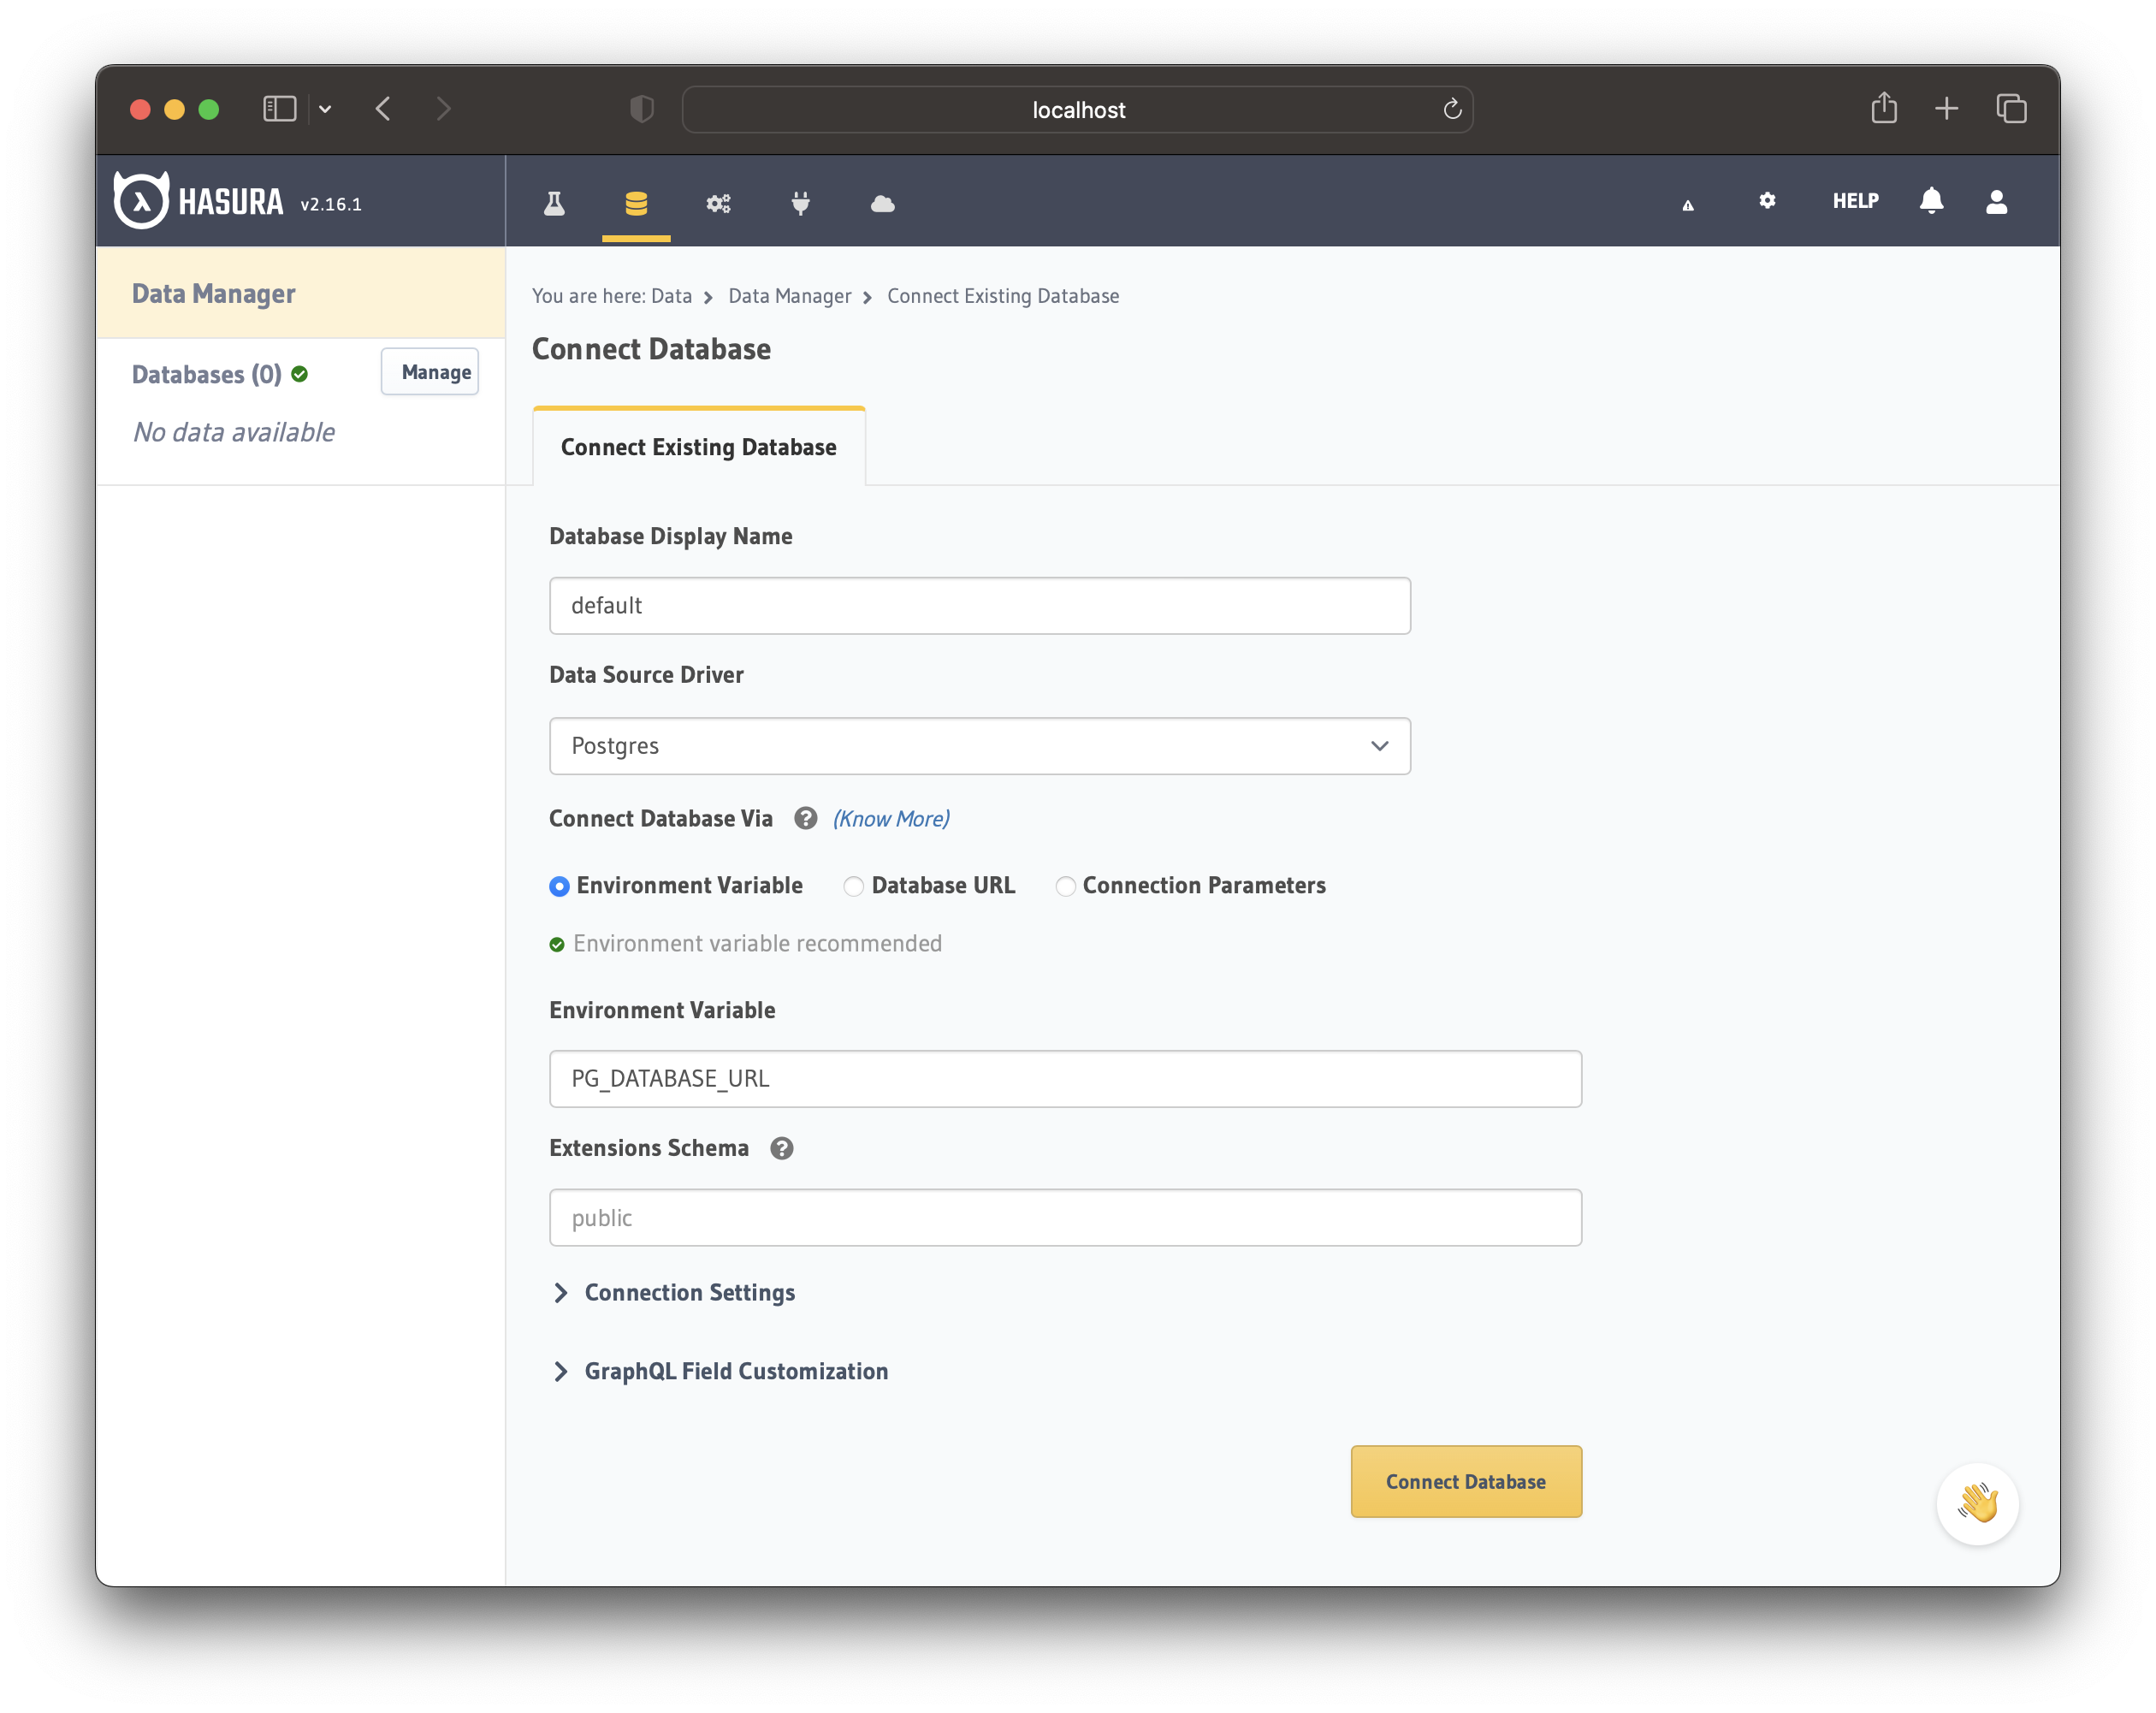
- Enter the database name as
default - Choose the Environment Variable option to connect the database
- Enter the ENV name as
PG_DATABASE_URL
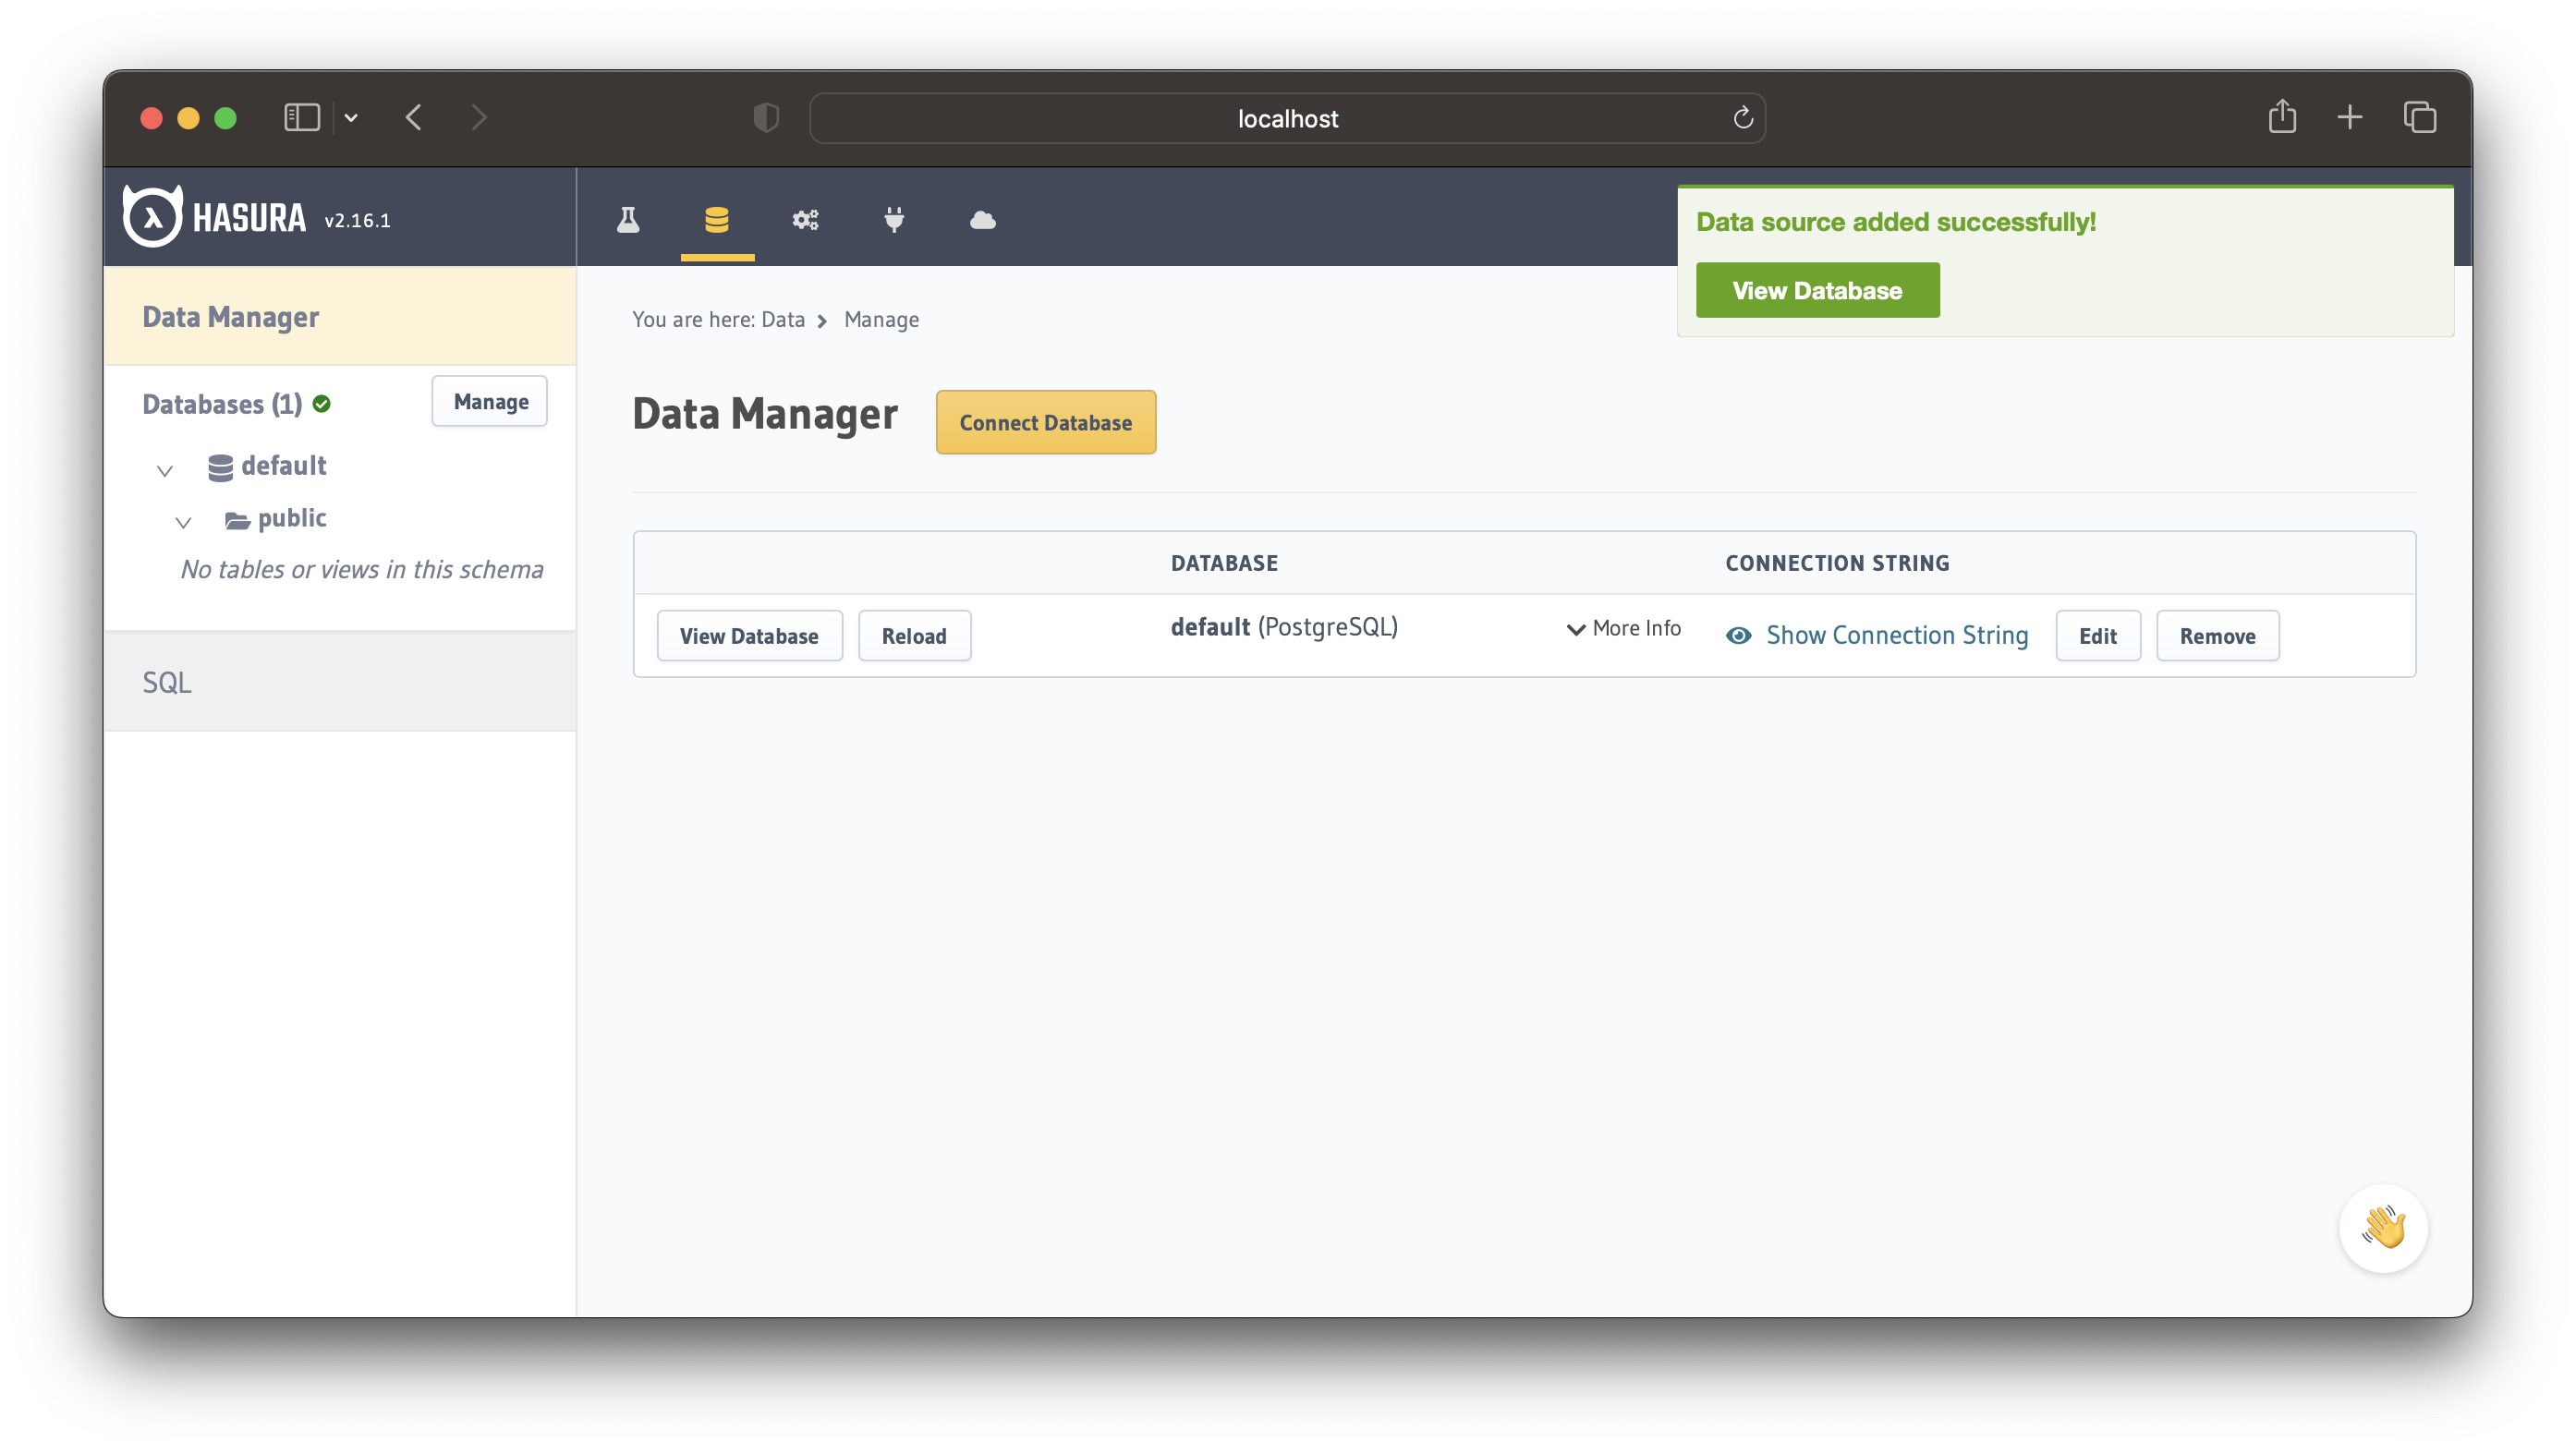
Click on Connect Database to finish the database connection. Now you can apply the migrations in the next step.
It should look something like the screen below:
 Build apps and APIs 10x faster
- Built-in authorization and caching
- 8x more performant than hand-rolled APIs