Dev Environments
Local Development
The Hasura instance running locally on your machine with docker-compose is the dev environment setup. You can use the Hasura CLI to serve the console for automatic management of migrations and metadata.
Staging Environment
Now let's create a staging environment and replicate the schema and metadata we have in our local dev setup.
We are going to make use of Hasura Cloud for the staging environment. Hasura Cloud gives you a scalable, highly available, globally distributed, fully managed, secure GraphQL API as a service!
Click on the following button to create a new project on Hasura Cloud:

Note: It is free to signup, and no credit card is required.
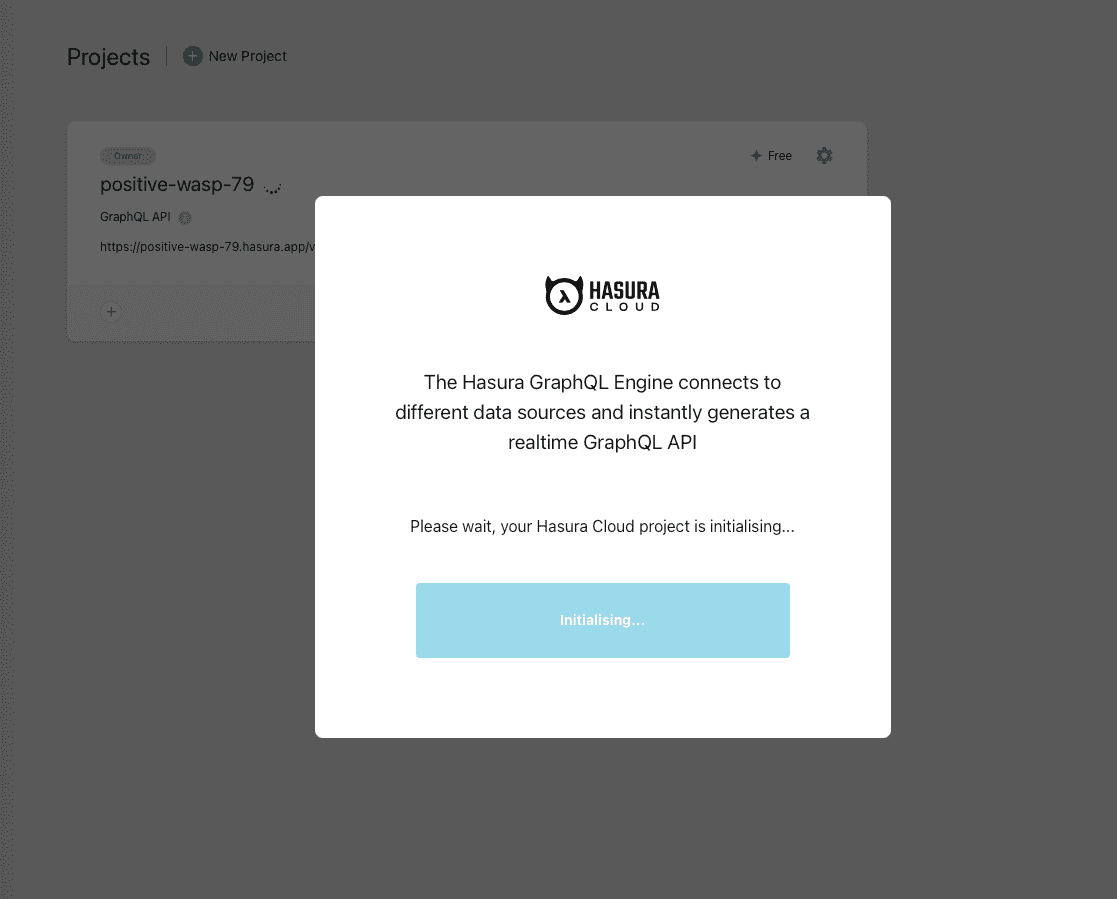
Once you register and sign in, you should see the following welcome screen, and a new Hasura project will be created automatically for you:

Once the project is initialized, you can click the Launch Console button on the pop-up screen. If you already have a
Hasura Cloud account, you can manually create a new project by clicking on the + New Project action at the top,
followed by Launch Console.
Hasura Console
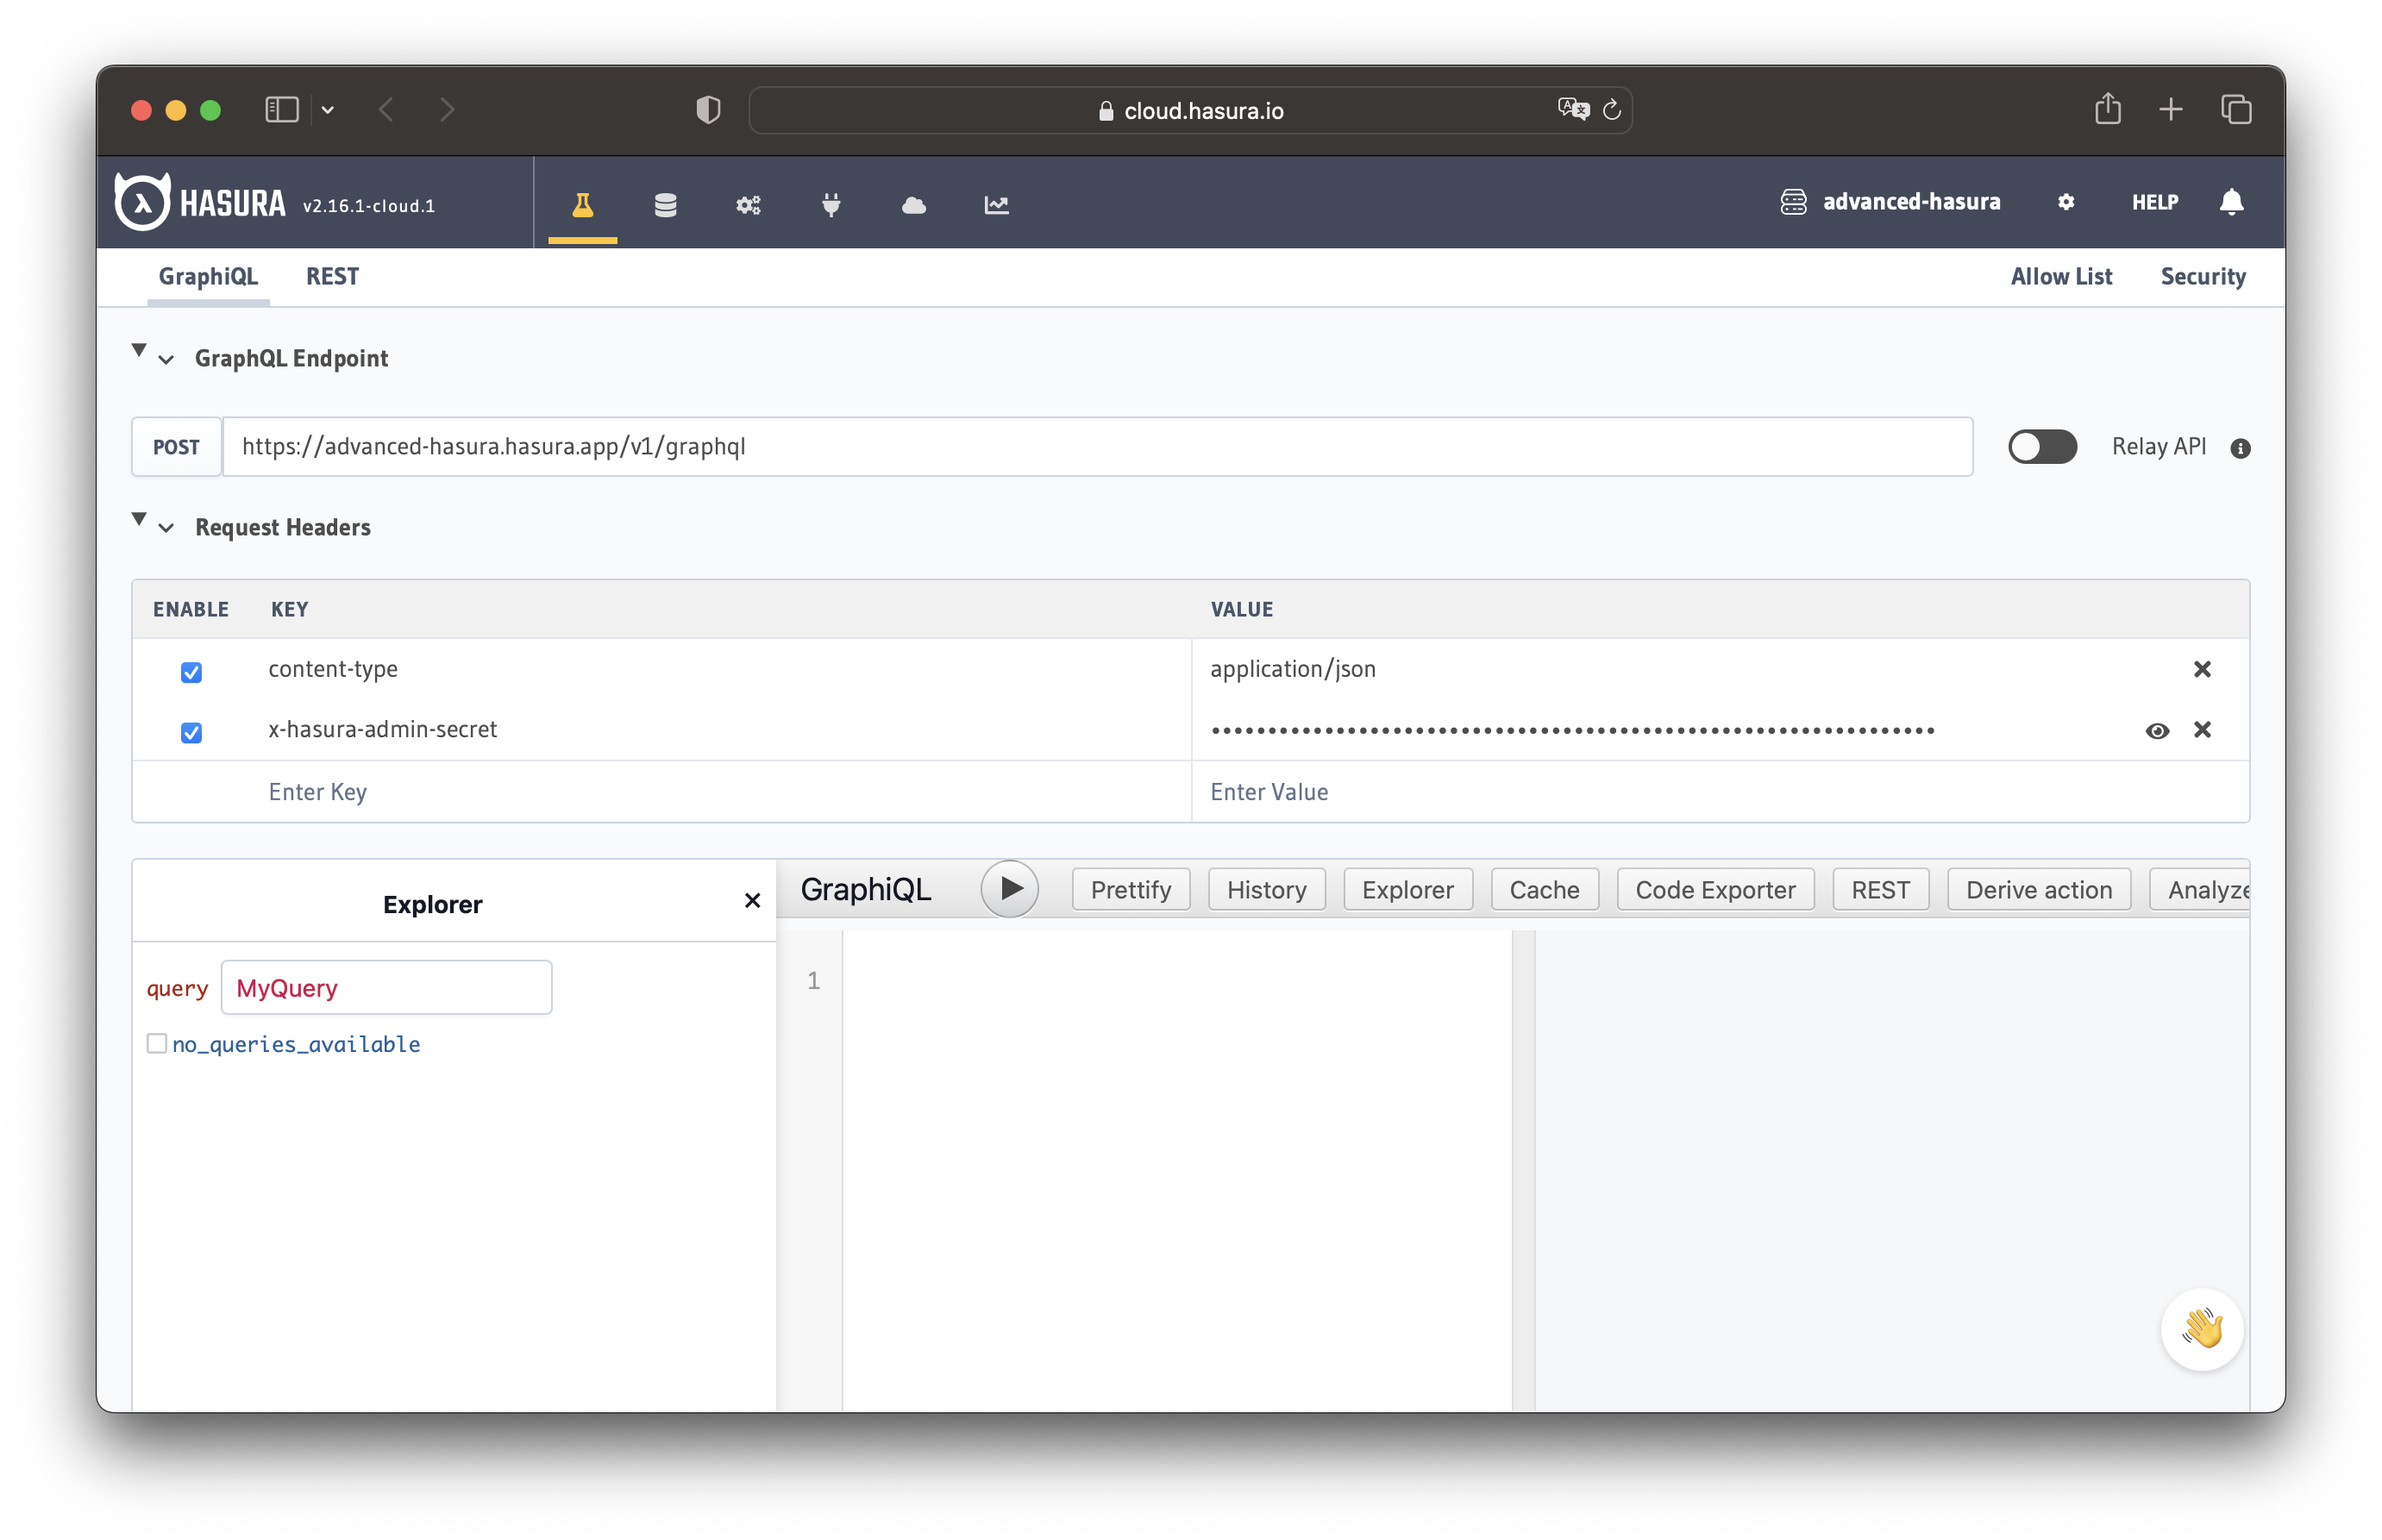
This will open up Hasura Console for your project. It should look something like this:

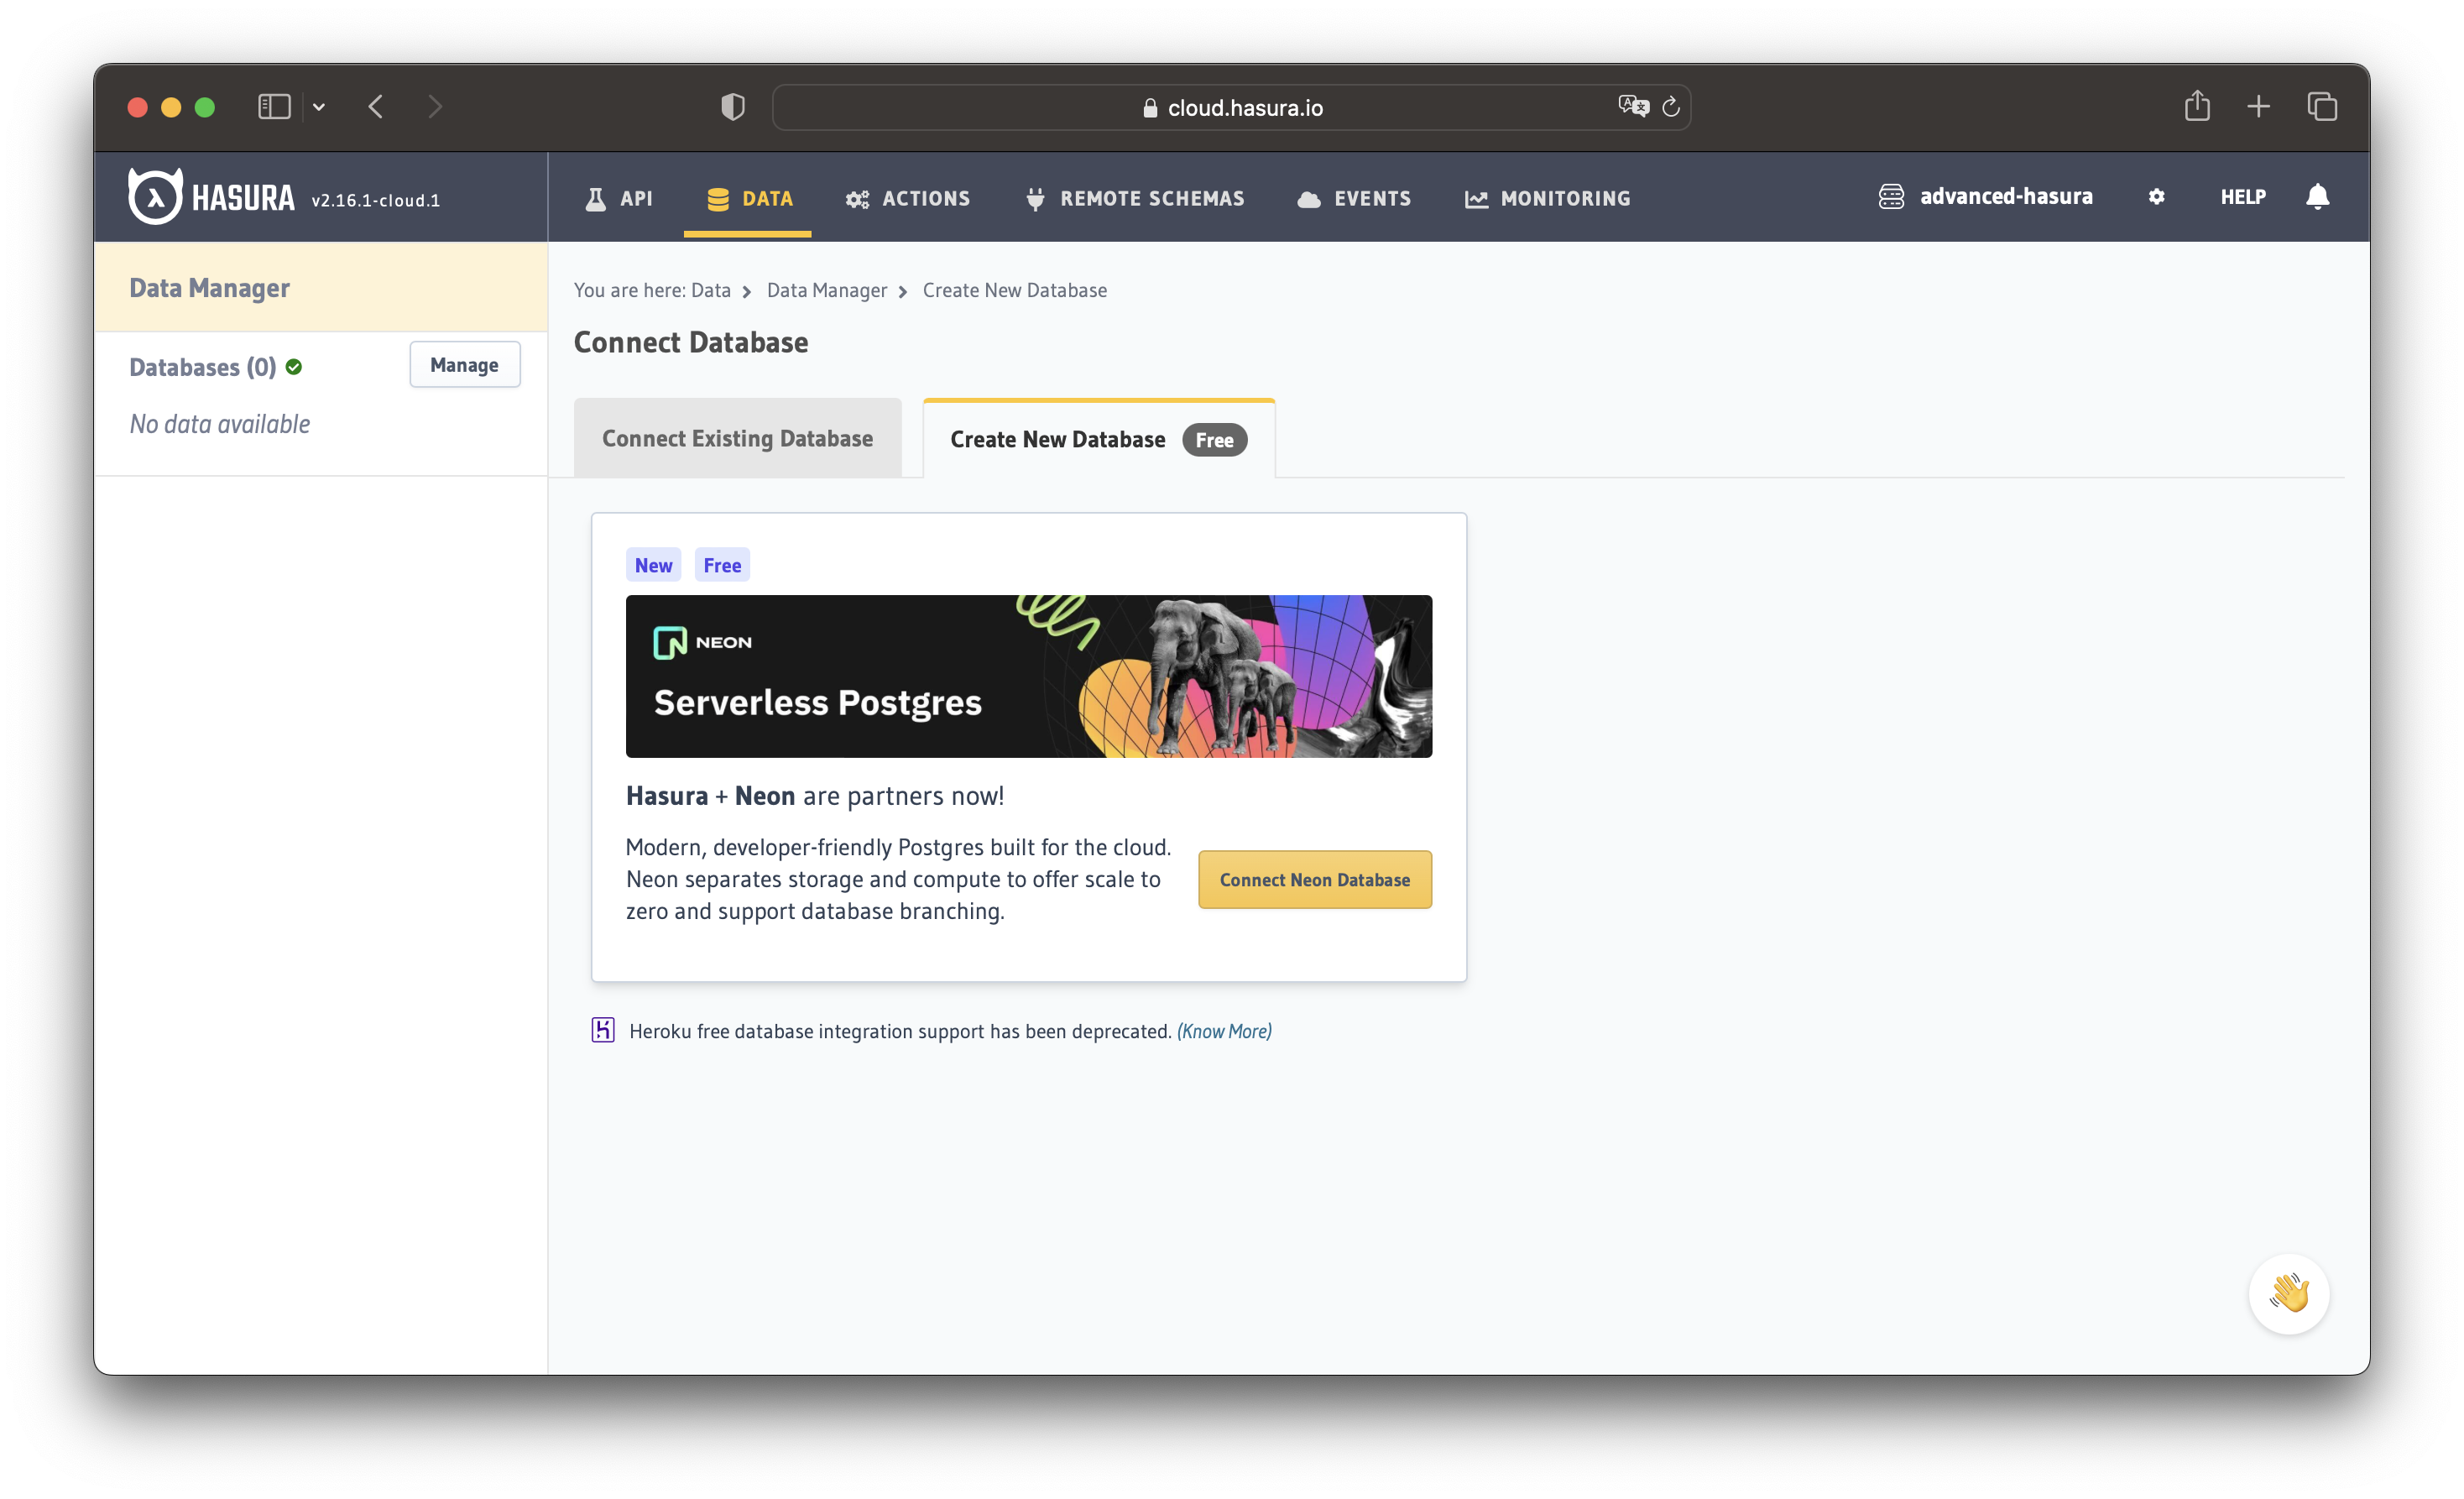
The next step is to connect the database to Hasura. We can use Neon's free Postgres database tier to set this up. Head
to the Data tab on the Console and click on Connect Database.
We have two options to connect a database:
- Connect an existing database
- Create a new database (free)
We'll start by creating a new Postgres DB from scratch using Neon Postgres. Click on the Create New Database (Free)
tab. In this tab, you can click on the Connect Neon Database button. Note that Neon gives you 3 free Postgres database
instances.

After logging in to Neon and clicking on Create Neon Database, Hasura Cloud will perform the following for you:
- Create a Postgres database on Neon
- Fetch the database URL that you can use to configure Hasura
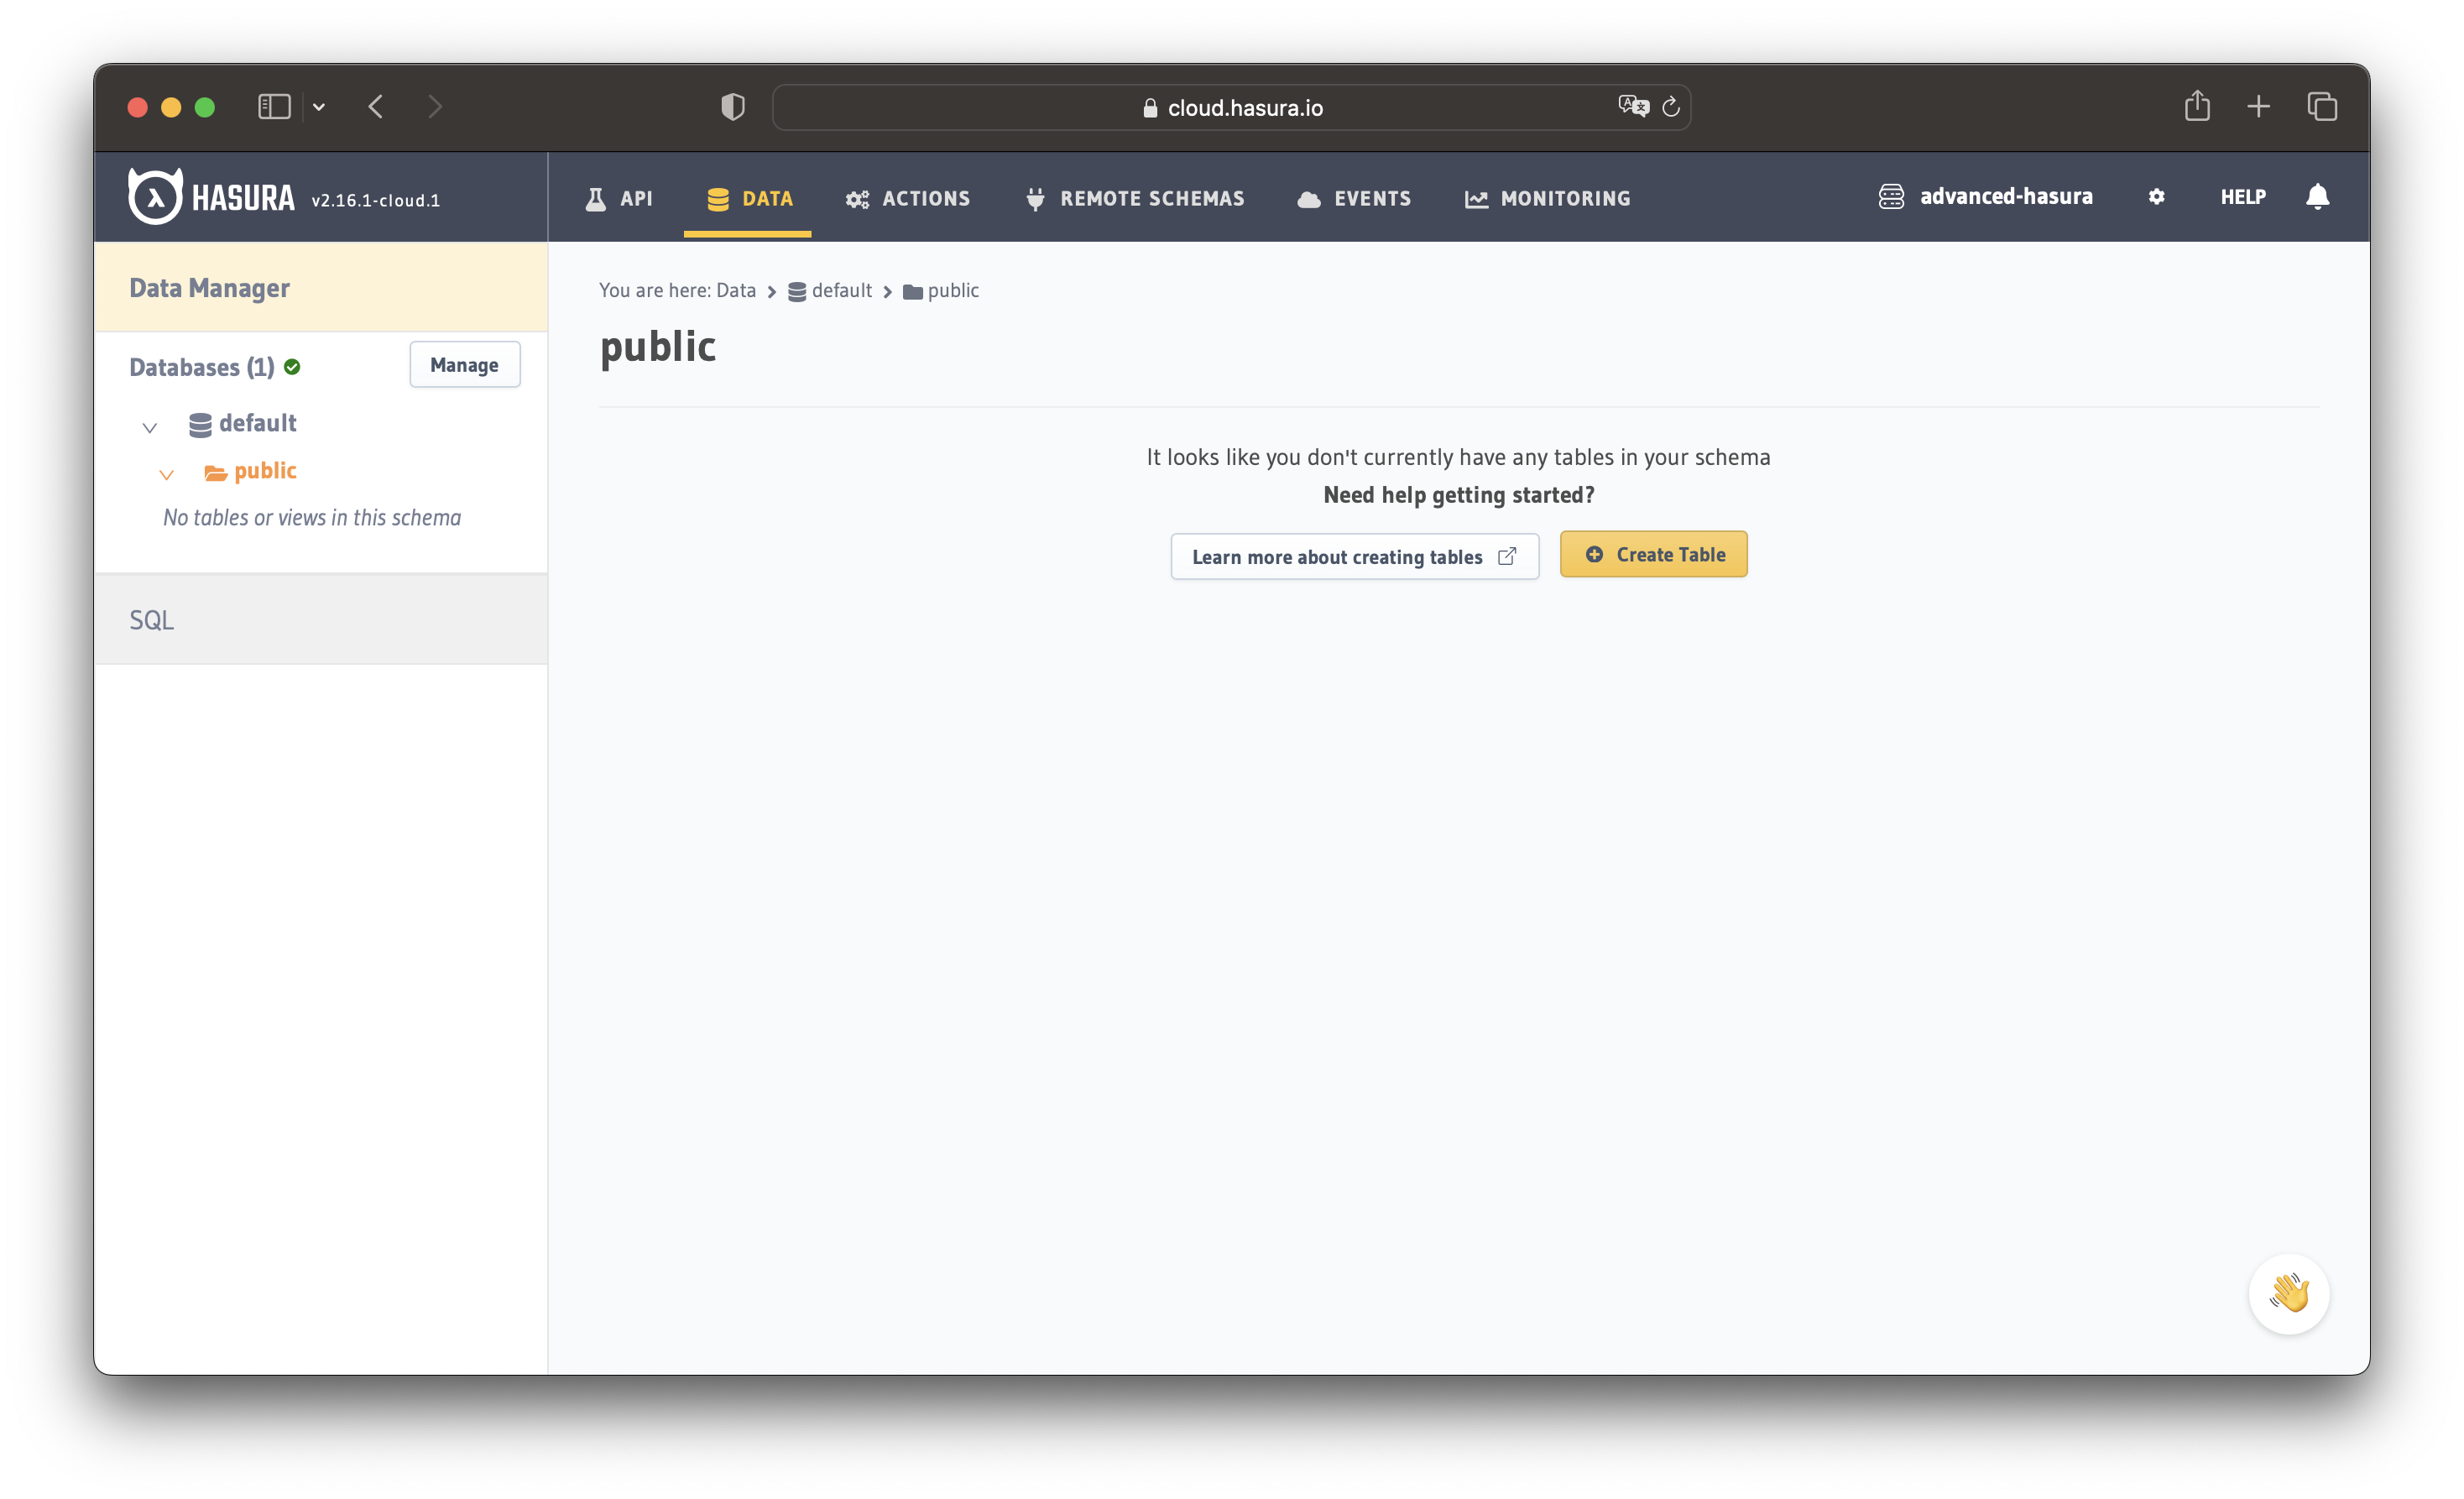
It will take a few seconds to connect to Neon Postgres and initialize the database. Once the connection is ready, you will be taken to the Data Manager page on the Console, listing the database we just connected.

Now copy the project URL that looks like https://myproject.hasura.app. (replace myproject with your Hasura project
name).
Head back to the terminal and navigate to the Hasura project directory. Execute the following command:
hasura migrate apply --endpoint https://myproject.hasura.app --admin-secret xxxxx --database-name defaulthasura metadata apply --endpoint https://myproject.hasura.app --admin-secret xxxxx
Try refreshing the Hasura Console on the Cloud project and see if the database schema reflects there. We have replicated the schema and metadata onto a new Hasura instance and Postgres database.
As we keep changing the schema locally, we can keep applying the above two commands to apply the same changes to the staging environment.
Note: You can also create a project on Hasura Cloud for development. All the steps required to sync between dev and
staging would remain the same. Typically, the webhook URL handlers need to be exposed to a public endpoint that Hasura
Cloud can access; hence, they cannot be localhost URLs. We recommend using something like ngrok to expose a local
server running for Actions/Remote Schemas/Events to a publicly accessible endpoint.
Squashing Migrations
As we keep changing the database, the migration directory gets noisy, with too many files created in the dev iteration process. Once a feature is fixed, combine and squash all the related migration files into a single file. This can be achieved using the squash command of the Hasura CLI. Execute the following command:
hasura migrate squash --name "squashed-migration" --from 123 --database-name default --endpoint https://myproject.hasura.app
And replace the value for --from appropriately.
Build apps and APIs 10x faster
Built-in authorization and caching
8x more performant than hand-rolled APIs


