Edit on GitHub
This course is no longer maintained and may be out-of-date. While it remains available for reference, its content may not reflect the latest updates, best practices, or supported features.
Provision Weaviate Cluster
With our data in Postgres, we're ready to provision a VectorDB cluster via Weaviate. We'll use the free 14-day cluster we signed up for in the prerequisites.
Overview
Using 2_vectordb_setup.ipynb, execute each cell in sequence. As before, we're using Pandas to read in the CSV before
then taking the weaviate-client library to connect to our cluster and add our data to it. Further, when we upload the
data, we're using the langchain module to add a language chain to the text field. This will allow us to perform
text-based searches in our application 🎉
Explore our data
To begin, we'll read in the CSV file and take a look at the first two rows of the dataframe. As before, this is a good self-check to make sure we're reading in the data correctly.
import pandas as pddf = pd.read_csv('data/Resume/processed_resume.csv')df.head()
We can also take a deeper dive into the content of the first row of our dataframe. This will give us a sense of what the
data looks like and how we might want to use it in our application. The pprint method will print the content of the
first row in a more readable format and the iloc method will allow us to select the first row.
from pprint import pprintpprint(df.iloc[0]['content'])
Set up the Weaviate client
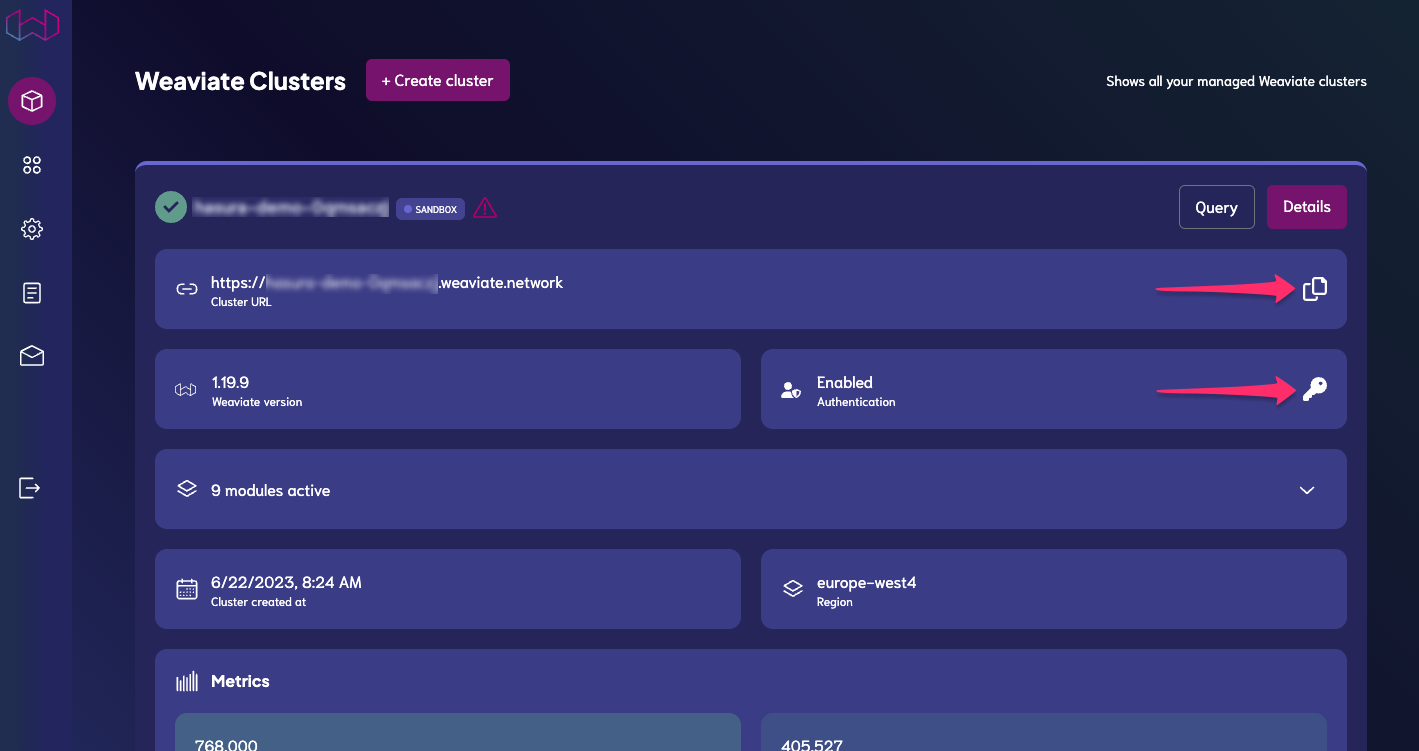
Before jumping into this section, make sure you've obtained your Weaviate cluster's endpoint and the API key. You can find these in the Weaviate console.
On Weaviate, we'll have a schema called Resume. This schema will have two properties: application_id and
chunk_text. The application_id will be the same as the id column of our dataframe. The chunk_text will be the
content column of our dataframe. To make it easier on ourselves, let's rename the id column to application_id.
df = df.rename(columns={'id': 'application_id'})
Create and load environment variables
We'll need to reference some values, including the ones we grabbed above. Inside your /scripts folder, create a .env
file and add the following keys and their corresponding values:
WEAVIATE_URL="<YOUR_WEAVIATE_URL>"WEAVIATE_APIKEY="<YOUR_WEAVIATE_KEY>"OPENAI_APIKEY="<YOUR_OPENAI_KEY>"
Then, import the weaviate library and the load_dotenv method from the dotenv library.
import osimport weaviatefrom dotenv import load_dotenvload_dotenv()
Create the Weaviate client
Now that we have our environment variables loaded, we can create the Weaviate client. We'll use the weaviate-client
library to connect to our cluster. We'll also add the OpenAI API key to the additional_headers parameter. This will
allow us to use the OpenAI API to generate text in our application.
client = weaviate.Client(url=os.environ["WEAVIATE_URL"],auth_client_secret=weaviate.AuthApiKey(api_key=os.environ['WEAVIATE_APIKEY']),additional_headers={"X-OpenAI-Api-Key": os.environ['OPENAI_APIKEY']})
We can test our connection using the following commands:
print(client.is_live())print(client.is_ready())
If both return True, we're ready to move on. If you encounter an error, double-check your environment variables and
make sure you've entered them correctly.
Create the schema
Now that we have our client, we can create the schema. First, we'll create a class_obj dictionary. This will contain
the schema for our Resume class.
class_obj = {"class": "Resume","description": "Resume of candidates applying for a job","vectorIndexType": "hnsw","vectorIndexConfig": {"distance": "cosine", # Similarity metric"efConstruction": 128, # Default value - trades off index build speed against index search speed"maxConnections": 64 # Default value - max number of connections supported},"vectorizer": "text2vec-openai","properties": [{"dataType": ["string"],"description": "ID of the application","name": "application_id","indexInverted": True,"moduleConfig": {"text2vec-openai": {"skip": True}}},{"dataType": ["text"],"description": "Content of the resume","name": "content","indexInverted": True,"moduleConfig": {"text2vec-openai": {"skip": False,"vectorizePropertyName": True}}}]}
Then, we can use the create-class method to create the schema. We'll pass in the class_obj dictionary.
client.schema.create_class(class_obj)
We can check ourselves by running the following to return the schema, which should return a single class called
Resume:
client.schema.get()
Finally, to be doubly-sure we've created the schema correctly, we can actually run a query against the cluster. The
following should return an empty list referencing the Resume schema:
result = (client.query.get("Resume",["application_id","content"]).with_limit(1).do())print(result)
Check ourselves
Before proceeding, we'll check ourselves a few ways to make sure our data is ready:
First, We'll retrieve the shape of the batch attribute.
client.batch.shape
Then, we'll grab the first row of our dataframe and print it out.
df.head(1)
Finally, we'll use the dtypes method to check the data types of our dataframe.
df.dtypes
If all of the above output match the Jupyter notebook's output, we're ready to move on. If something is amiss, rework the previous steps until you get the expected output.
Upload the data
Finally, we can upload the data to Weaviate. We'll use the batch attribute of the Weaviate client to upload the data
in bulk. We'll use the add_data_object method to add each row of the dataframe to the batch. We'll also pass in the
class_name parameter to specify the class name of the data we're uploading. In this case, it's Resume.
from langchain.text_splitter import RecursiveCharacterTextSplitterdf['application_id'] = df['application_id'].astype(str)bulk_objects = df[["application_id", "content"]].T.to_dict().values()with client.batch as batch:for obj in bulk_objects:batch.add_data_object(obj, class_name="Resume")print(client.batch.shape)
The expected output should be a series of tuples, each with the shape of the batch. The first tuple should be (1, 0)
and it should end with whatever value is the last row of your dataframe.
As before, we can check ourselves by running a query against the cluster. The following should return a single row:
result = (client.query.get("Resume",["application_id","content"]).with_limit(1).do())print(result)
Again, we can double-check ourselves by comparing the size of our dataframe to the size of our data in Weaviate:
print("Size of our dataframe: ", df.shape[0])result = (client.query.aggregate("Resume").with_meta_count().do())print("Number of rows in our db", result["data"]["Aggregate"]["Resume"])
At this point, you've got vectorized data which we can use with the OpenAI API to generate text! 🎉
 Build apps and APIs 10x faster
- Built-in authorization and caching
- 8x more performant than hand-rolled APIs