Test with Auth0 Token
Hasura is configured to be used with Auth0. Now let's test this setup by getting the access token from Auth0 and making GraphQL queries with the Authorization headers to see if the permissions are applied.
To get a JWT token for testing, we will set up an extension on Auth0.
1. Install the Authentication API Debugger Extension. This will allow us to configure and generate an access token.
To install this extension:
Navigate to the Extensions page of the Auth0 Dashboard,
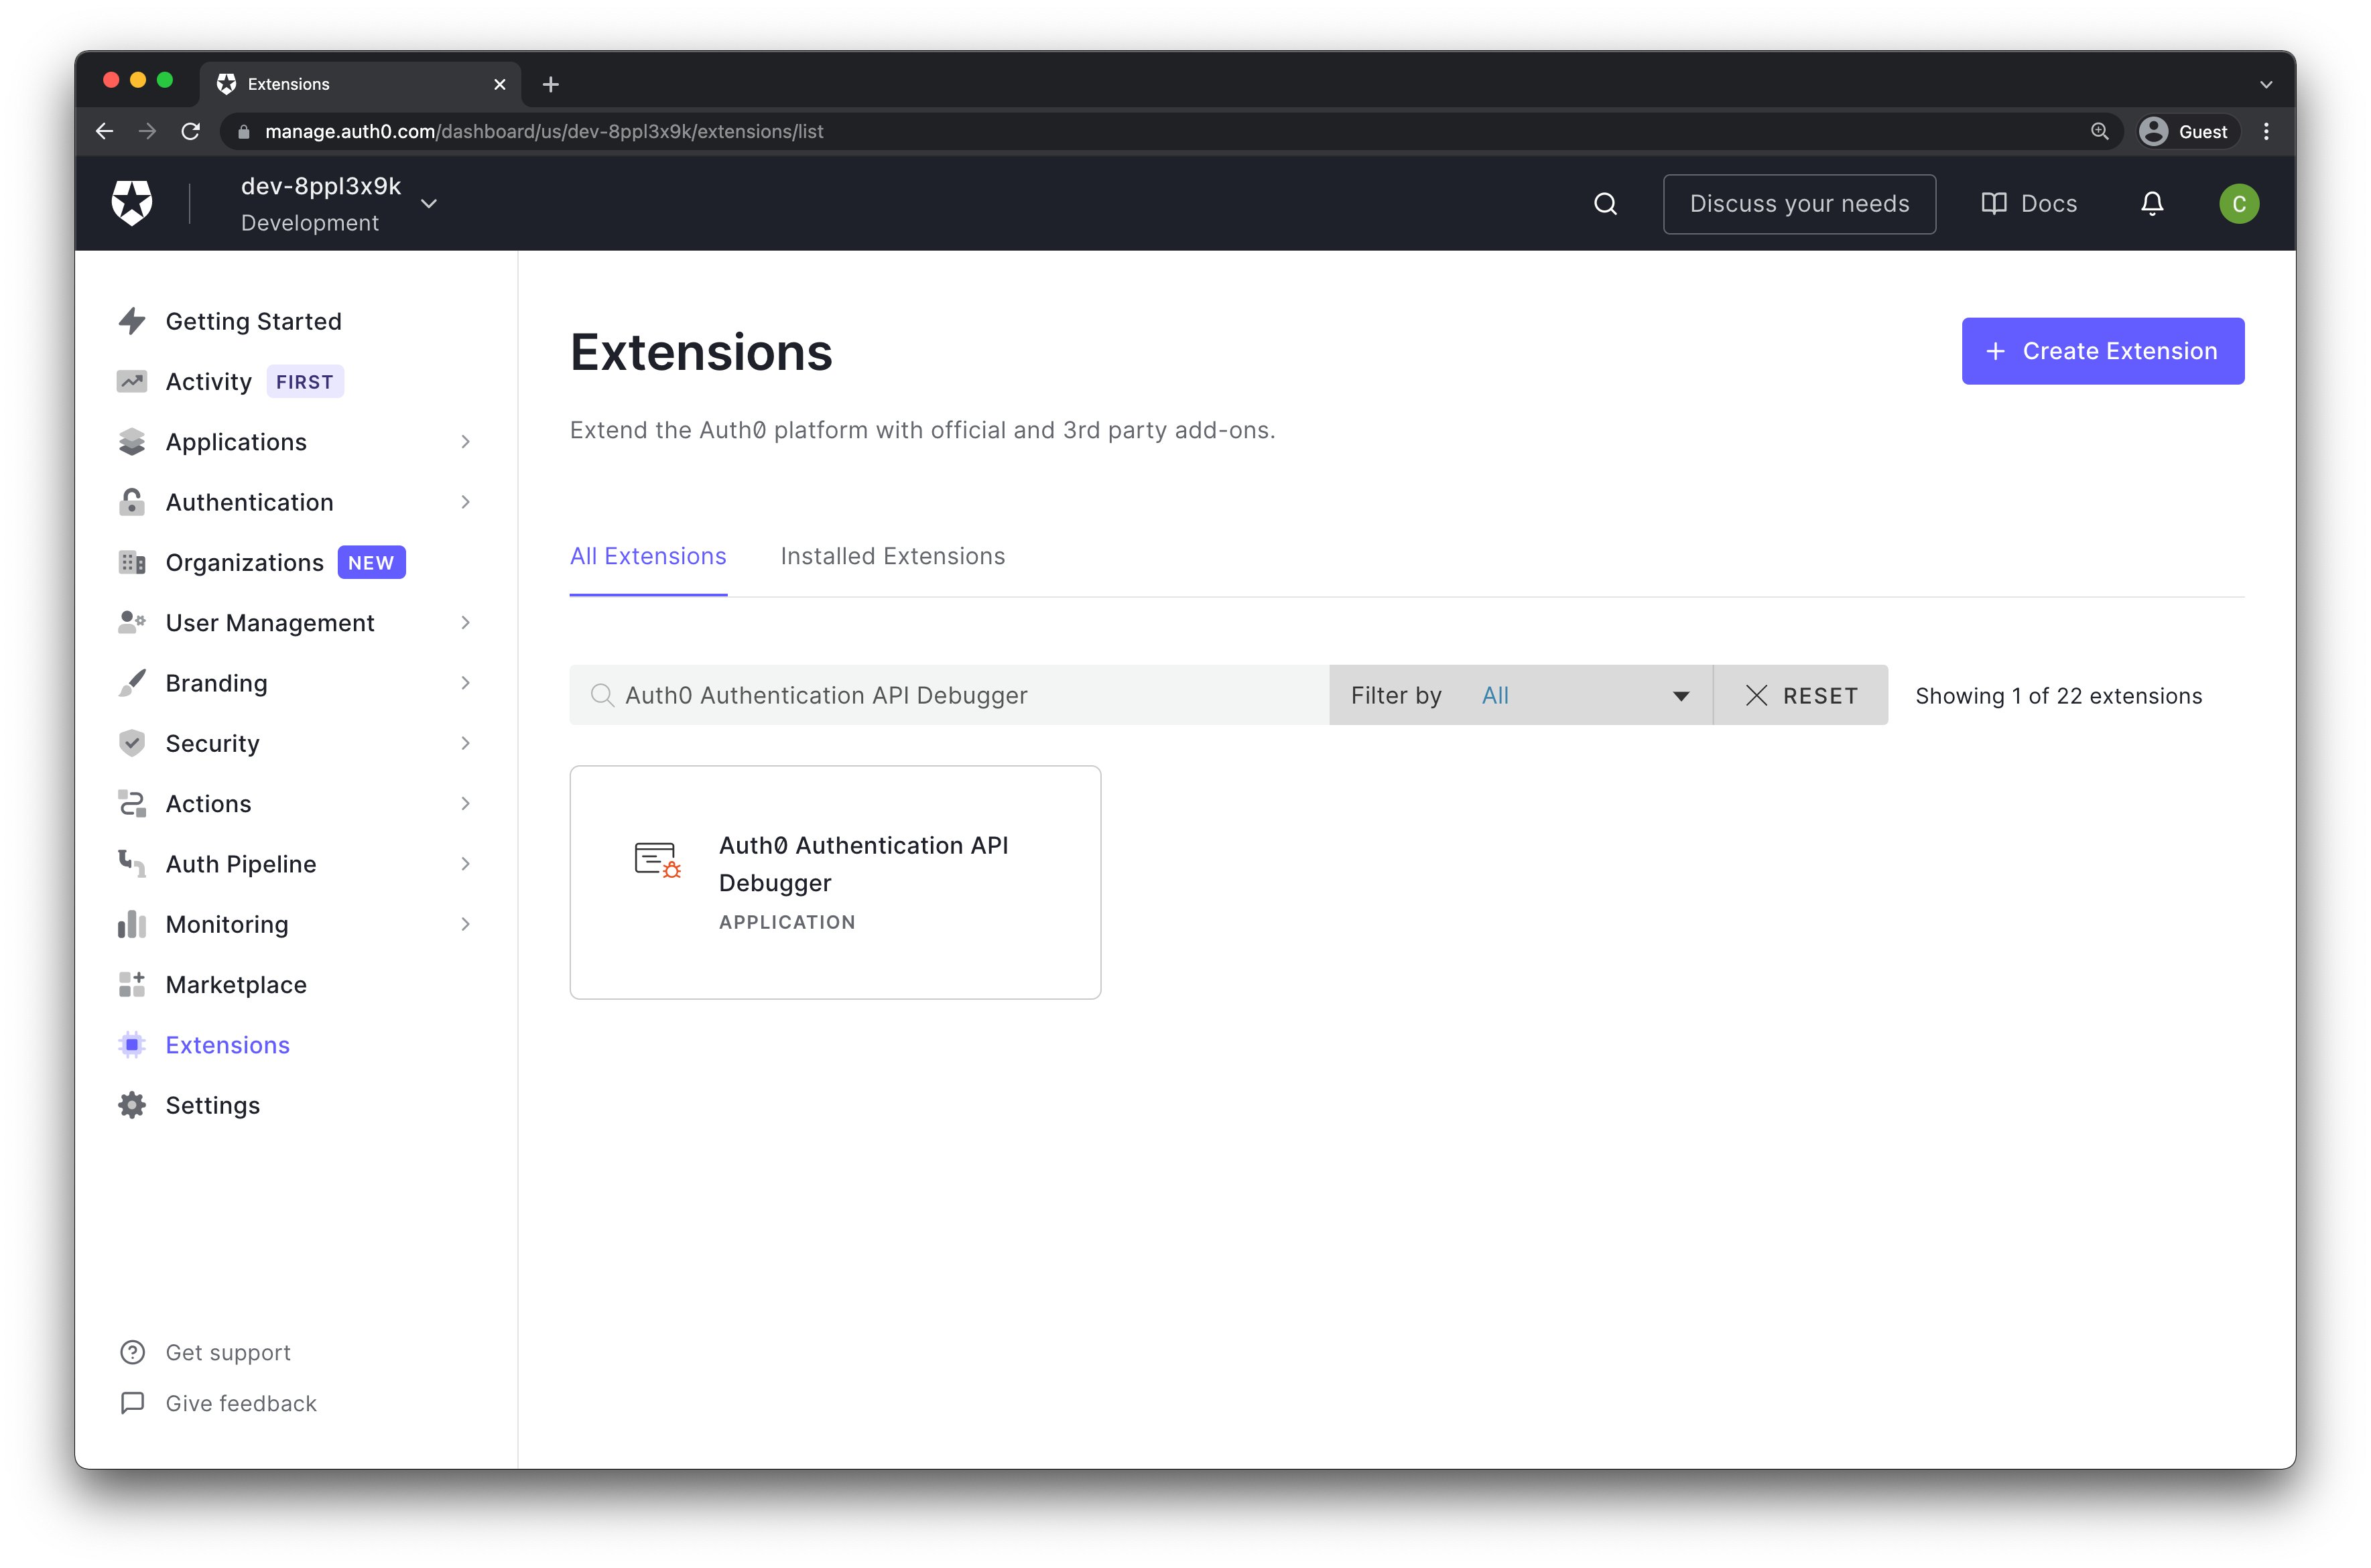
Click the Auth0 Authentication API Debugger box. The Install Extension window opens. Click Install.
2. Authorize the extension
Once the extension is installed, you can click on it under the Installed Extensions tab. The URL will look similar to https://<auth0-domain>.<region>.webtask.run/auth0-authentication-api-debugger
It will prompt you to login using the Sign In with Auth0 UI. Make sure to login using the credentials used to create the Auth0 account initially. This step is to basically authorize the usage of extension and allowing it access to read client details of the app.
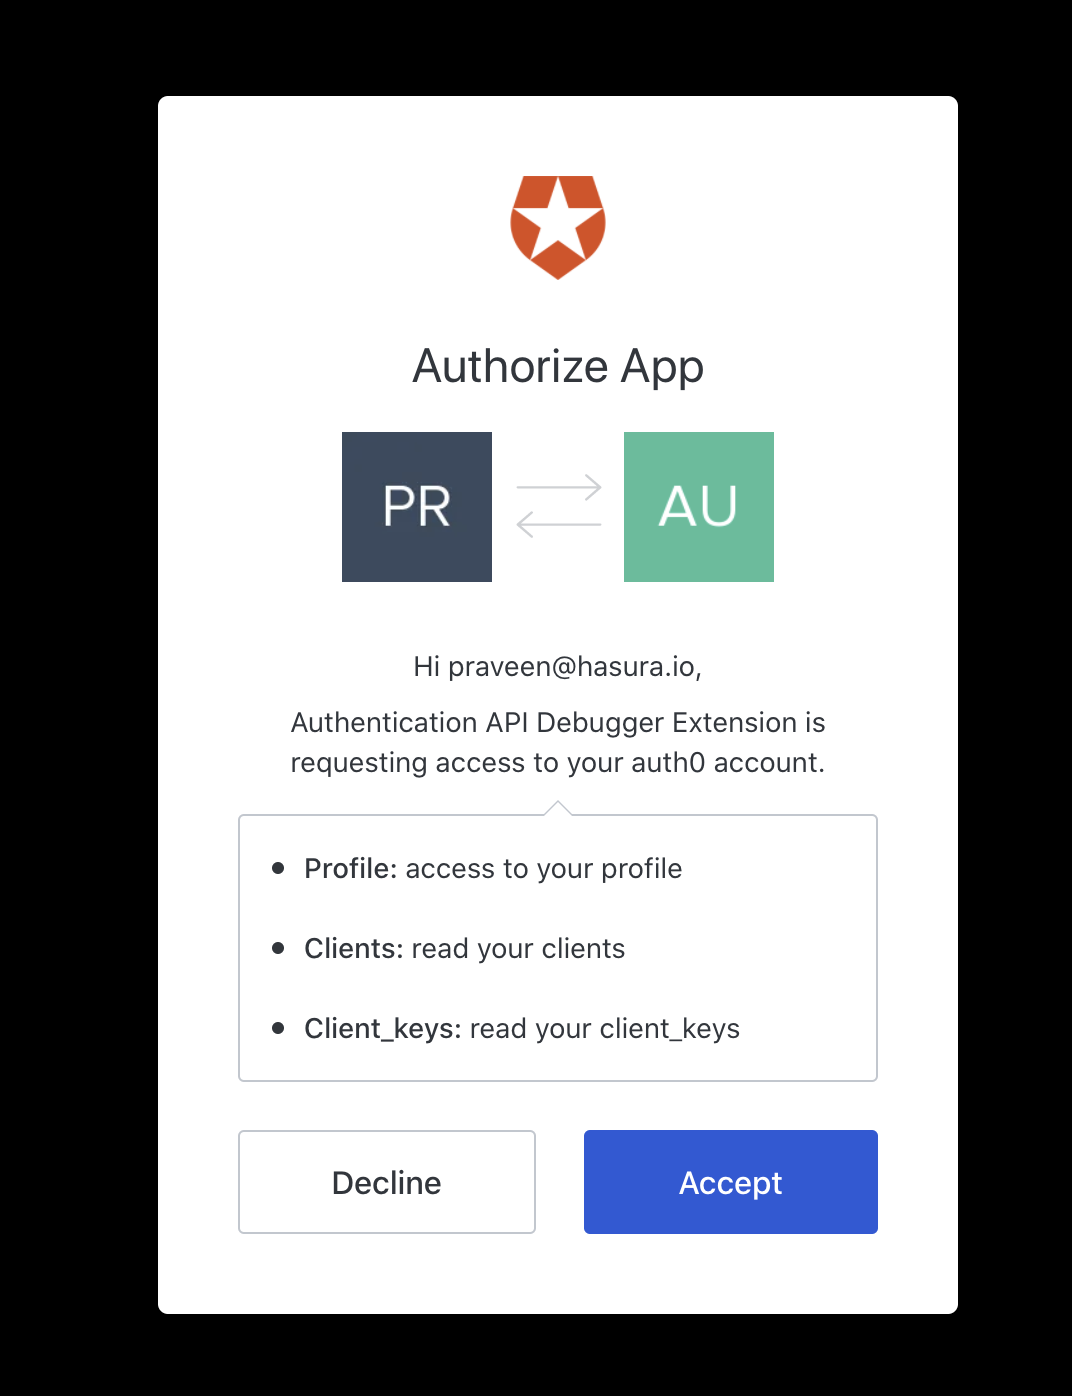
Once you have authorized the app, you should see the Debugger page.
3. Configure the Auth0 application
In the API debugger page, select the name of the Application that you created earlier in the tutorial.
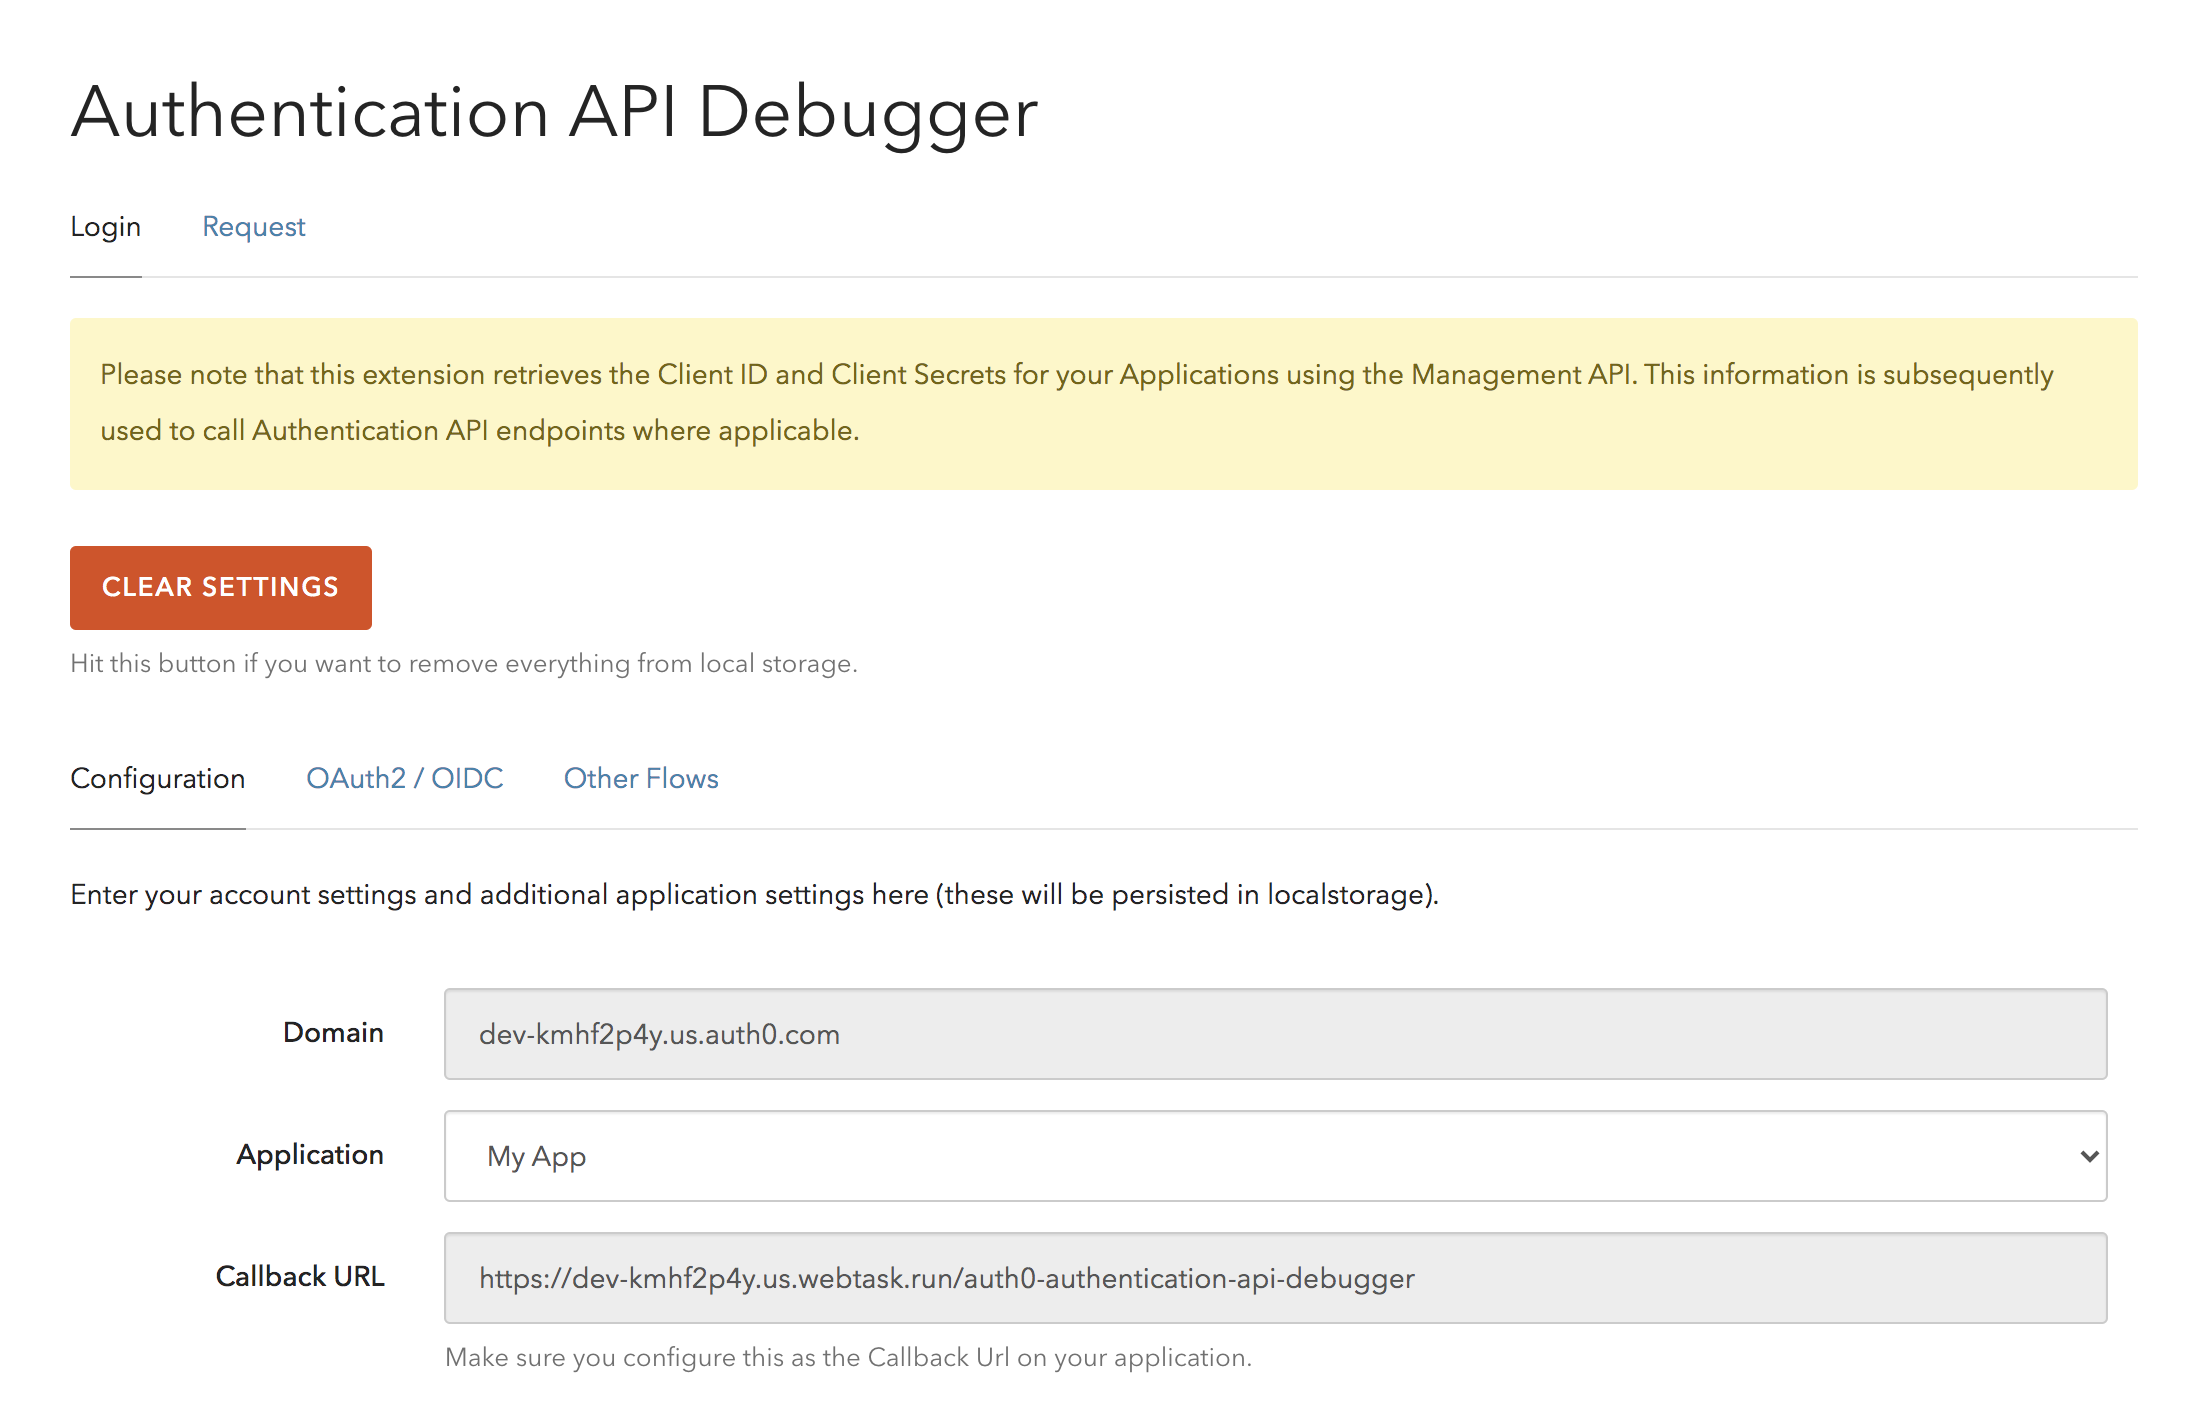
Now, copy the Callback URL mentioned there. Go to your Auth0 Applications page, go into settings for your app, and add the URL to the 'Allowed Callback URLs'.
4. Set the audience
Switch to the OAuth2 / OIDC tab next to Configuration and scroll down below to configure the Audience value.
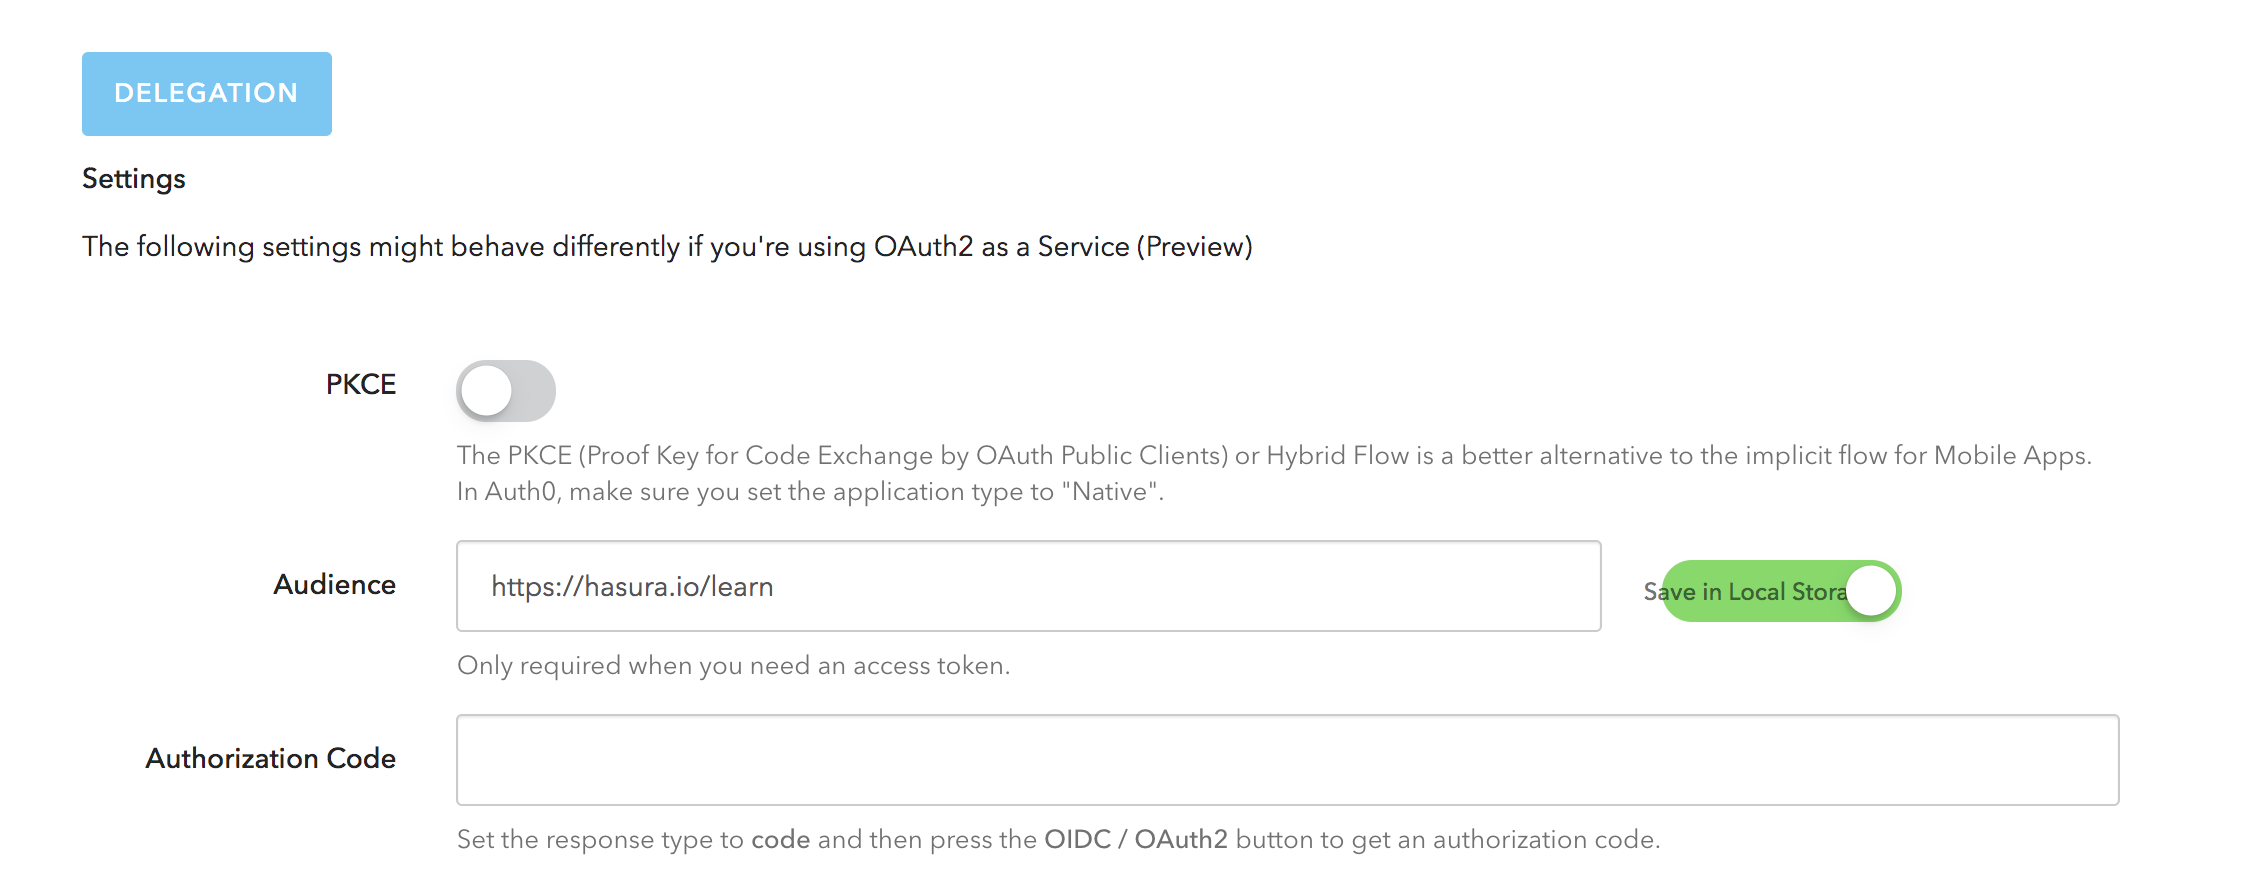
Enter the Audience value as https://hasura.io/learn and toggle the Use Audience option next to it.
If you remember, we created an API with the above audience value in one of the previous steps.
5. Go back to the extensions settings for Auth0 Authentication API Debugger.
Click on OAuth2 / OIDC Login button under User Flows. This will prompt you to login as a user. Signup on this UI with any account and once you login successfully, you will be taken back to the Authentication debugger page with the JSON response printed.
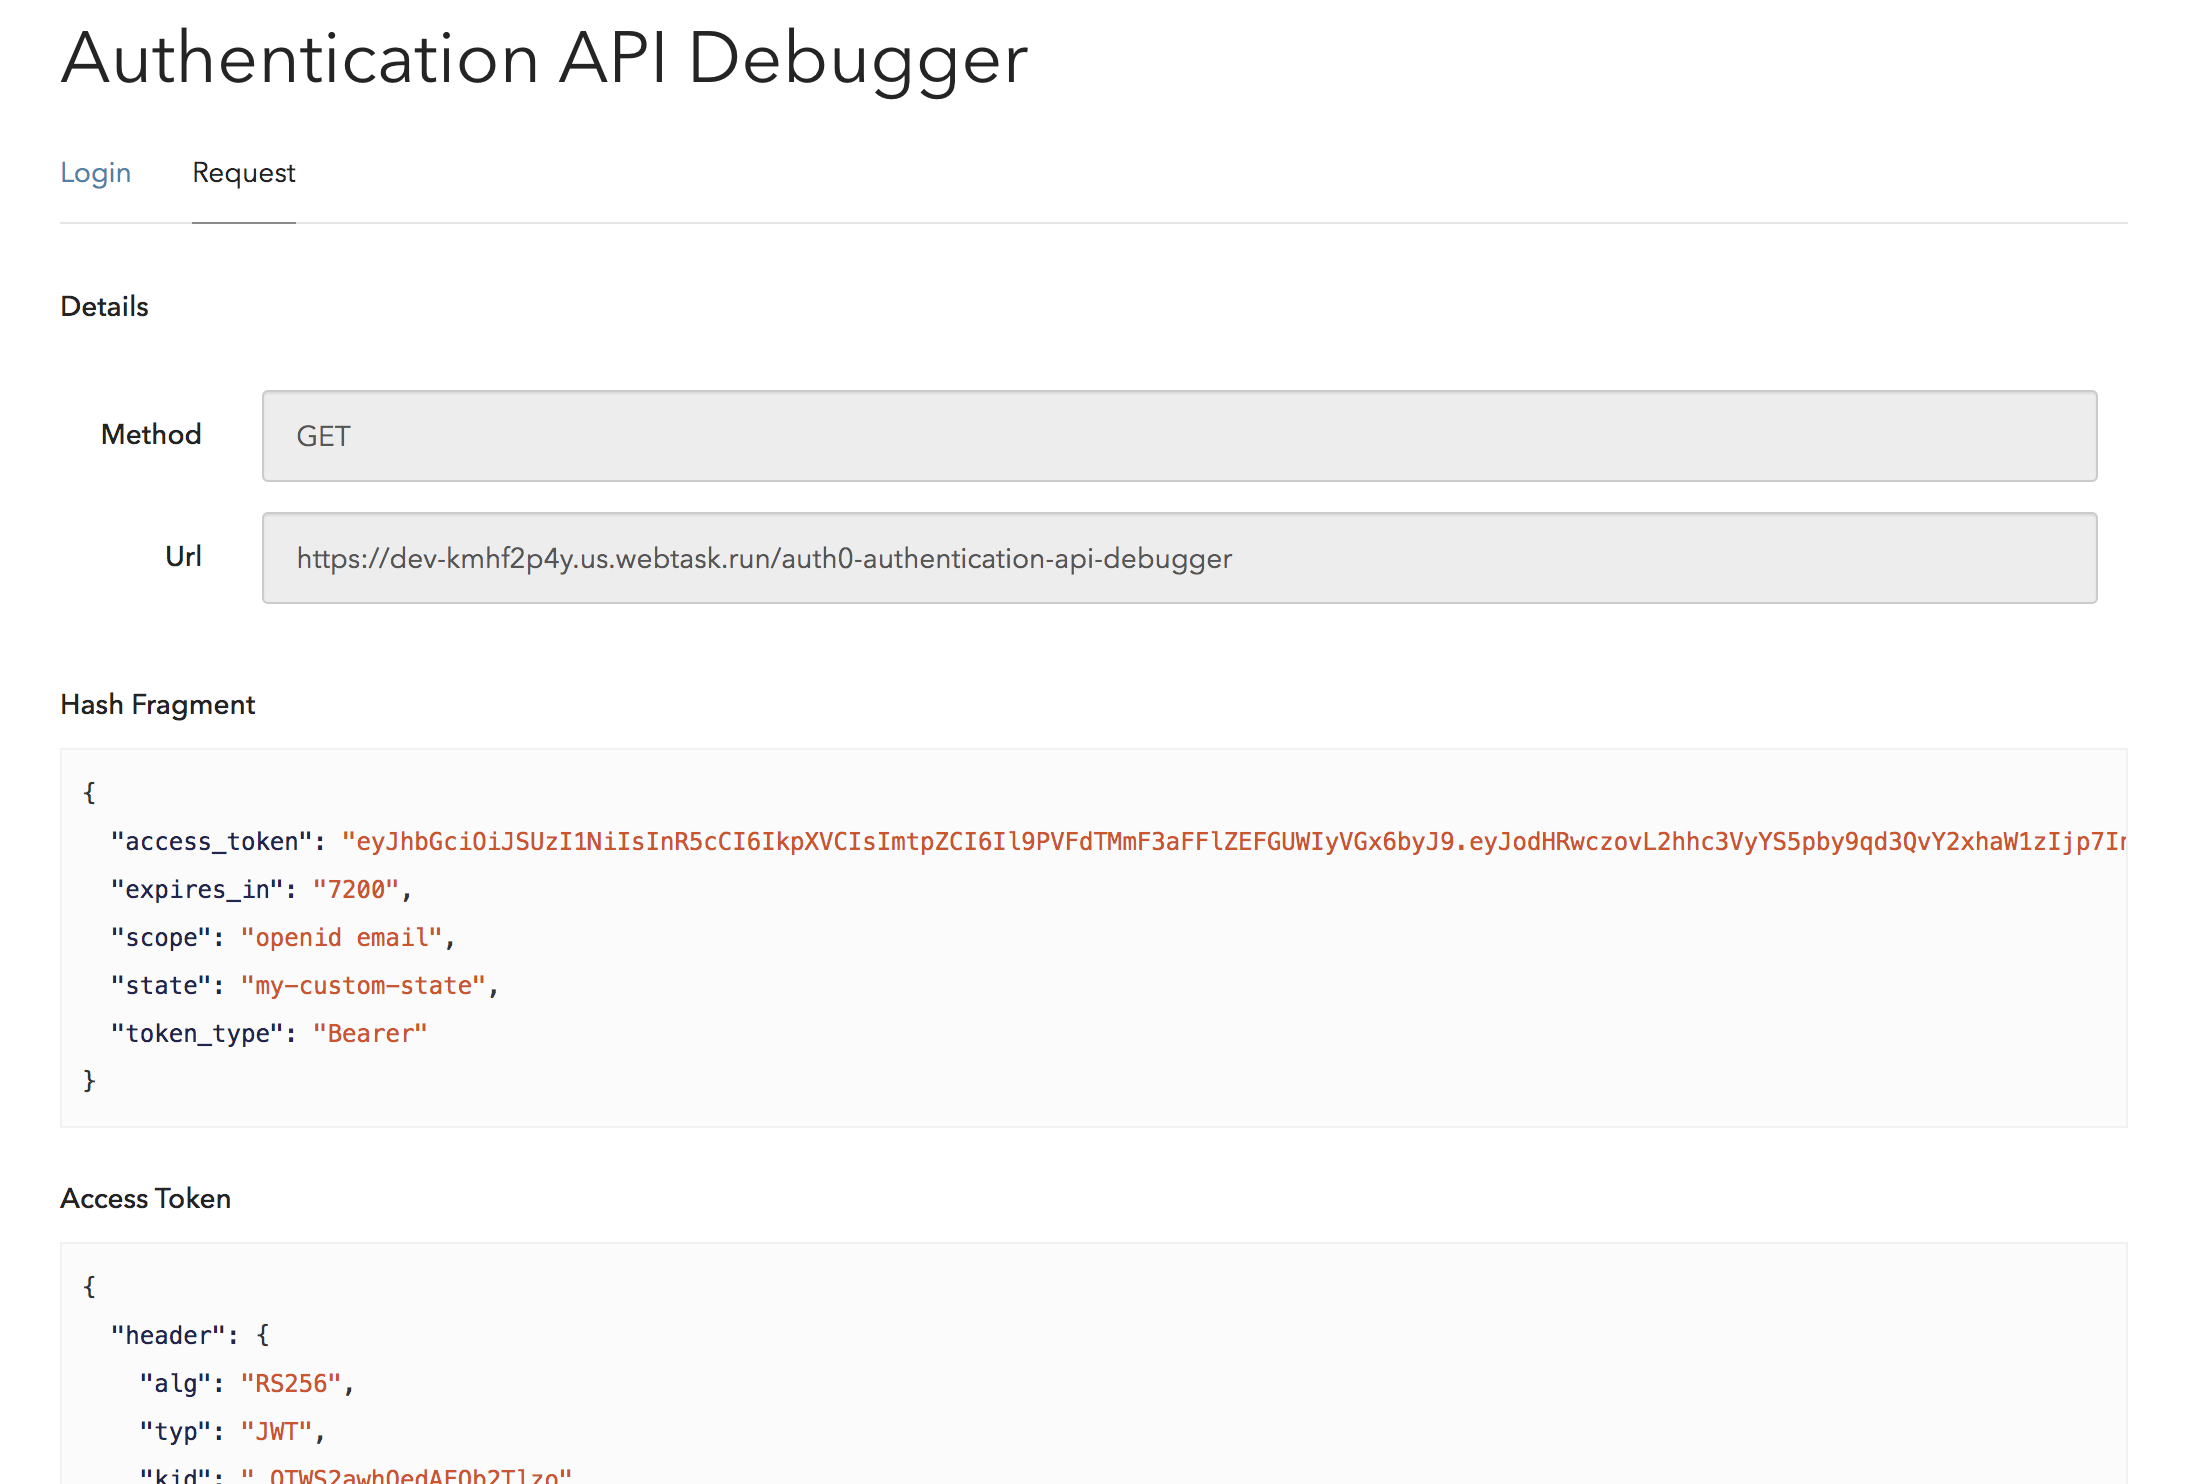
In the Hash Fragment section, you will be able to see the access_token key in the object.
6. Test the JWT
The debugger should give you the decoded payload that contains the JWT claims that have been configured for Hasura under the key https://hasura.io/jwt/claims. Now inside this object, the role information will be available under x-hasura-role key and the user-id information will be available under x-hasura-user-id key.
From now on, you will be able to use this access_token for making authenticated requests. In the Hasura Console GraphiQL tab, you can add a header Authorization: Bearer <access_token> for making such requests.
Build apps and APIs 10x faster
Built-in authorization and caching
8x more performant than hand-rolled APIs


