Node.js Express
What is Express
Express is a fast, unopinionated, minimalist web framework for Node.js. Using the library jsonwebtoken we can create an auth server that generates JWT tokens Hasura can understand and use.
How to Integrate Express with Hasura
Add Admin Secret to Hasura
To use authentication with Hasura first we need to set an admin secret via the HASURA_GRAPHQL_ADMIN_SECRET environment variable. For this tutorial, we'll use myadminsecretkey
Create User Table
In Hasura create a user table to store our user's information:
idof type UUID with default valuegen_random_uuid()(Primary key)emailof type Text (unique)passwordof type Text
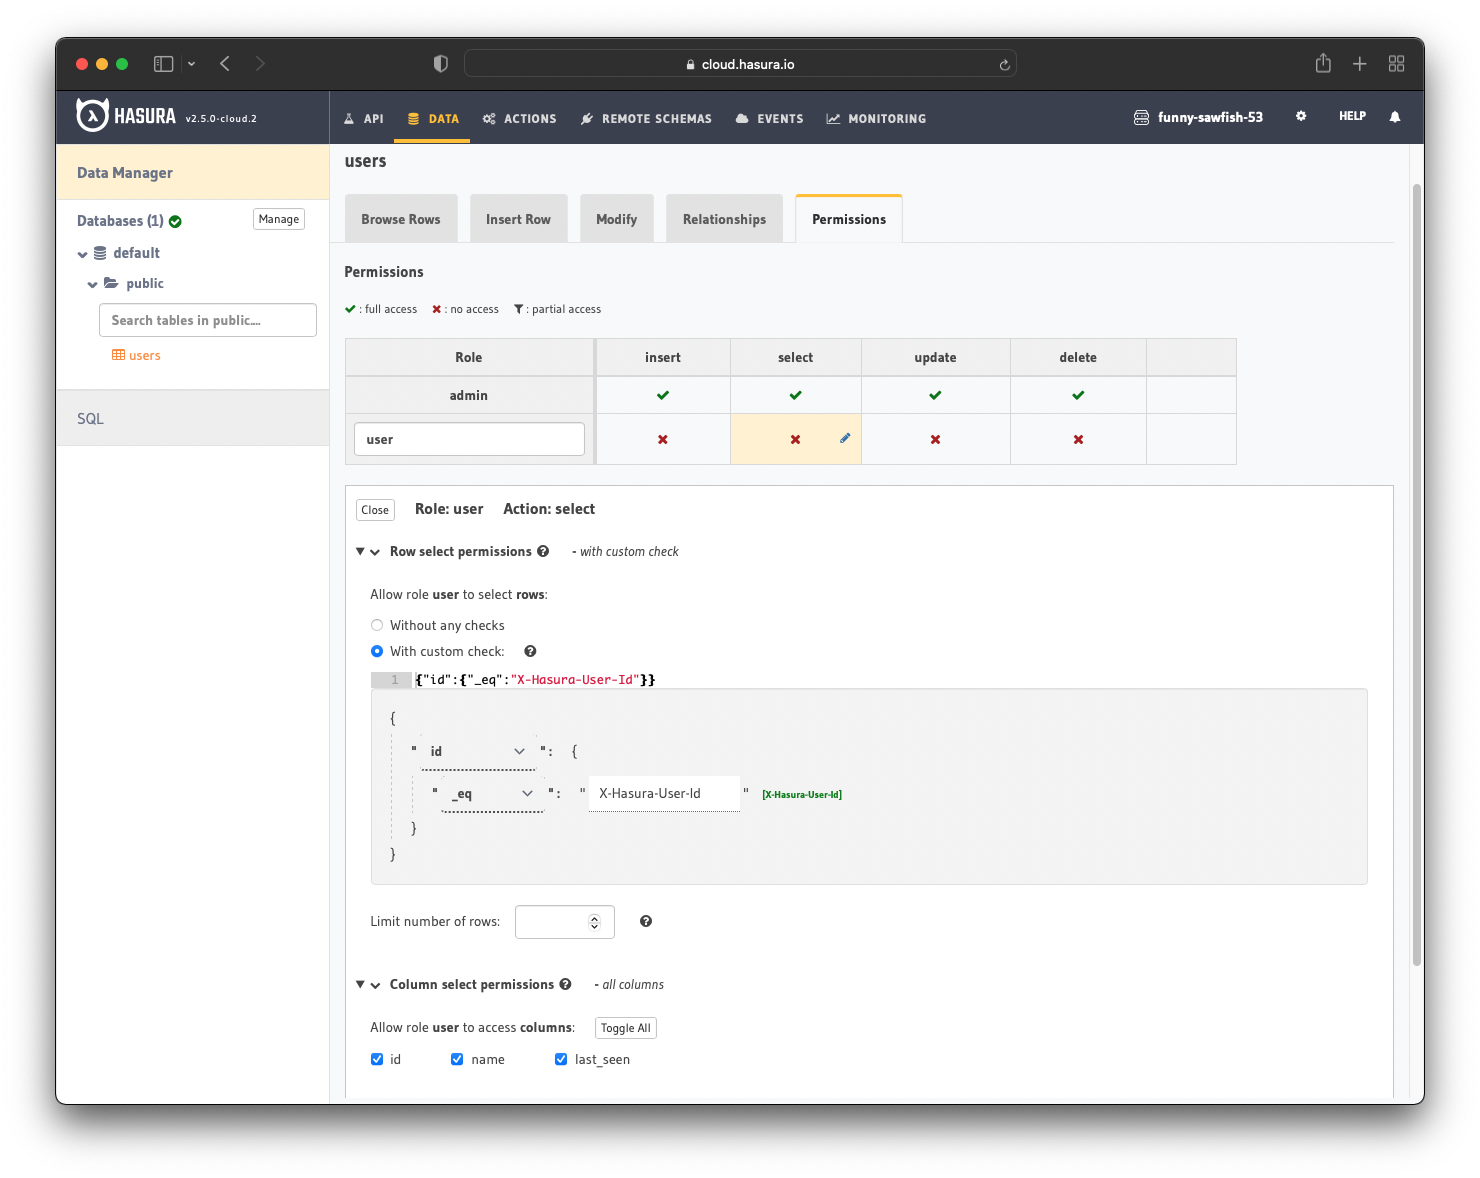
After creation, we need to add permissions for the user role. Users should be able to see only their records.
Configure the user role to deny all permissions except selecting where id _eq X-Hasura-User-Id. For more information, read about configuring permission rules in Hasura.

Create Express Server
Setup Boilerplate
In your empty project folder run npm init and change the start script to ts-node src/index.ts
Install development dependencies
npm i -D ts-node typescript @types/bcrypt @types/express @types/jsonwebtoken @types/node
and regular dependencies
npm i bcrypt express graphql-request jsonwebtoken
Create src/index.ts
import express, { Request, Response } from "express";const app = express();const port = process.env.PORT || 3000;// Parse JSON in request bodiesapp.use(express.json());app.listen(port, () => {console.log(`Auth server running on port ${port}.`);});
Test that it works by running npm run start
Setup JWT Generation
The custom JWT claims are needed because they tell Hasura about the role of the user making the API call. This way, Hasura can enforce the appropriate authorization rules. The rules define what the user is allowed to do.
Using the jsonwebtoken library we are going to sign a JWT with user info when they login.
Copy the JWT code from the Hasura Super App into src/jwt.ts
import * as jwt from "jsonwebtoken";const HASURA_GRAPHQL_JWT_SECRET = {type: process.env.HASURA_JWT_SECRET_TYPE || "HS256",key:process.env.HASURA_JWT_SECRET_KEY ||"this-is-a-generic-HS256-secret-key-and-you-should-really-change-it",};const JWT_CONFIG: jwt.SignOptions = {algorithm: HASURA_GRAPHQL_JWT_SECRET.type as "HS256" | "RS512",expiresIn: "10h",};interface GenerateJWTParams {defaultRole: string;allowedRoles: string[];otherClaims?: Record<string, string | string[]>;}export function generateJWT(params: GenerateJWTParams): string {const payload = {"https://hasura.io/jwt/claims": {"x-hasura-allowed-roles": params.allowedRoles,"x-hasura-default-role": params.defaultRole,...params.otherClaims,},};return jwt.sign(payload, HASURA_GRAPHQL_JWT_SECRET.key, JWT_CONFIG);}
Setup Node.js Graphql Client
Using the graphql-request library we will create a client to query and mutate Hasura and attach our admin secret to the header.
Create src/client.ts
import { GraphQLClient } from "graphql-request";export const client = new GraphQLClient("http://localhost:8080/v1/graphql", {headers: { "x-hasura-admin-secret": "myadminsecretkey" },});
User Signup
Back in src/index.ts after app.use(express.json()); we add our user registration API route which takes in an email/password and returns a JWT token representing the user.
import bcrypt from "bcrypt";import { gql } from "graphql-request";import { client } from "./client";import { generateJWT } from "./jwt";app.post("/auth/register", async (req: Request, res: Response) => {const { email, password } = req.body as Record<string, string>;// In production app, you would check if user is already registered// We skip that in this tutorial for the sake of time// We insert the user using a mutation// Note that we salt and hash the password using bcryptconst { insert_user_one } = await client.request(gql`mutation registerUser($user: user_insert_input!) {insert_user_one(object: $user) {id}}`,{user: {email,password: await bcrypt.hash(password, 10),},});const { id: userId } = insert_user_one;res.send({token: generateJWT({defaultRole: "user",allowedRoles: ["user"],otherClaims: {"X-Hasura-User-Id": userId,},}),});});
We can now add a user with cURL
curl --request POST \--url http://localhost:3000/auth/register \--header 'Content-Type: application/json' \--data '{"password": "password1"}'
User Login
The login endpoint is very similar to register, we get the user data from Hasura and check the password
app.post("/auth/login", async (req: Request, res: Response) => {const { email, password } = req.body as Record<string, string>;let { user } = await client.request(gql`query getUserByEmail($email: String!) {user(where: { email: { _eq: $email } }) {idpassword}}`,{email,});// Since we filtered on a non-primary key we got an array backuser = user[0];if (!user) {res.sendStatus(401);return;}// Check if password matches the hashed versionconst passwordMatch = await bcrypt.compare(password, user.password);if (passwordMatch) {res.send({token: generateJWT({defaultRole: "user",allowedRoles: ["user"],otherClaims: {"X-Hasura-User-Id": user.id,},}),});} else {res.sendStatus(401);}});
We can try logging in with cURL
curl --request POST \--url http://localhost:3000/auth/login \--header 'Content-Type: application/json' \--data '{"password": "password1"}'
Integrate the Express JWT with Hasura
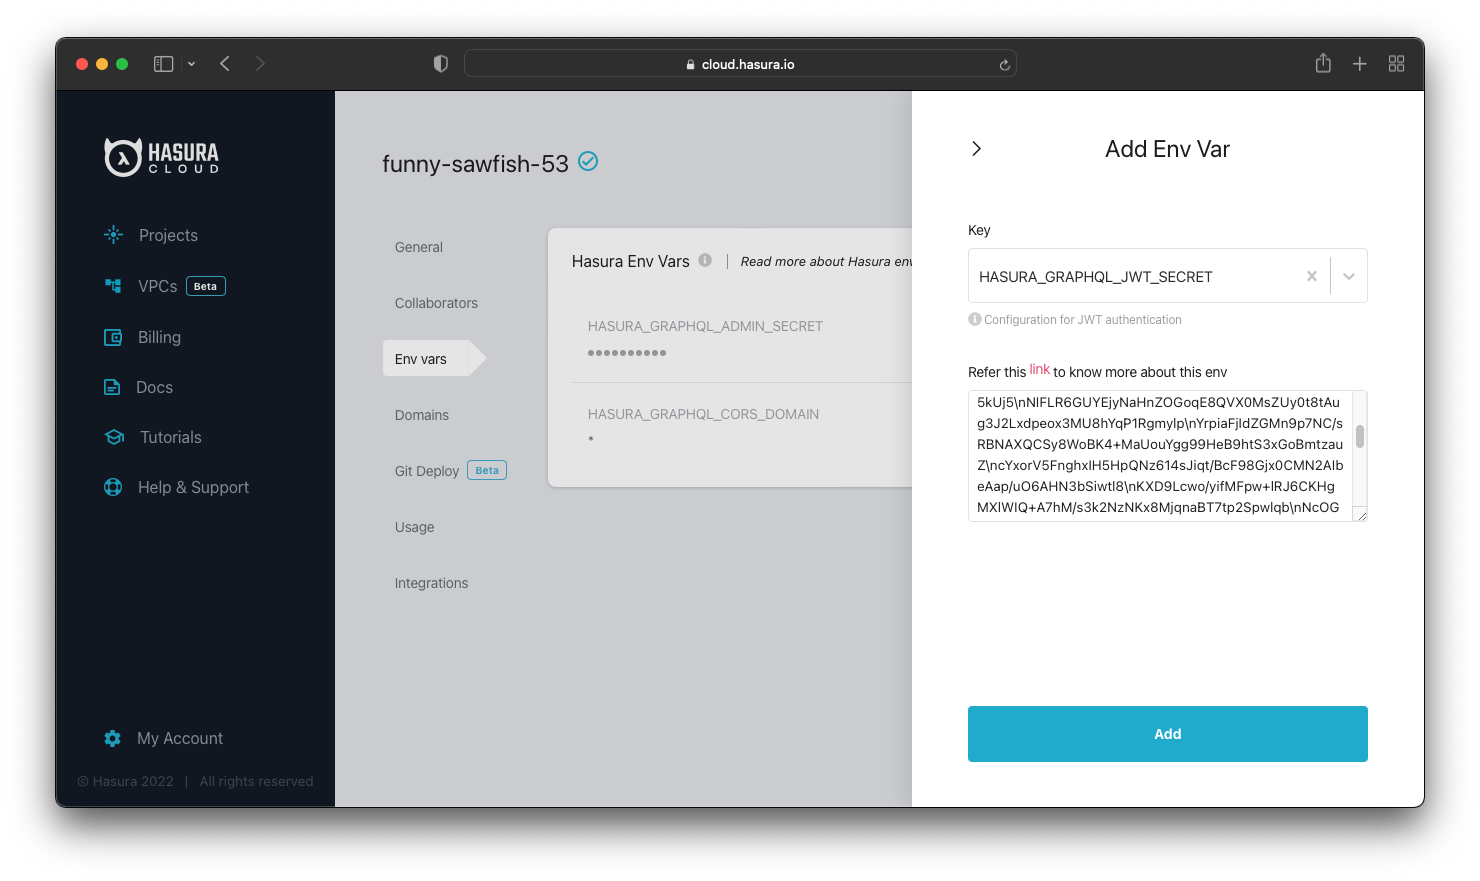
We tell Hasura how to authenticate the JWT using the HASURA_GRAPHQL_JWT_SECRET environment variable. By default jsonwebtoken uses the HS256 algorithm and we set the secret to the same value as in our Express server.
HASURA_GRAPHQL_JWT_SECRET: '{ "type": "HS256", "key": "this-is-a-generic-HS256-secret-key-and-you-should-really-change-it" }'

Testing It Out
Using the register or login endpoint get a working JWT token. You can check the token at https://jwt.io.
Open up the Hasura API Explorer GUI and uncheck the x-hasura-admin-secret header. If your permissions are set up properly you shouldn't be able to query anything. Now add an Authorization header with the value being Bearer <your JWT token>. If your setup worked properly you should be able to query your user!
Build apps and APIs 10x faster
Built-in authorization and caching
8x more performant than hand-rolled APIs


