Edit on GitHub
MS SQL Server and SSMS on Windows
This is a step-by-step guide for installing MS SQL Server 2019 (latest at the time of writing this document) and SSMS 18.9.2 for Windows OS.
Refer to the Prerequisite section before you proceed.
Download MS SQL Server for Windows
Click here to go to the SQL Server Downloads link.
Scroll down and choose between the Developer edition or Express edition.
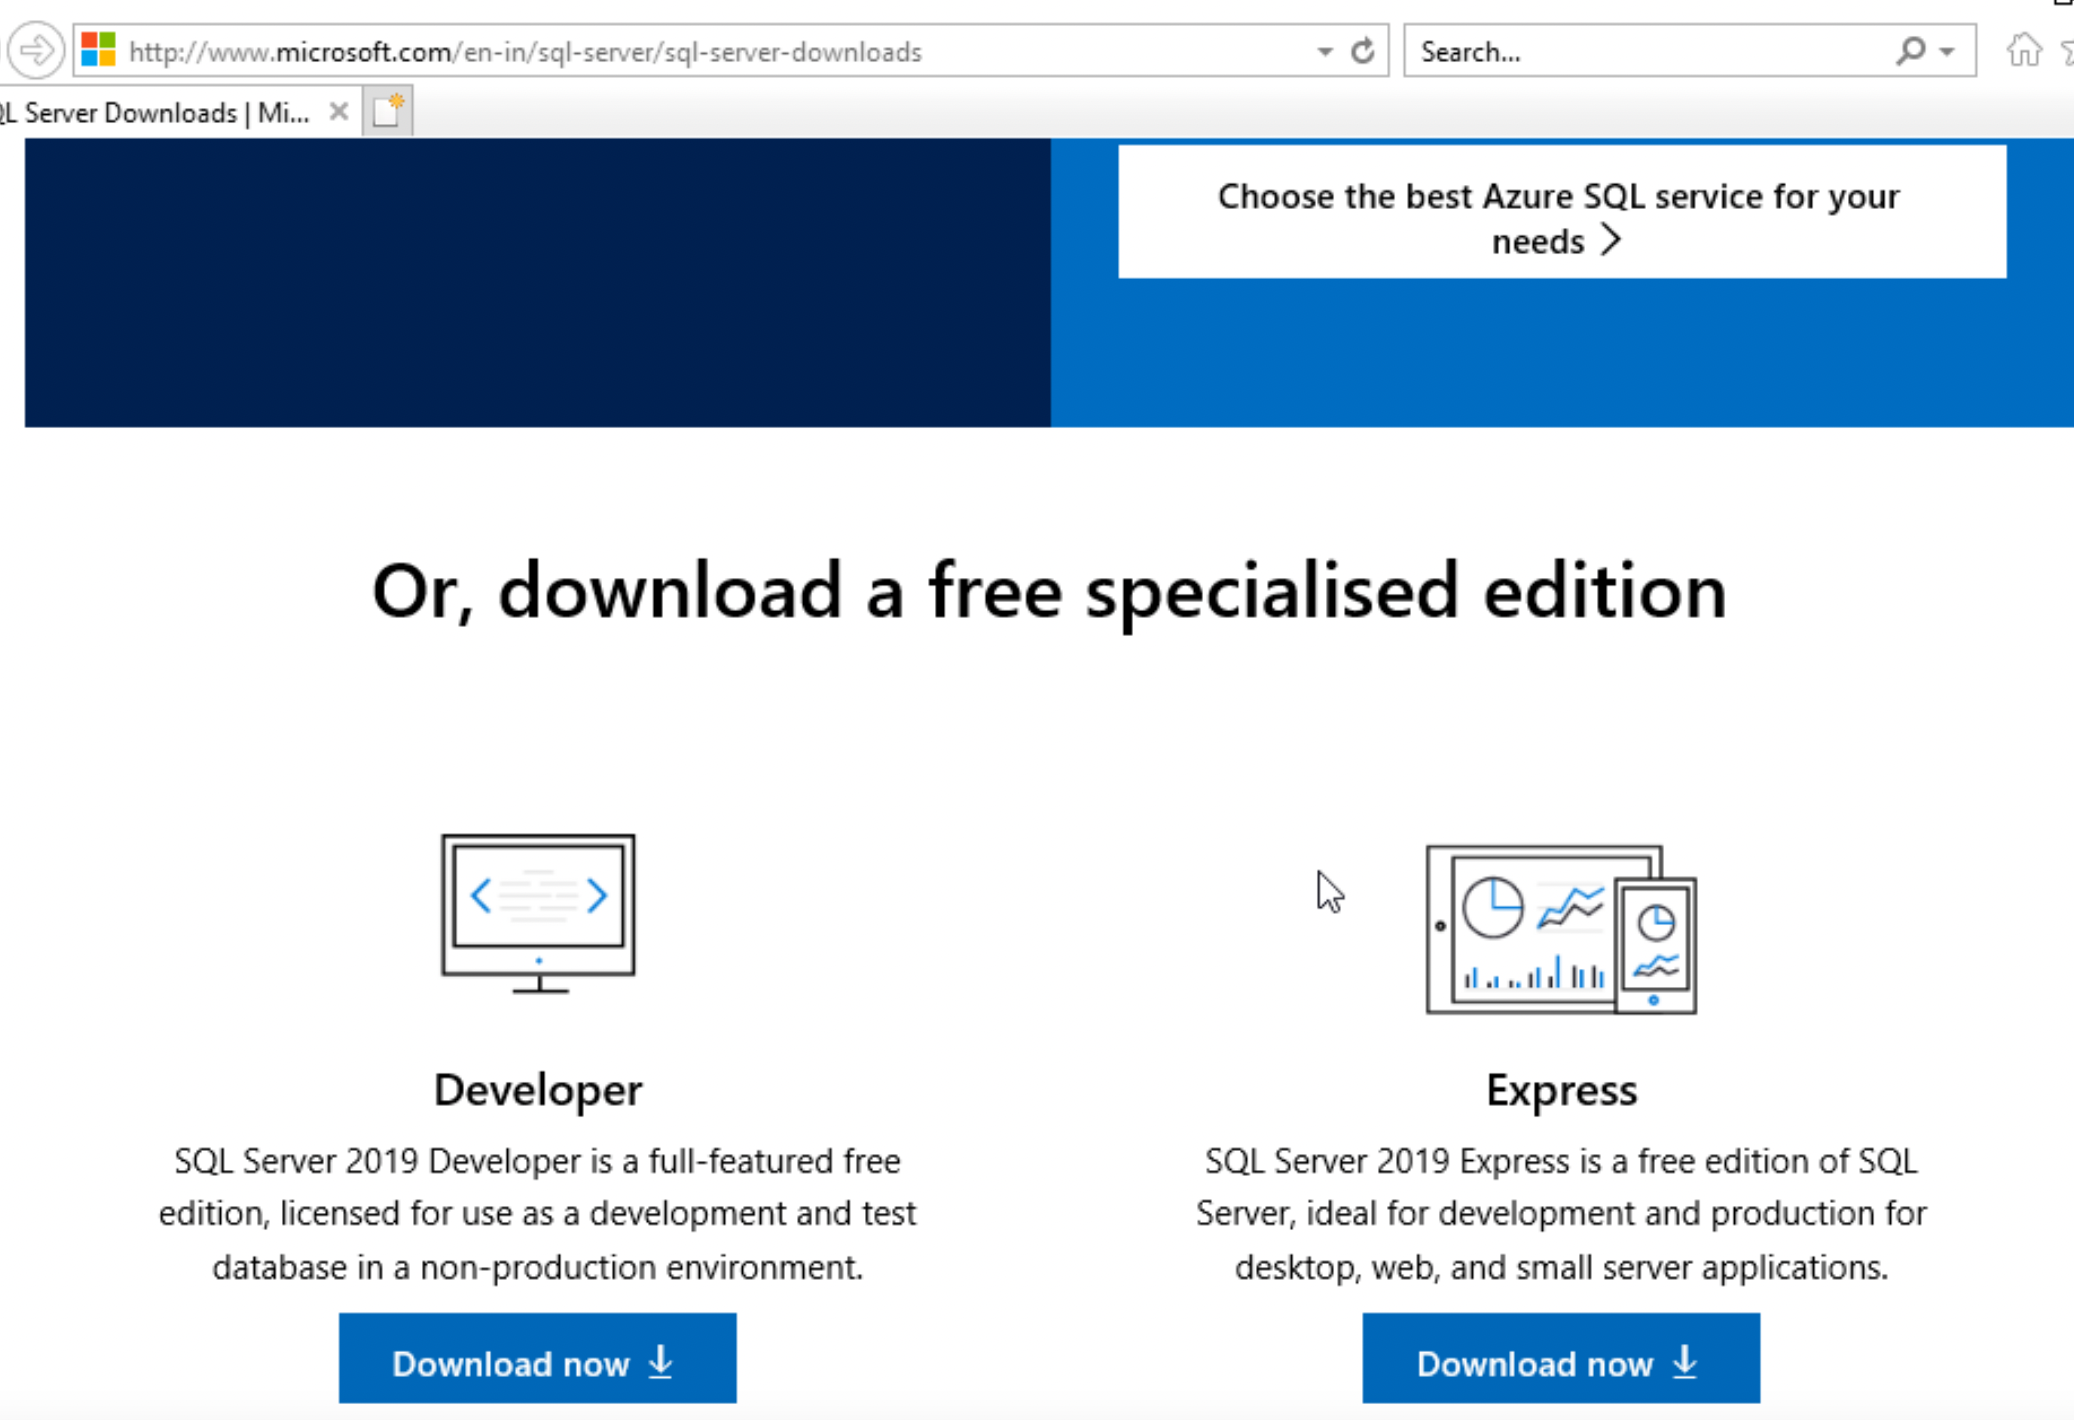
This guide uses the Developer edition for development and testing in a non-production environment.
Install MS SQL Server
- Click on the Download now button for the Developer edition.
- Next, double click SQL2019-SSEI-Dev from your installed location to start the installer.
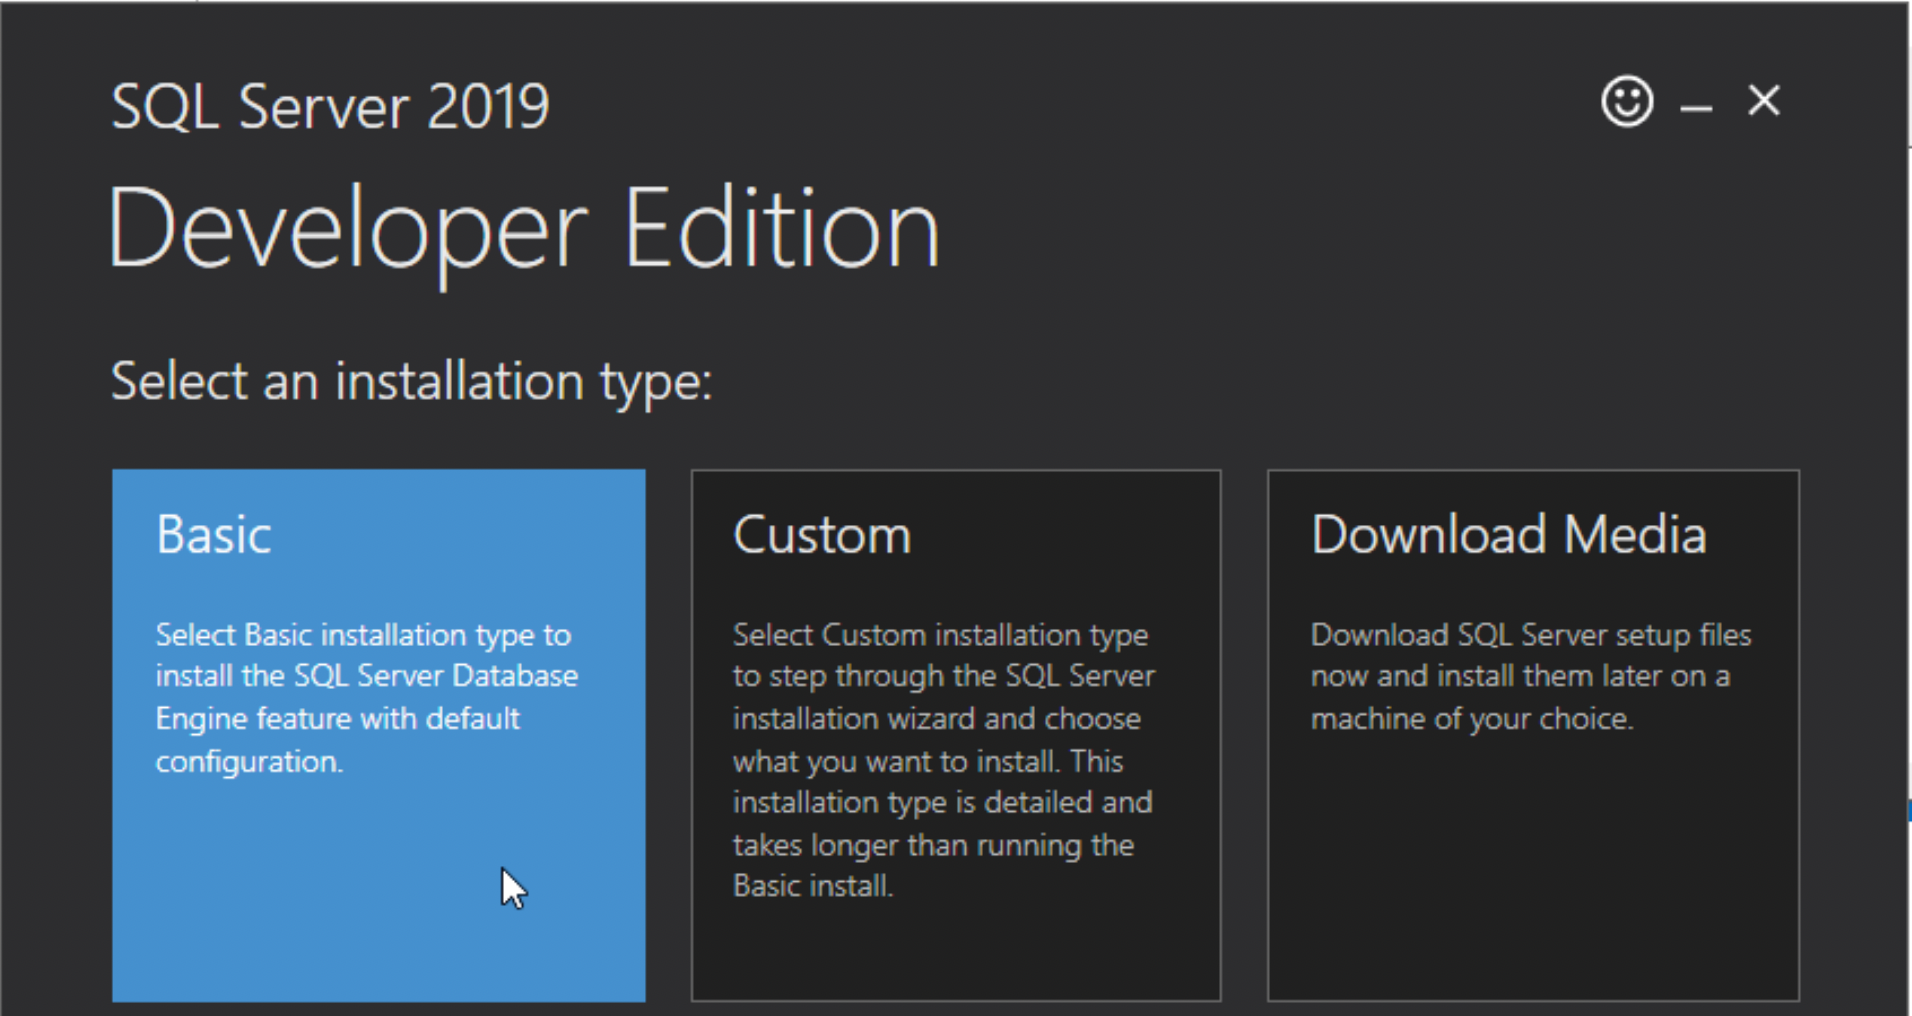
- Select the recommended Basic installation type.
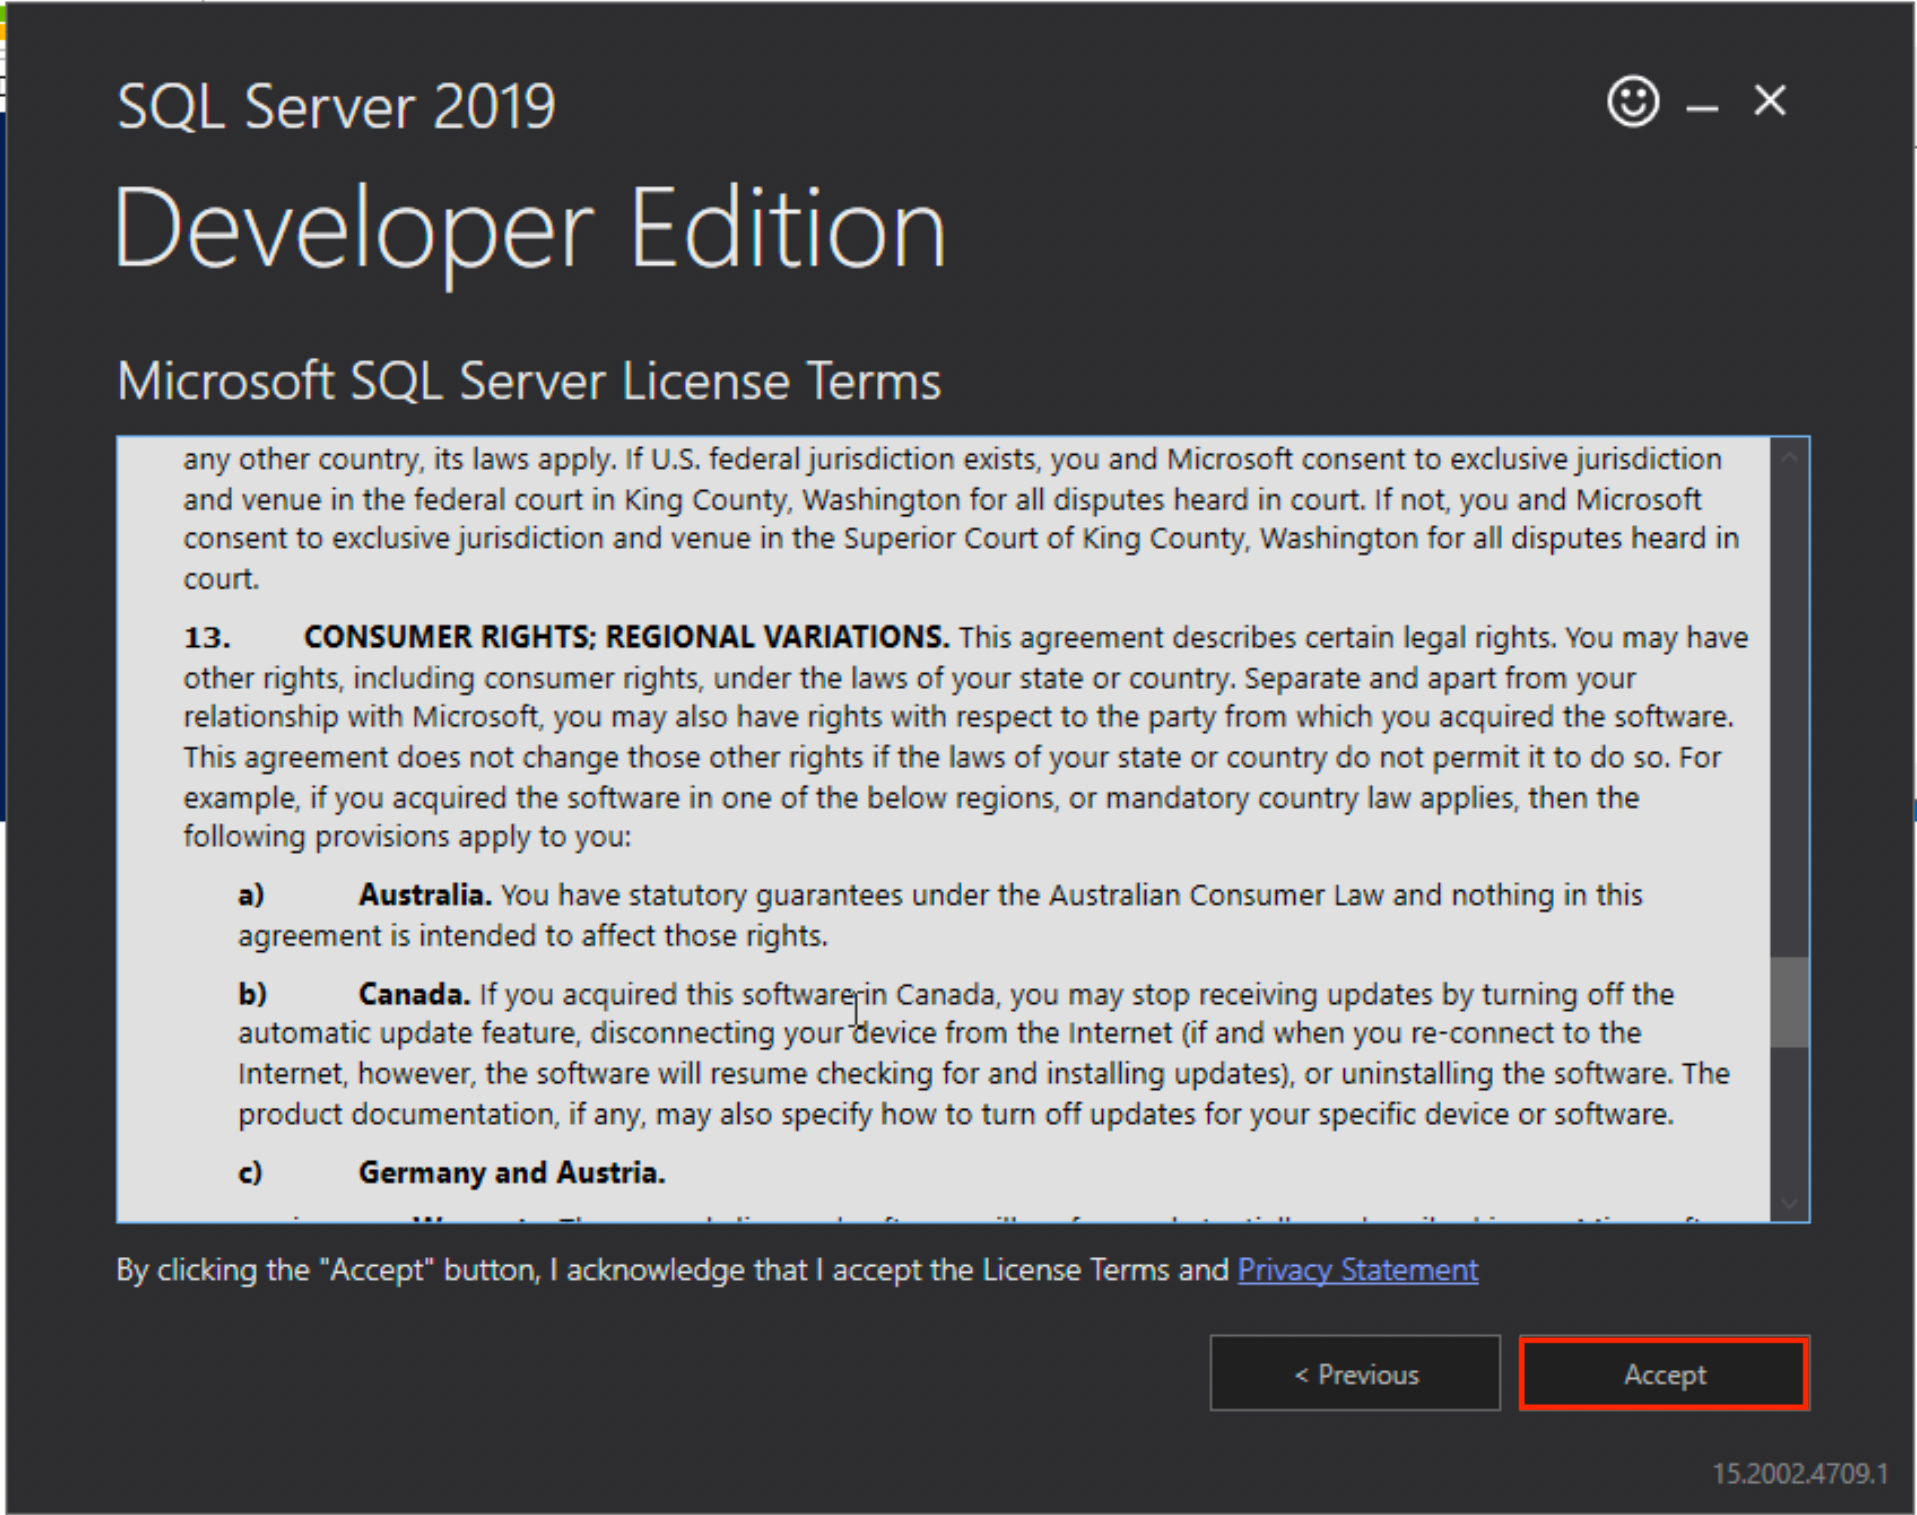
- Click Accept to accept the License Agreement.
- You can select the default install location or change the location by clicking on the Browse button.
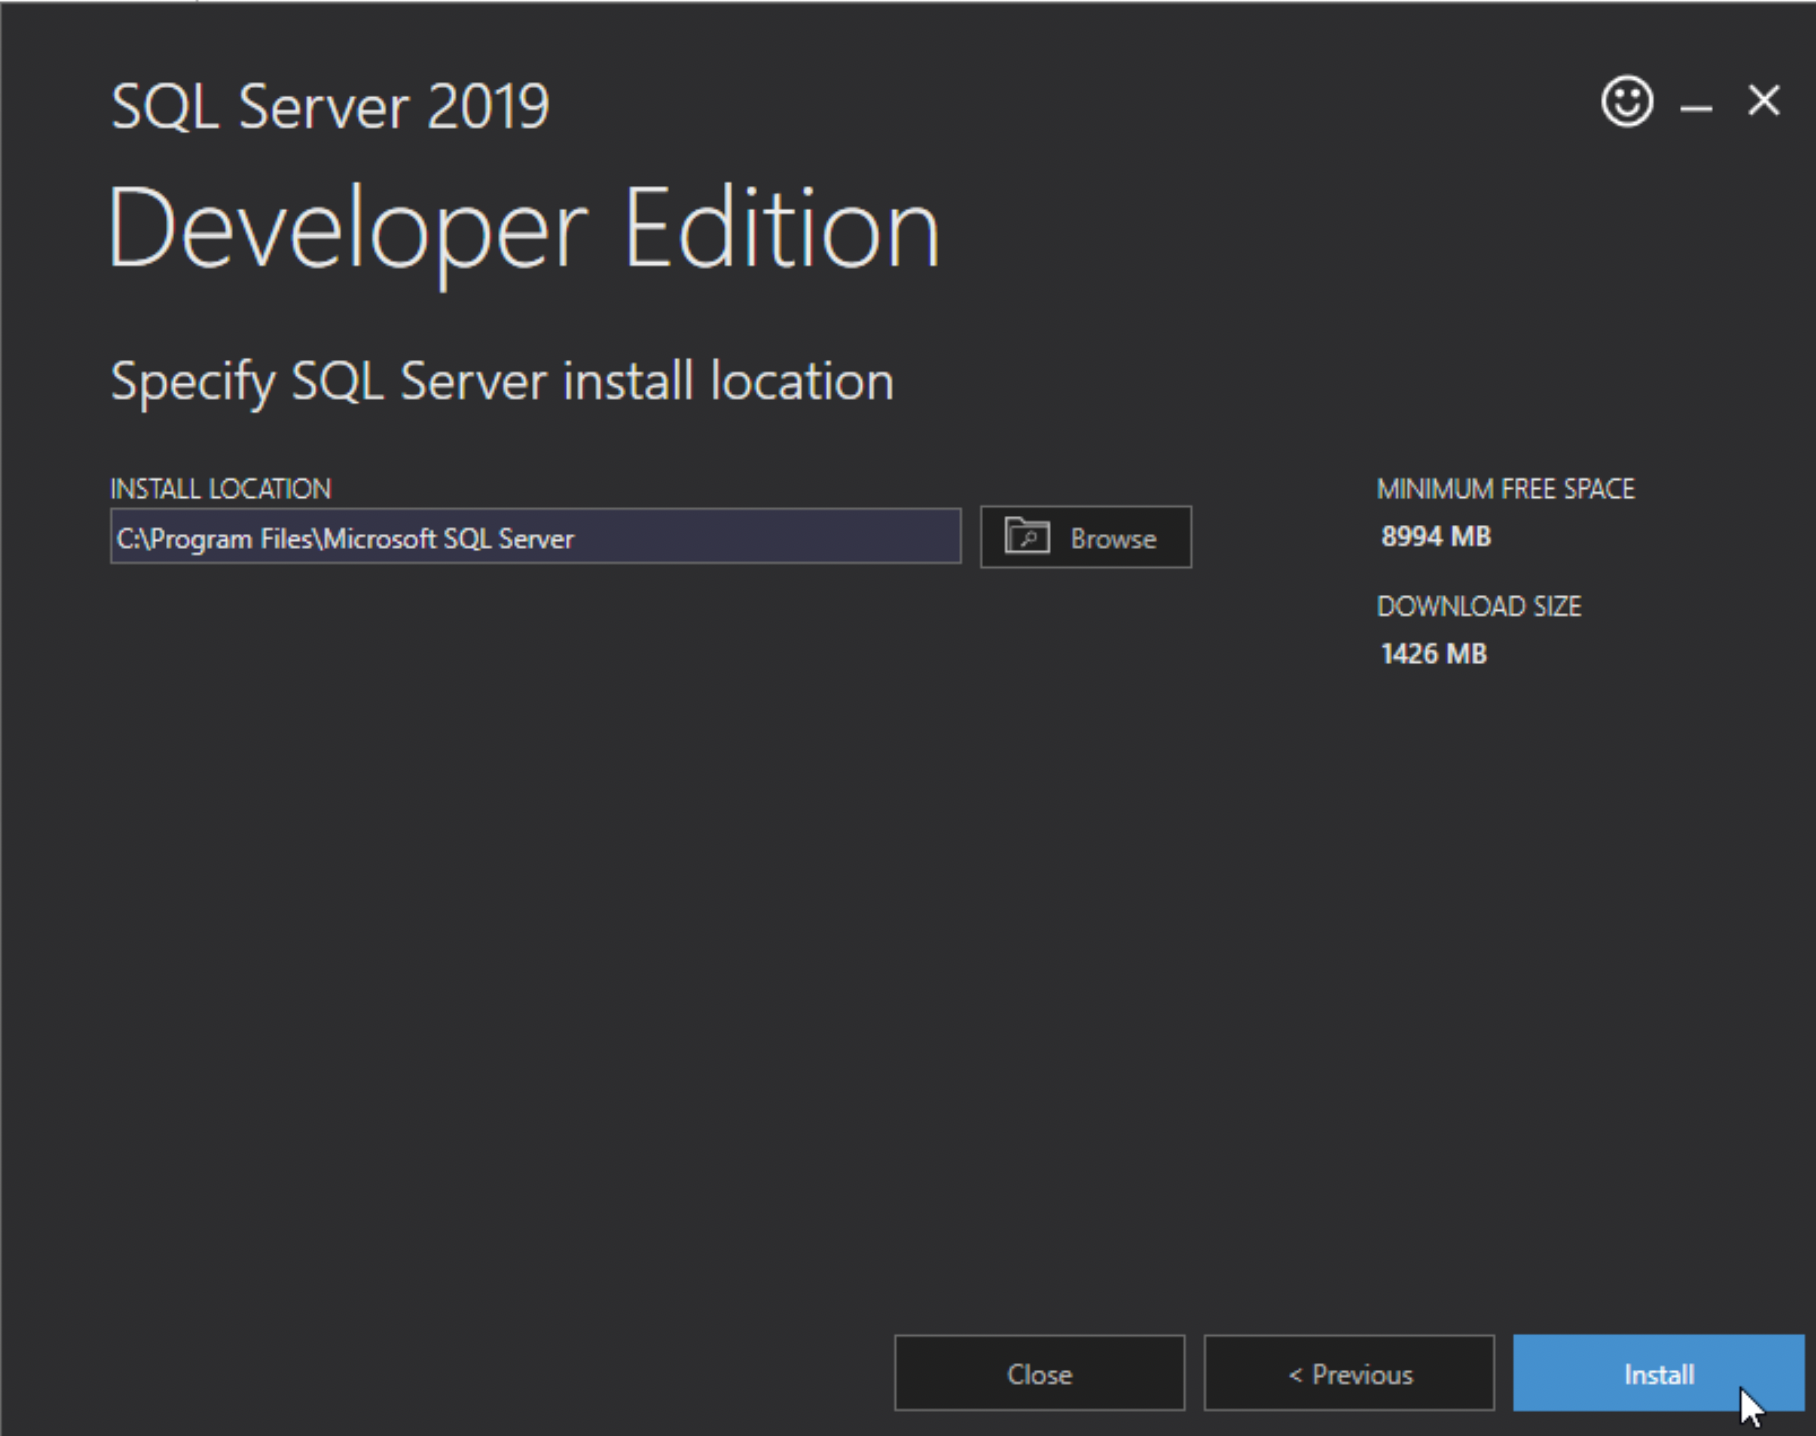 Click Install.
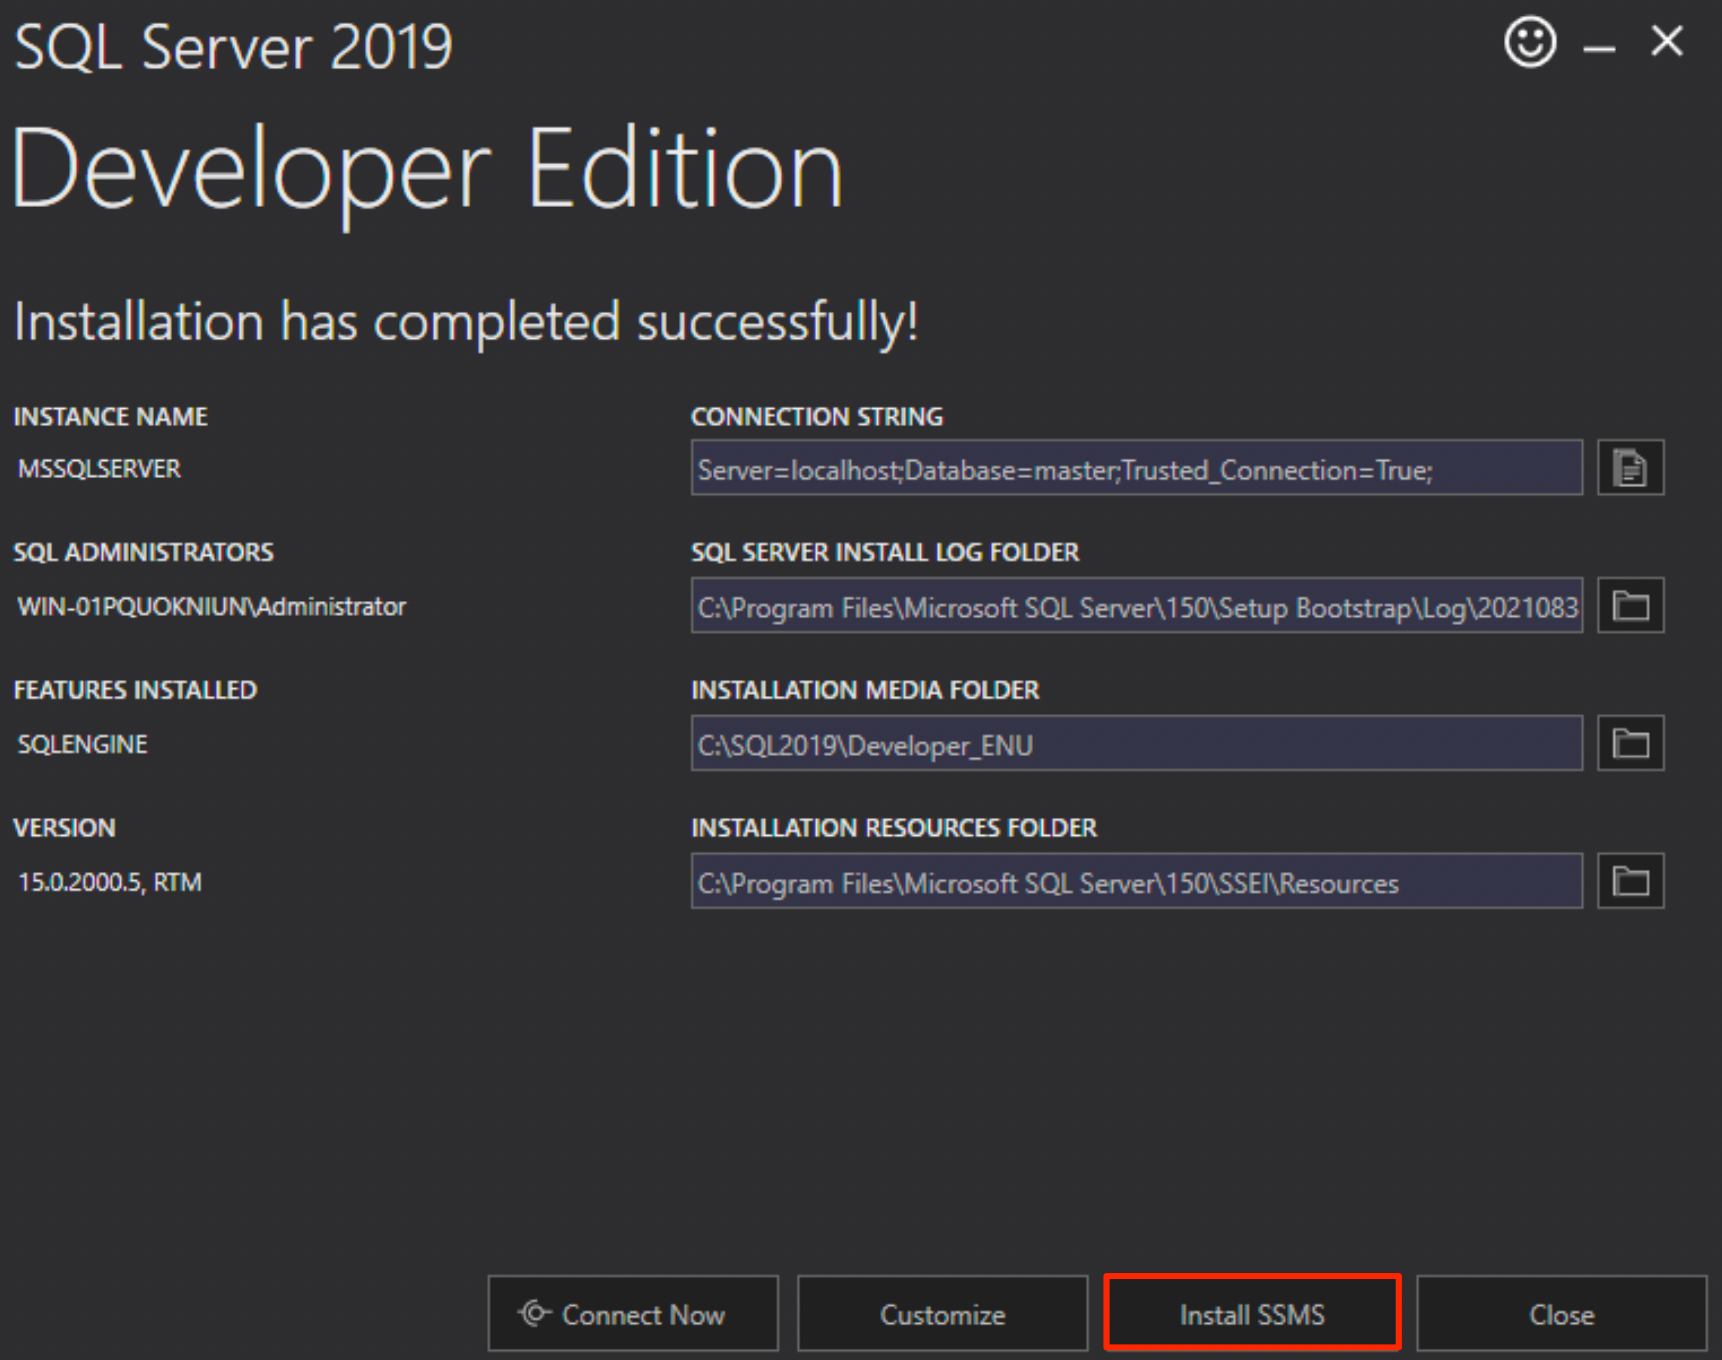
 - On the installation complete screen, you may want to note the following information: Instance name, connection string, log folder path, SQL engine path, and the installation resources folder path.
Install SSMS
- On the SQL Server 2019 completion screen, click Install SSMS.
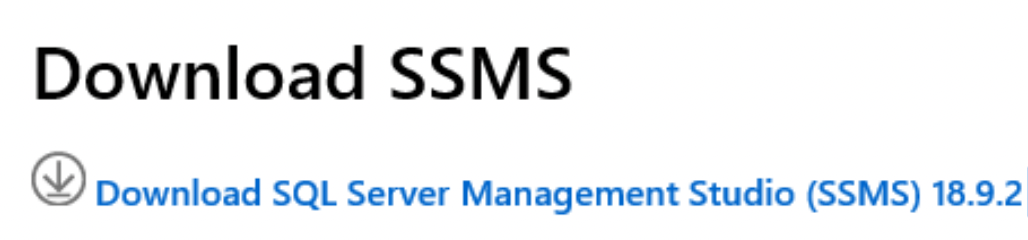
- On the download page, scroll down and click on Download SQL Server Management Studio (SSMS).
- Double click the SSMS-Setup-ENU.exe executable from your download location.

- The default download location is indicated. To select a different location, click the Change button.
 Click Install.
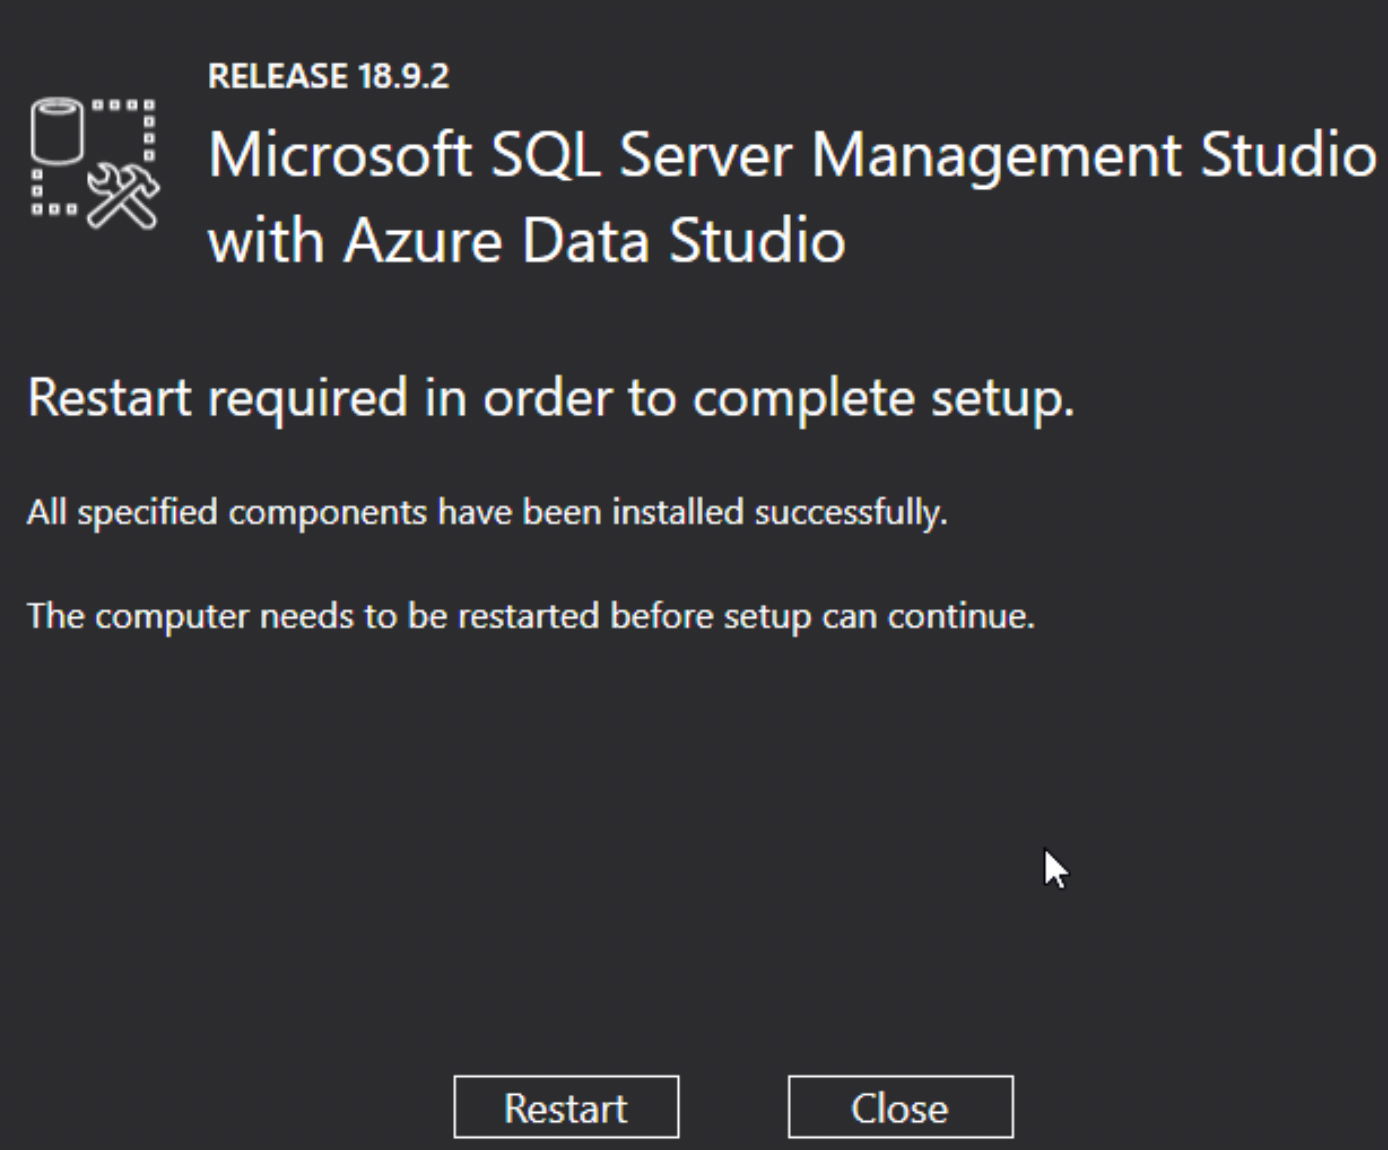
Once SSMS is successfully installed, click Restart.
Congratulations! You have successfully installed MS SQL Server 2019 and SQL Server Management Studio (SSMS) 18.9.2 on Windows.
Connect to SQL Server Database Engine
Click Start and search Microsoft SQL Server Management Studio or SSMS.

From the Object Explorer panel on the left, click Connect.
In the Connect to Server dialog box, click Connect with the default server values.
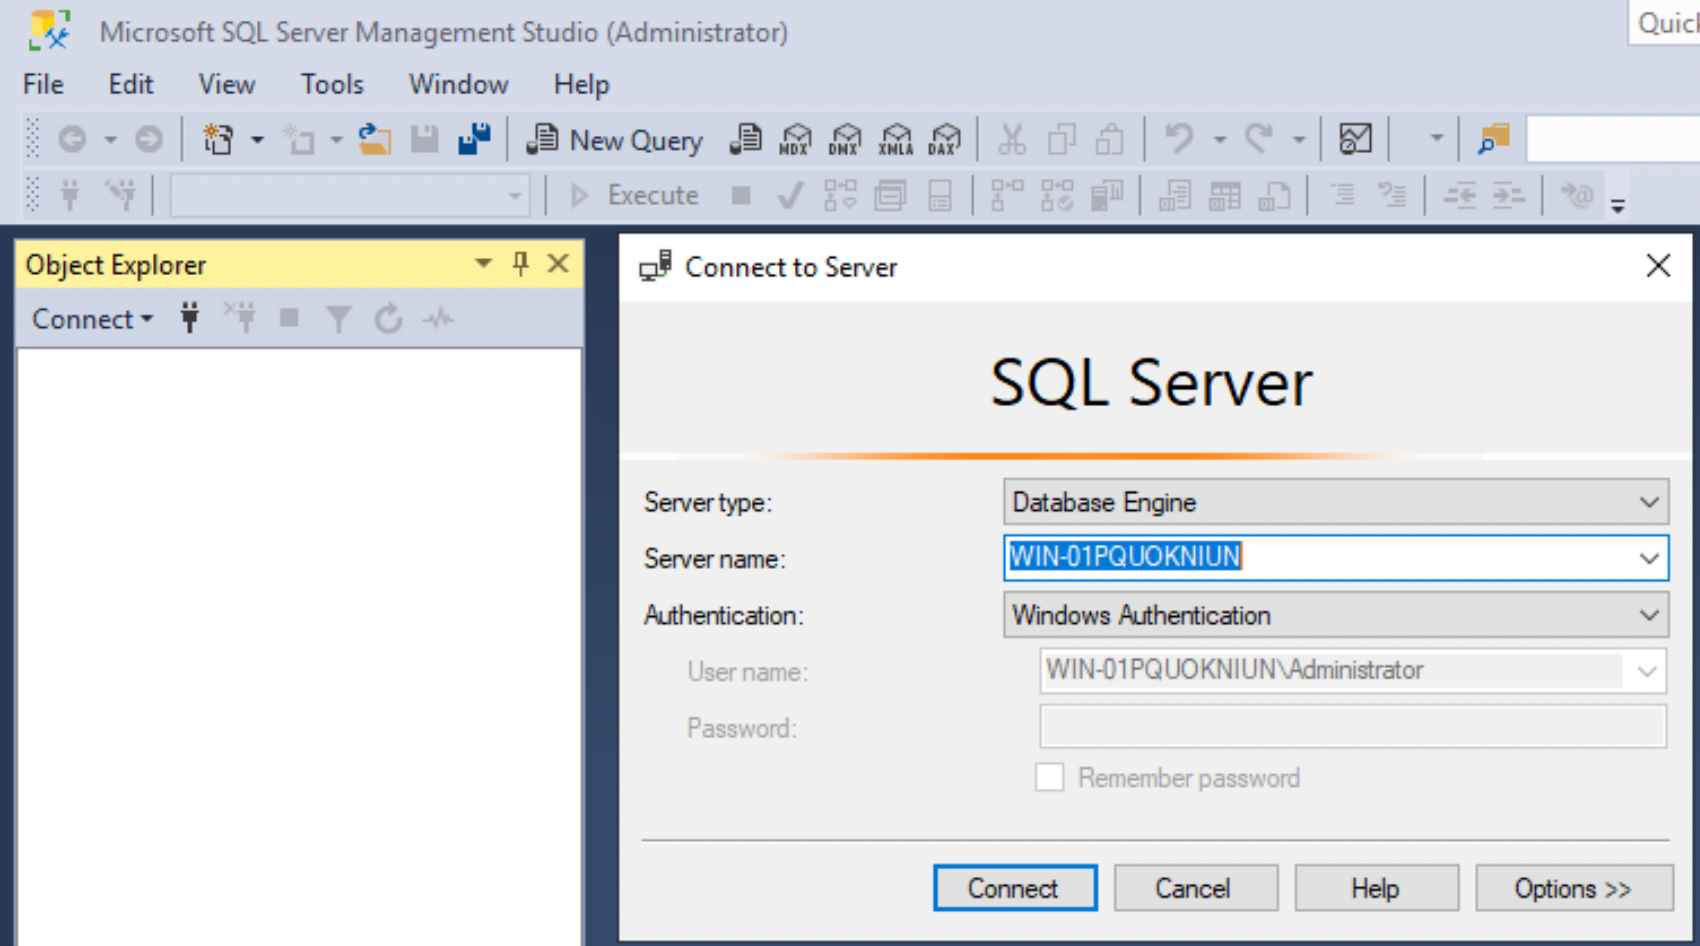 In this case, Server name is your machine name.
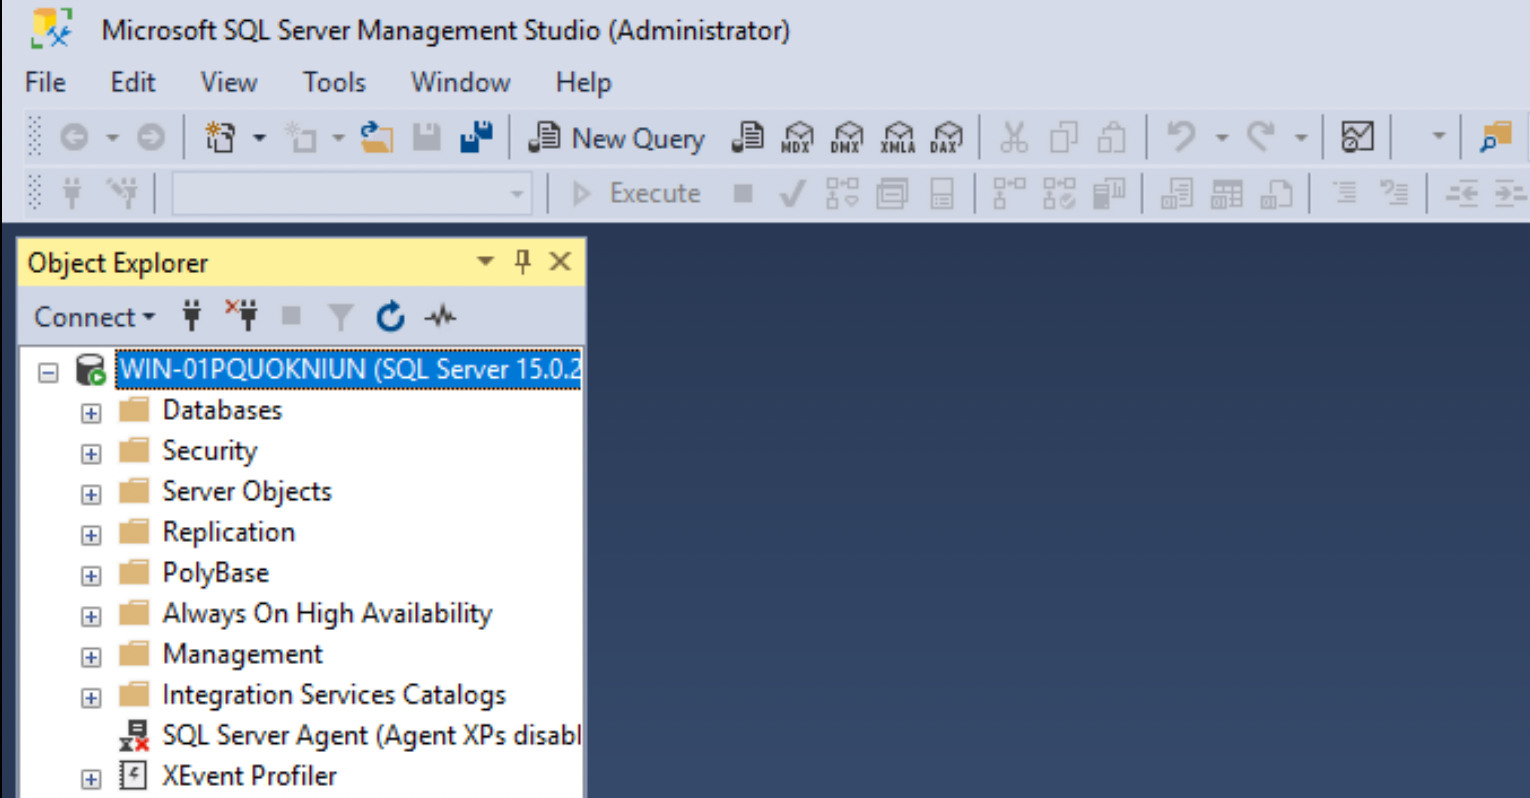
You are now connected to MS SQL system database as indicated with a green arrow in the screenshot.
Next Steps
Create a database, create table(s), and issue T-SQL commands on the SQL database.
 Build apps and APIs 10x faster
- Built-in authorization and caching
- 8x more performant than hand-rolled APIs